Landscape lighting offers numerous benefits that can transform your outdoor space. It enhances safety by illuminating pathways and deterring intruders. It also reveals the beauty of your garden, creating a welcoming atmosphere. With energy-efficient LEDs, you can enjoy these advantages while saving on energy costs. Proper installation is crucial for both safety and aesthetics. By taking a DIY approach, you can easily install plug in landscape lighting, making your outdoor area both functional and beautiful. This hands-on project not only adds value to your home but also allows you to personalize your lighting experience.
Understanding Plug-In Landscape Lighting

Plug-in landscape lighting offers a simple and effective way to enhance your outdoor spaces. By understanding the different types and benefits, you can make informed decisions that suit your needs and preferences.
Types of Plug-In Landscape Lighting
When it comes to plug-in landscape lighting, you have several options to choose from, each serving a unique purpose:
Pathway Lights
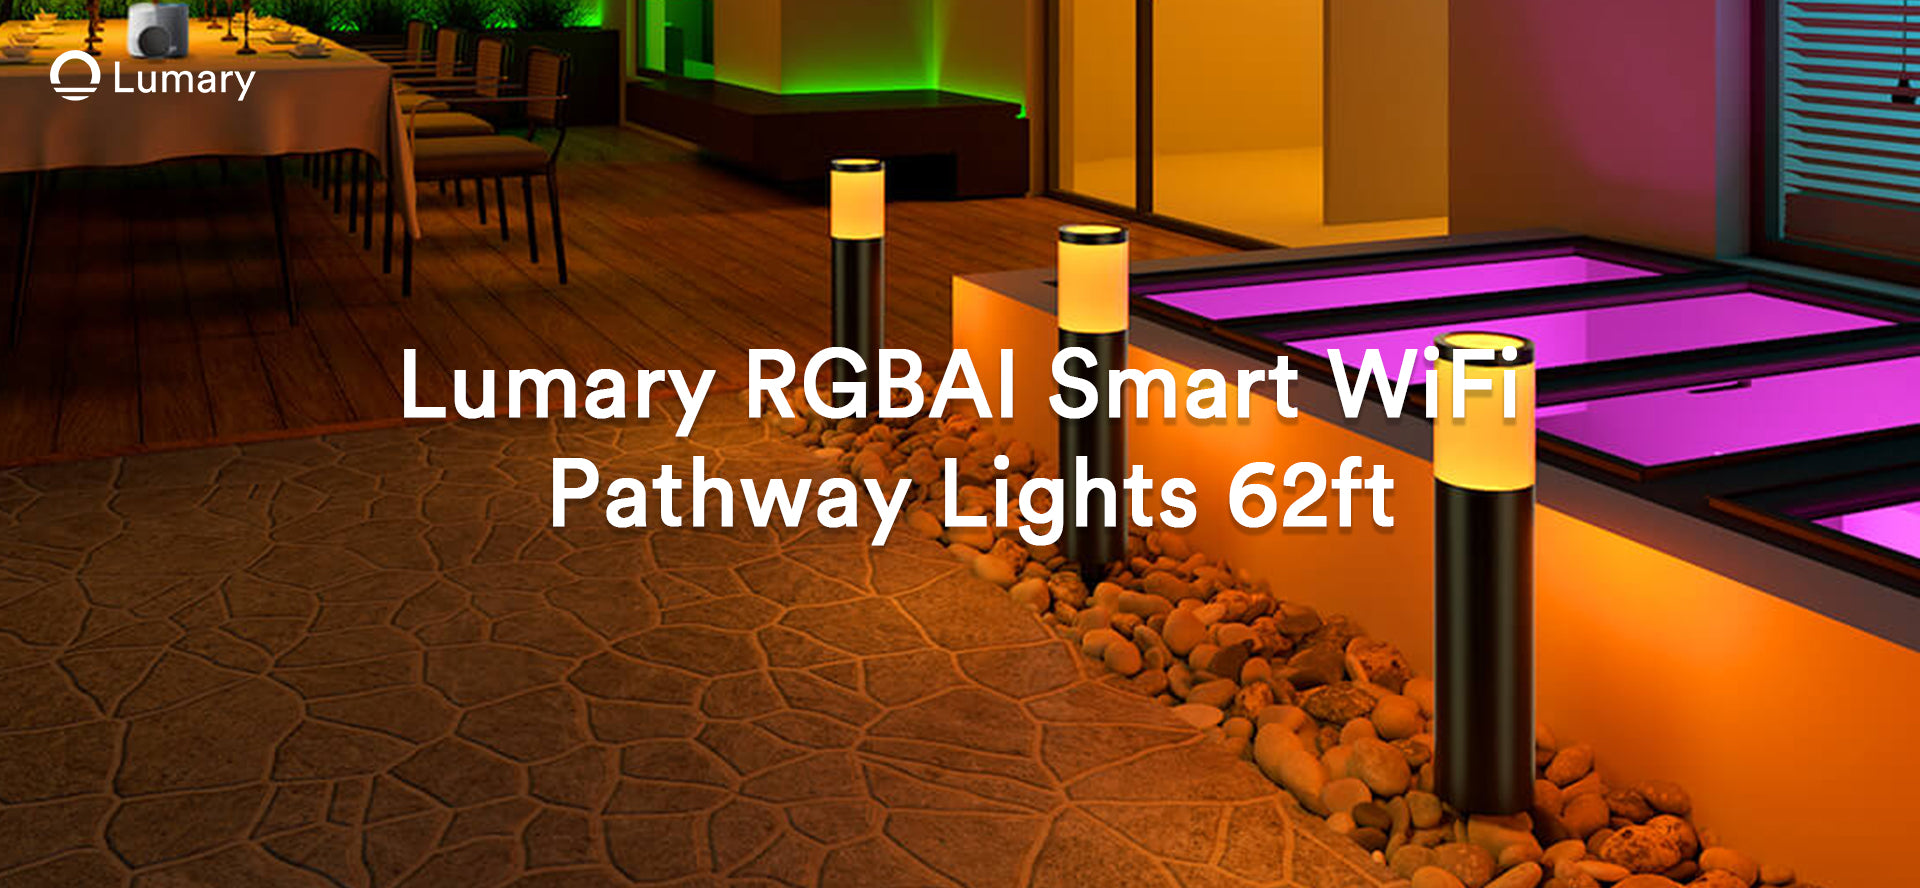
Pathway lights are perfect for illuminating walkways and garden paths. They guide you safely through your outdoor areas while adding a touch of elegance. These lights often come in various styles and heights, allowing you to match them with your landscape design.
Spotlights
Spotlights focus on specific landscape elements, such as statues or water features. They create dramatic effects by highlighting these focal points. You can adjust the angle of spotlights to achieve the desired illumination, making them versatile for different settings.
Floodlights
Floodlights provide broad illumination, ideal for covering large areas like driveways or patios. They offer powerful lighting that enhances security and visibility. With floodlights, you can ensure that your outdoor space remains well-lit and safe.
Benefits of Plug-In Lighting
Plug-in landscape lighting comes with several advantages that make it a popular choice for homeowners:
Ease of Installation
One of the main benefits of plug-in landscape lighting is its ease of installation. You don't need extensive electrical knowledge or special tools. Simply plug the lights into an outdoor outlet, and you're ready to go. This simplicity makes it an excellent DIY project for anyone looking to enhance their outdoor space quickly.
Flexibility and Portability
Plug-in lights offer flexibility and portability. You can easily move them around to suit your changing needs or seasonal decorations. Whether you're hosting a party or just want to change the ambiance, plug-in lights allow you to adapt your lighting setup effortlessly.
By choosing plug-in landscape lighting, you can enjoy a beautifully lit outdoor space with minimal effort. Whether you're highlighting a garden path or creating a cozy patio atmosphere, these lights provide the perfect solution for your landscape lighting needs.
Planning Your Lighting Layout

Creating a well-thought-out lighting layout is essential for achieving the perfect balance between aesthetics and functionality in your outdoor space. Let's dive into how you can plan your lighting layout effectively.
Assessing Your Landscape
Before you start installing lights, take a good look at your landscape. This step helps you identify where lighting will make the most impact.
Identifying Key Areas for Illumination
Think about the areas you want to highlight. Pathways, garden features, and entryways often benefit from illumination. By focusing on these spots, you enhance both safety and beauty. Imagine walking through your garden at night, guided by softly glowing lights. It not only looks inviting but also keeps you safe from tripping hazards.
Considering Power Source Locations
Next, consider where your power sources are. Knowing the location of outdoor outlets helps you plan where to place your lights. You want to avoid running long extension cords across your yard. If your outlets are limited, you might need to get creative with your lighting placement or consider adding more outlets.
Designing the Lighting Scheme
Once you've assessed your landscape, it's time to design your lighting scheme. This involves choosing the right fixtures and arranging them in a way that complements your outdoor space.
Balancing Aesthetics and Functionality
When designing your lighting scheme, aim for a balance between aesthetics and functionality. You want your lights to look good and serve a purpose. For example, pathway lights should illuminate the path clearly while adding charm to your garden. Spotlights can highlight architectural features, creating a dramatic effect that draws attention to your home's unique elements.
Creating a Cohesive Look
Finally, strive for a cohesive look. Your lighting should tie together the different elements of your landscape. Use similar styles or colors for your fixtures to create harmony. A well-coordinated lighting scheme enhances the overall ambiance of your outdoor space, making it feel like an extension of your home.
By carefully planning your lighting layout, you can transform your outdoor area into a beautifully lit haven. Whether you're hosting a gathering or enjoying a quiet evening, the right lighting makes all the difference.
Gathering Necessary Tools and Materials
Before diving into the installation process, make sure you have all the necessary tools and materials at hand. This preparation will save you time and ensure a smooth installation.
Essential Tools
To get started, you'll need a few basic tools. These are likely already in your toolbox, but if not, they're easy to find at any hardware store.
Measuring Tape
A measuring tape is crucial for planning your layout. You'll use it to measure distances between fixtures and ensure even spacing. Accurate measurements help create a balanced and visually appealing lighting scheme.
Screwdriver Set
A screwdriver set is another essential tool. You'll need it to secure fixtures and make any necessary adjustments. Make sure you have both flathead and Phillips screwdrivers, as different fixtures may require different types.
Required Materials
With your tools ready, gather the materials needed for your lighting project. These items are the backbone of your installation.
Lighting Fixtures
Your lighting fixtures are the stars of the show. They come in various styles and types, such as pathway lights, spotlights, and floodlights. Each fixture contains a light source, either an integrated LED or a replaceable bulb. Choose fixtures that match your design vision and meet your lighting needs.
Extension Cords and Timers
Extension cords and timers are vital for powering your lights and automating their operation. Use weatherproof extension cords to connect fixtures to outdoor outlets safely. Timers allow you to schedule when your lights turn on and off, adding convenience and energy efficiency to your setup.
By gathering these tools and materials, you're setting yourself up for a successful DIY landscape lighting installation. With everything in place, you'll be ready to transform your outdoor space into a beautifully lit oasis.
Step-by-Step Installation Process
Installing plug in landscape lighting can be a rewarding DIY project. By following these steps, you'll transform your outdoor space into a beautifully lit haven.
Preparing the Site
Before you start installing, it's crucial to prepare the site properly. This ensures a smooth installation process and optimal results.
Clearing the Installation Area
First, clear the installation area of any debris or obstacles. Remove rocks, leaves, or anything that might interfere with the placement of your lights. A clean area makes it easier to position your fixtures accurately and securely.
Marking the Layout
Next, mark the layout of your plug in landscape lighting. Use stakes or flags to outline where each light will go. This step helps you visualize the final look and ensures even spacing. Mark Piantedosi, owner of Commonwealth Landscape Lighting, suggests placing fixtures no closer than 20 feet apart. He advises, "You want pools of light to guide your eye from one plant to the next, not continuous illumination."
Installing the Lighting Fixtures
With your site prepared, it's time to install the lighting fixtures. This part of the process brings your design to life.
Positioning the Lights
Position each light according to your marked layout. Ensure that pathway lights illuminate walkways effectively, while spotlights highlight focal points like statues or trees. Adjust the angle of each light to achieve the desired effect. Proper positioning enhances both the functionality and aesthetics of your plug in landscape lighting.
Securing the Fixtures
Once positioned, secure the fixtures firmly in place. Use a screwdriver to tighten any screws or bolts. This step prevents the lights from shifting or falling over time. A stable fixture ensures consistent lighting and reduces maintenance needs.
Connecting to Power
After installing the fixtures, connect them to a power source. This step brings your plug in landscape lighting to life.
Plugging into Outdoor Outlets
Plug each light into an outdoor outlet. Ensure the outlet is weatherproof and equipped with a GFCI (Ground Fault Circuit Interrupter) for safety. If your lights are far from the outlet, use a weatherproof extension cord to bridge the gap. This setup provides a reliable power source for your lighting system.
Using Timers for Automation
Finally, consider using timers to automate your lighting. Timers allow you to schedule when your lights turn on and off, adding convenience and energy efficiency. Set the timers to align with your lifestyle, ensuring your outdoor space is always beautifully lit when you need it.
By following these steps, you'll successfully install your plug in landscape lighting. Enjoy the enhanced beauty and functionality of your outdoor space, knowing you've created a safe and inviting environment.
Final Adjustments and Testing
Once you've installed your plug-in landscape lighting, it's time to make those final tweaks to ensure everything looks just right. This step is crucial for achieving the perfect ambiance and functionality.
Adjusting Light Angles
Properly adjusting the angles of your lights can make a significant difference in how your outdoor space appears.
Ensuring Optimal Coverage
You want your lights to cover the intended areas effectively. Walk around your yard at night to see how the lights illuminate different spots. Adjust the angles to ensure pathways are well-lit and focal points like trees or statues stand out. This step helps you achieve a balanced look that enhances both safety and beauty.
Minimizing Glare
Glare can be distracting and uncomfortable. To minimize it, adjust the lights so they don't shine directly into your eyes or your neighbors'. Aim them slightly downward or away from common viewing angles. This adjustment creates a more pleasant and inviting atmosphere.
Testing the System
Testing your lighting system ensures everything works as it should. This step helps you catch any issues before they become bigger problems.
Checking for Proper Functionality
Turn on all your lights and check each one for proper functionality. Make sure they're all illuminating as expected and that timers or smart controls are working correctly. If you notice any lights flickering or not turning on, double-check the connections and power sources.
Troubleshooting Common Issues
Sometimes, things don't go as planned. If you encounter issues, don't worry. Common problems include loose connections or faulty bulbs. Recheck the wiring and ensure all connections are secure. If a bulb isn't working, try replacing it with a new one. These simple fixes often resolve most issues.
Brandon and his team shared their experience: "They set up the lights ahead of time to check placement, brightness, illumination, etc. They came back and adjusted things to make sure that I liked the look of the lighting on the house trees, shrubs, fences, etc."
By taking the time to adjust and test your lighting system, you ensure that your outdoor space looks fantastic and functions perfectly. Enjoy the enhanced beauty and safety of your well-lit landscape!
You've successfully navigated the plug in landscape lighting installation process. Now, it's time to enjoy your beautifully illuminated outdoor space. The lights not only enhance your landscape's beauty but also improve safety and security. To keep your lighting system in top shape, regularly check for any loose connections or burnt-out bulbs. Clean the fixtures to maintain their brightness and adjust the angles as needed to ensure optimal coverage. With these simple maintenance tips, your outdoor area will remain a welcoming and vibrant space for years to come.


