Outdoor eave lighting transforms your home's exterior. It adds charm and boosts security. Imagine your house glowing warmly at night. You can achieve this with a DIY project. Outdoor eave lighting doesn't require professional skills. Enthusiasts like you can handle it. The process is straightforward. You gain satisfaction from doing it yourself. Plus, you save money. Why not give it a try? Outdoor eave lighting enhances your space beautifully. Dive into this project and see the difference.
Planning and Preparation for Outdoor Eave Lighting

Understanding the Purpose of Outdoor Eave Lighting
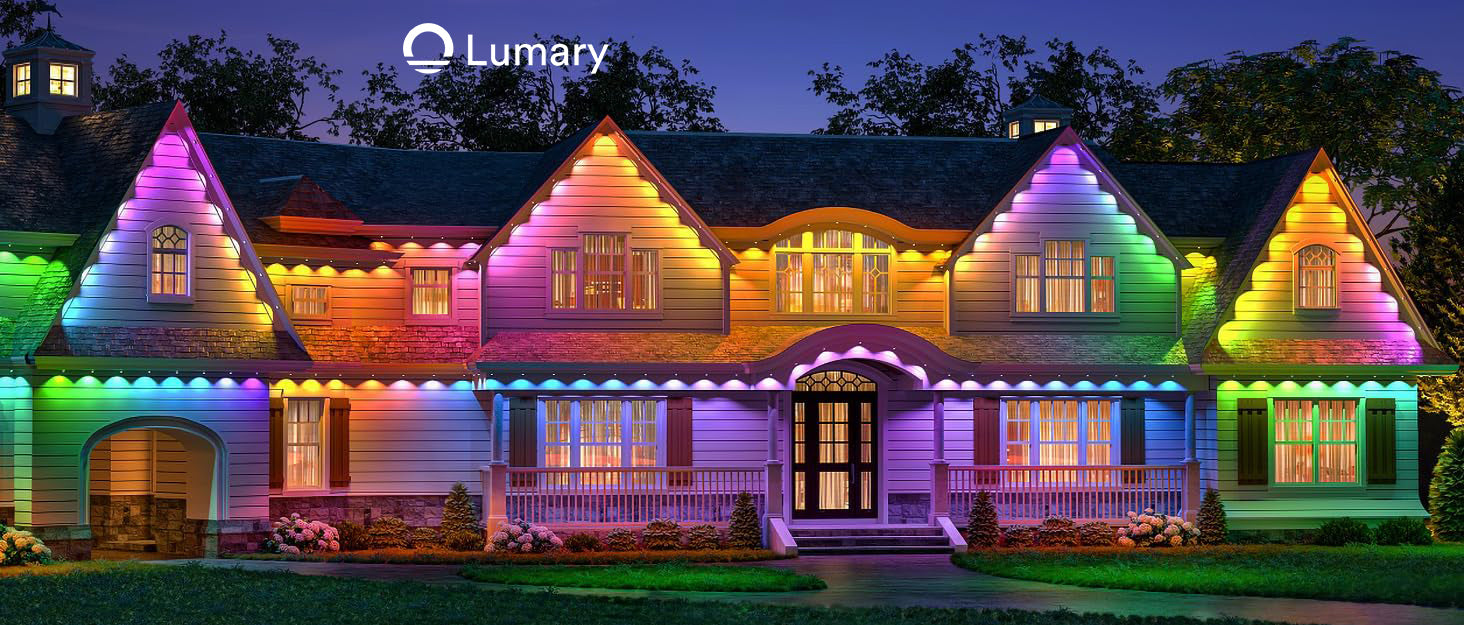
Outdoor eave lighting offers a blend of beauty and security. You can transform your home's appearance with these lights. Imagine your house glowing with a warm, inviting ambiance. The aesthetic benefits are undeniable.
Aesthetic Benefits
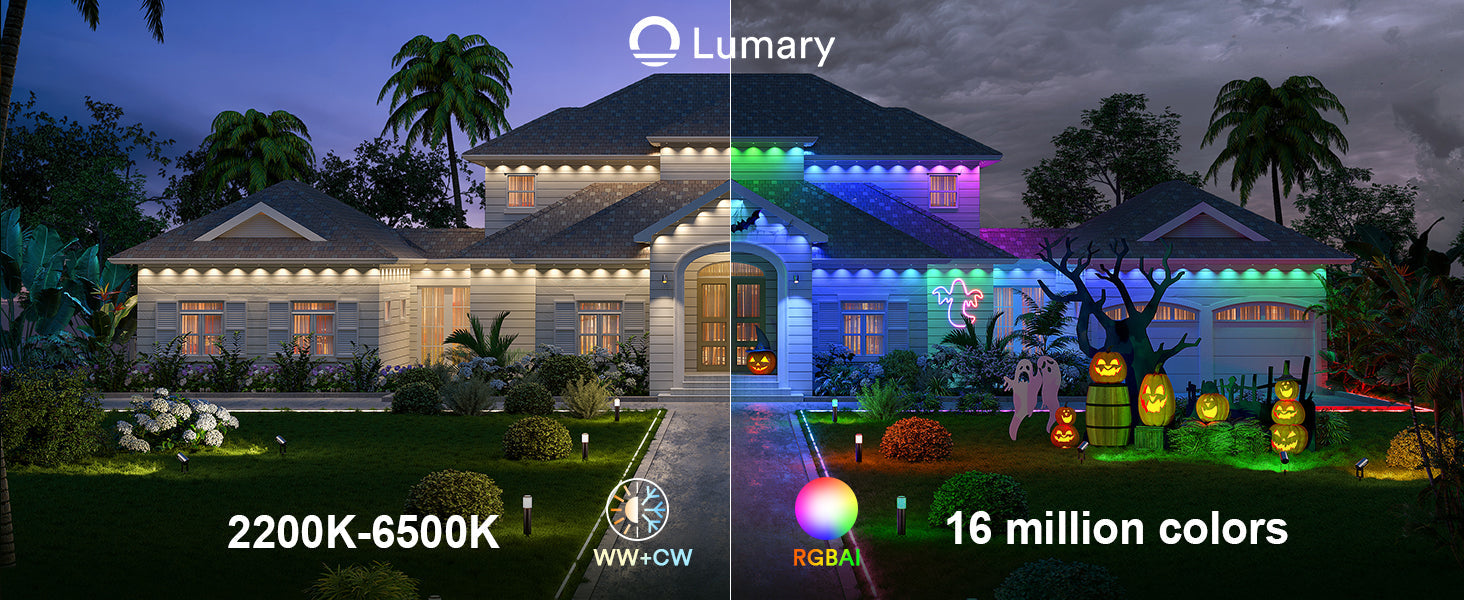
Outdoor eave lighting enhances your home's curb appeal. You can highlight architectural features and create a welcoming atmosphere. LED soffit lights fit snugly into the roof's soffit. These lights provide brightness and pattern control. They are compact and energy-efficient.
Security Enhancements
Safety is another key benefit of outdoor eave lighting. Bright lights deter potential intruders. You can illuminate dark areas around your home. This increases visibility and reduces the risk of accidents. Outdoor eave lighting creates a safer environment for you and your family.
Gathering Necessary Materials and Tools
Preparation is crucial for a successful installation. You need to gather all the necessary materials and tools.
Lighting Fixtures
Choose durable lighting fixtures for your project. LED Soffit Lights are a great choice. These lights are resistant to environmental hazards. They have a long lifespan and offer excellent performance.
Electrical Tools
You need electrical tools for the installation. A drill, wire cutters, and a voltage tester are essential. Make sure to have these tools ready before starting.
Safety Gear
Safety should always be a priority. Use insulated gloves and safety goggles. A sturdy ladder is also important for reaching high places.
Assessing the Installation Area
Before installing outdoor eave lighting, assess the area carefully. This ensures proper placement and functionality.
Measuring the Eaves
Accurate measurements are vital. Measure the eaves to determine the number of lights needed. Proper spacing ensures even illumination. A common guideline is to place lights every 8 feet.
Identifying Power Sources
Identify the power sources for your lighting. Check for existing outlets or plan new connections. Ensure the power supply is sufficient for the lights. This step is crucial for a smooth installation process.
Installation Process of Outdoor Eave Lighting

Preparing the Eaves
Outdoor eave lighting installation begins with preparing the eaves. A clean surface ensures proper fixture adhesion. Use a damp cloth or mild detergent to wipe away dirt and debris. Dry the area thoroughly to prevent moisture-related issues.
Marking installation points is the next step. Use a measuring tape to determine the spacing for each light. Experts recommend placing lights every 8 feet for even illumination. Mark these spots with a pencil or chalk for easy reference during installation.
Wiring and Electrical Setup
Running wires is crucial for outdoor eave lighting. Start by threading the wires through the eaves. Ensure wires are long enough to reach the power source. Secure them with cable ties or clips to prevent sagging.
Connecting to the power source requires caution. Turn off the power at the breaker box before proceeding. Use a voltage tester to confirm the power is off. Connect the wires to the power source using wire nuts. Follow the manufacturer's instructions for specific wiring details.
Mounting the Lighting Fixtures
Securing the fixtures is the final step in the outdoor eave lighting installation. Align the fixtures with the marked points on the eaves. Use screws or adhesive tape to attach the fixtures firmly. Ensure each fixture is level for a uniform appearance.
Testing the lights is essential before completing the project. Turn the power back on and check each fixture. Ensure all lights illuminate properly. Adjust any fixtures that appear misaligned or dim. Enjoy the enhanced ambiance and security provided by your new outdoor eave lighting.
Safety Considerations
Safety should be your top priority when installing outdoor eave lighting. You need to follow some essential guidelines to ensure a smooth and secure installation process.
Electrical Safety
Turning Off Power
Always turn off the power before starting any electrical work. Locate the breaker box in your home. Flip the switch that controls the area where you plan to install the lights. Use a voltage tester to confirm that the power is off. This step prevents electrical shocks and keeps you safe.
Using Insulated Tools
Insulated tools are crucial for electrical work. These tools protect you from accidental electric shocks. Make sure to use pliers, screwdrivers, and wire cutters with insulated handles. Check the insulation for any damage before using the tools. Proper tools keep you safe and make the job easier.
Ladder Safety
Proper Ladder Placement
Correct ladder placement ensures stability while working at heights. Place the ladder on a flat, stable surface. Avoid slippery or uneven ground. Extend the ladder fully and lock it in place. The ladder should reach at least three feet above the eaves for easy access. Proper placement prevents falls and injuries.
Ensuring Stability
Stability is key when using a ladder. Keep three points of contact with the ladder at all times. This means two hands and one foot or two feet and one hand. Avoid overreaching or leaning to the side. Move the ladder instead of stretching too far. A stable position keeps you safe and focused on the task.
Maintenance Tips
Keeping your outdoor eave lighting in top shape requires regular maintenance. A little effort goes a long way in ensuring longevity and performance.
Regular Cleaning
Removing Dust and Debris
Dust and debris can accumulate on your lights over time. Use a soft cloth or a gentle brush to wipe the fixtures clean. Avoid harsh chemicals that could damage the finish. Regular cleaning keeps your lights shining bright and looking new.
Checking for Damage
Inspect your lighting fixtures for any signs of wear or damage. Look for cracks, loose wires, or water ingress. Addressing these issues promptly prevents further damage. Regular checks ensure your lights remain safe and functional.
Troubleshooting Common Issues
Flickering Lights
Flickering lights can be annoying and indicate a problem. Check the bulb connections and ensure they are tight. Loose connections often cause flickering. If the issue persists, consider replacing the bulb with a new one.
Non-Functional Fixtures
Non-functional fixtures can disrupt your lighting setup. First, check if the power supply is active. Use a voltage tester to confirm. If the power is on, inspect the wiring for any breaks or disconnections. Repair or replace faulty wires to restore functionality.
Additional Resources
Exploring additional resources can enhance your outdoor eave lighting project. You can find valuable information and tools to make the process smoother.
Online Tutorials and Guides
Online tutorials offer practical insights. Video demonstrations provide visual guidance. Watching experts install lights helps you understand each step. You can pause and replay as needed. This makes learning easy and effective.
Step-by-step articles break down the installation process. Detailed instructions guide you through each phase. These articles often include tips and tricks. You gain confidence by following clear directions.
Recommended Products
Choosing the right products ensures success. Best lighting brands offer quality and reliability. Lumary stands out with innovative designs. Their products provide excellent performance and durability.
Essential tools make installation easier. A good drill, wire cutters, and a voltage tester are must-haves. Reliable tools ensure safety and efficiency. Investing in quality tools saves time and effort.
You’ve completed the installation of outdoor eave lighting. Enjoy the beauty and security these lights bring to your home. Feel proud of your DIY accomplishment. Explore more projects to enhance your space. Check out additional resources for advanced lighting ideas. Keep learning and transforming your home with creativity.


