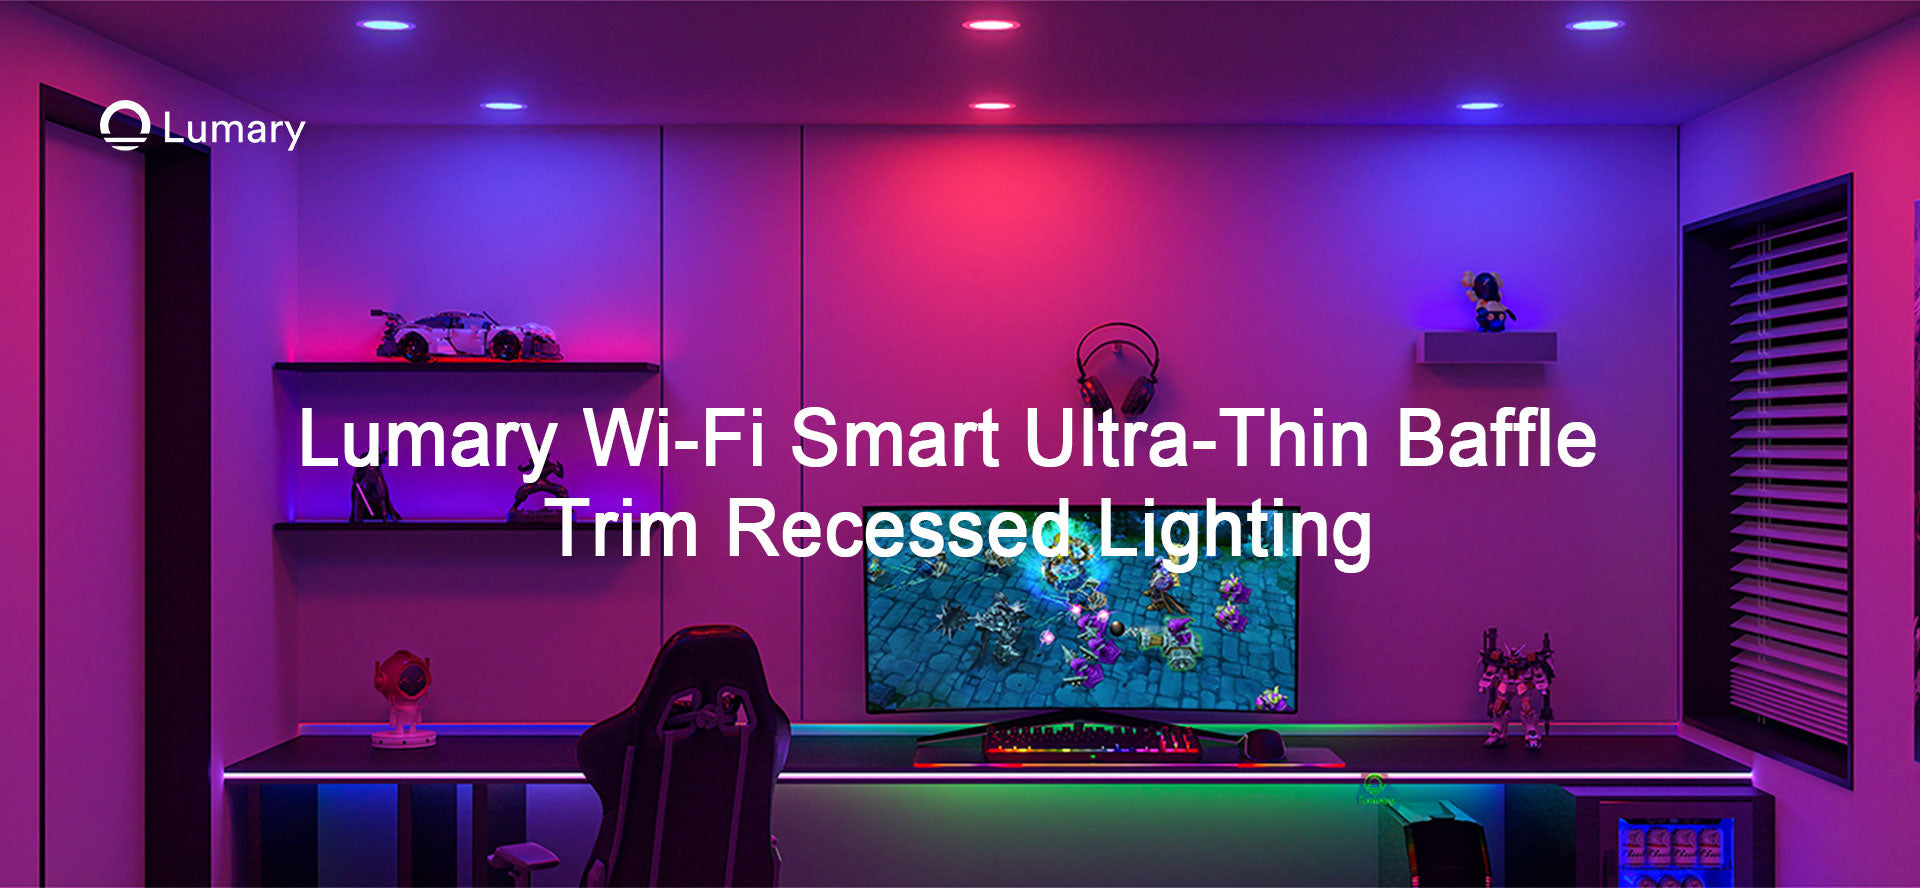
Smart downlights offer a modern lighting solution that enhances your living space. These lights provide energy efficiency and customizable options, allowing you to control brightness and color with ease. Proper installation ensures optimal performance and longevity. To get started, gather essential tools and materials such as a screwdriver, wire strippers, and the Lumary Wi-Fi Smart Ultra-Thin Baffle Trim Recessed Lighting 6inch 4PCS. Follow this guide to install your new downlight smart light safely and efficiently.
Preparing for Installation

Gathering Tools and Materials
List of necessary tools
To install the Lumary Wi-Fi Smart Ultra-Thin Baffle Trim Recessed Lighting 6inch 4PCS, gather the following tools:
- Screwdriver
- Wire strippers
- Drill with hole-cutting attachment
- Lineman's pliers
- Voltage tester
- Ladder
- Drywall saw
These tools ensure a smooth and efficient installation process.
List of required materials
In addition to tools, collect these essential materials:
- Junction box
- Electrical tape
- Electrical wire
- Switch
Having all necessary materials on hand prevents interruptions during the installation.
Safety Precautions
Turning off the power
Safety remains paramount when working with electrical installations. Locate the circuit breaker panel in your home. Turn off the power to the area where you will install the downlights. Use a voltage tester to confirm that no electricity flows to the existing fixtures.
Using safety gear
Wear appropriate safety gear to protect yourself during the installation. Use safety goggles to shield your eyes from debris. Wear gloves to protect your hands from sharp objects and electrical components. Ensure you have a stable ladder to reach the installation area safely.
Removing Old Fixtures
Disconnecting Power
Locating the circuit breaker
Locate the circuit breaker panel in your home. Identify the breaker that controls the power to the area where you will install the new downlights. Flip the breaker switch to the "off" position. This action ensures no electricity flows to the existing fixtures.
Ensuring power is off
Use a voltage tester to confirm the power is off. Place the tester's probes on the wires of the old fixture. The absence of a reading confirms the power is off. This step guarantees safety during the removal process.
Removing the Old Downlight
Unscrewing the fixture
Use a screwdriver to remove the screws holding the old downlight in place. Carefully lower the fixture from the ceiling. Avoid pulling on the wires connected to the fixture.
Disconnecting wiring
Examine the wiring connections. Use wire strippers to remove any electrical tape or connectors. Separate the wires by gently pulling them apart. Ensure no wires touch each other to prevent short circuits. This step completes the removal of the old downlight.
Installing the Smart Downlight

Connecting the Wiring
Matching wire colors
Begin by identifying the wire colors on both the Lumary Wi-Fi Smart Ultra-Thin Baffle Trim Recessed Lighting 6inch 4PCS and the existing electrical wiring. Typically, the black wire represents the hot wire, the white wire represents the neutral wire, and the green or bare wire represents the ground. Match the corresponding wires from the downlight smart light to the existing wires in the ceiling. Ensure that each wire is correctly aligned to prevent any electrical issues.
Securing connections
Once the wires are matched, use wire connectors to secure the connections. Twist the connectors onto the wire ends until they are tightly fastened. Wrap electrical tape around the connectors for added security. This step ensures a stable and safe connection for your downlight smart light. Double-check the connections to confirm that no bare wires are exposed.
Mounting the Downlight
Positioning the fixture
Position the Lumary Wi-Fi Smart Ultra-Thin Baffle Trim Recessed Lighting 6inch 4PCS into the pre-cut hole in the ceiling. Ensure that the fixture sits flush with the ceiling surface. The ultra-thin design allows for easy placement even in tight spaces. Align the fixture so that it fits snugly within the opening.
Securing it in place
Attach the mounting brackets or clips that come with the downlight smart light. These components hold the fixture securely in place. Use a screwdriver to tighten any screws if necessary. Ensure that the downlight smart light is firmly attached and does not wobble. This step completes the physical installation of your new lighting system.
Setting Up the Smart Features

Downloading the App
Finding the right app
To control the Lumary Wi-Fi Smart Ultra-Thin Baffle Trim Recessed Lighting 6inch 4PCS, you need to download the Lumary app. Open the app store on your smartphone or tablet. Search for the "Lumary" app. Verify that the app matches the product description before downloading.
Installing on your device
Once you find the correct app, tap the download button. Wait for the app to install on your device. Open the app after installation completes. Follow the on-screen prompts to set up an account if required.
Pairing the Downlight with the App
Following the app instructions
Open the Lumary app on your device. Navigate to the section for adding new devices. Select the option to add a new downlight smart light. Follow the step-by-step instructions provided by the app. Ensure your device remains connected to Wi-Fi during this process.
Testing the connection
After pairing the downlight smart light with the app, test the connection. Use the app to turn the downlight on and off. Adjust the brightness and color settings. Confirm that the app controls the light as expected. If any issues arise, refer to the troubleshooting section of the app.
Final Checks and Troubleshooting
Testing the Light
Turning the power back on
Return to the circuit breaker panel. Flip the breaker switch to the "on" position. This action restores electricity to the area where the new downlight is installed.
Ensuring proper functionality
Use the Lumary app to control the downlight. Turn the light on and off. Adjust the brightness and color settings. Verify that the light responds correctly to all commands. Confirm that the downlight operates without flickering or delays.
Troubleshooting Common Issues
Connectivity problems
If the downlight does not connect to the app, check the Wi-Fi signal strength. Ensure that the device is within range of the router. Restart the router if necessary. Open the Lumary app and attempt to reconnect the downlight. Follow the app's troubleshooting guide for additional steps.
Light not turning on
If the downlight does not turn on, recheck the wiring connections. Ensure that all wires are securely connected and that no bare wires are exposed. Use a voltage tester to verify that electricity flows to the fixture. If issues persist, consult an electrician for further assistance.
You have successfully installed your Lumary Wi-Fi Smart Ultra-Thin Baffle Trim Recessed Lighting 6inch 4PCS. Enjoy the enhanced ambiance and energy efficiency of your new smart lighting system. Feel free to explore the various features and customization options available through the Lumary app. If you have any questions or need further assistance, leave a comment below. Your feedback and inquiries are always welcome.


