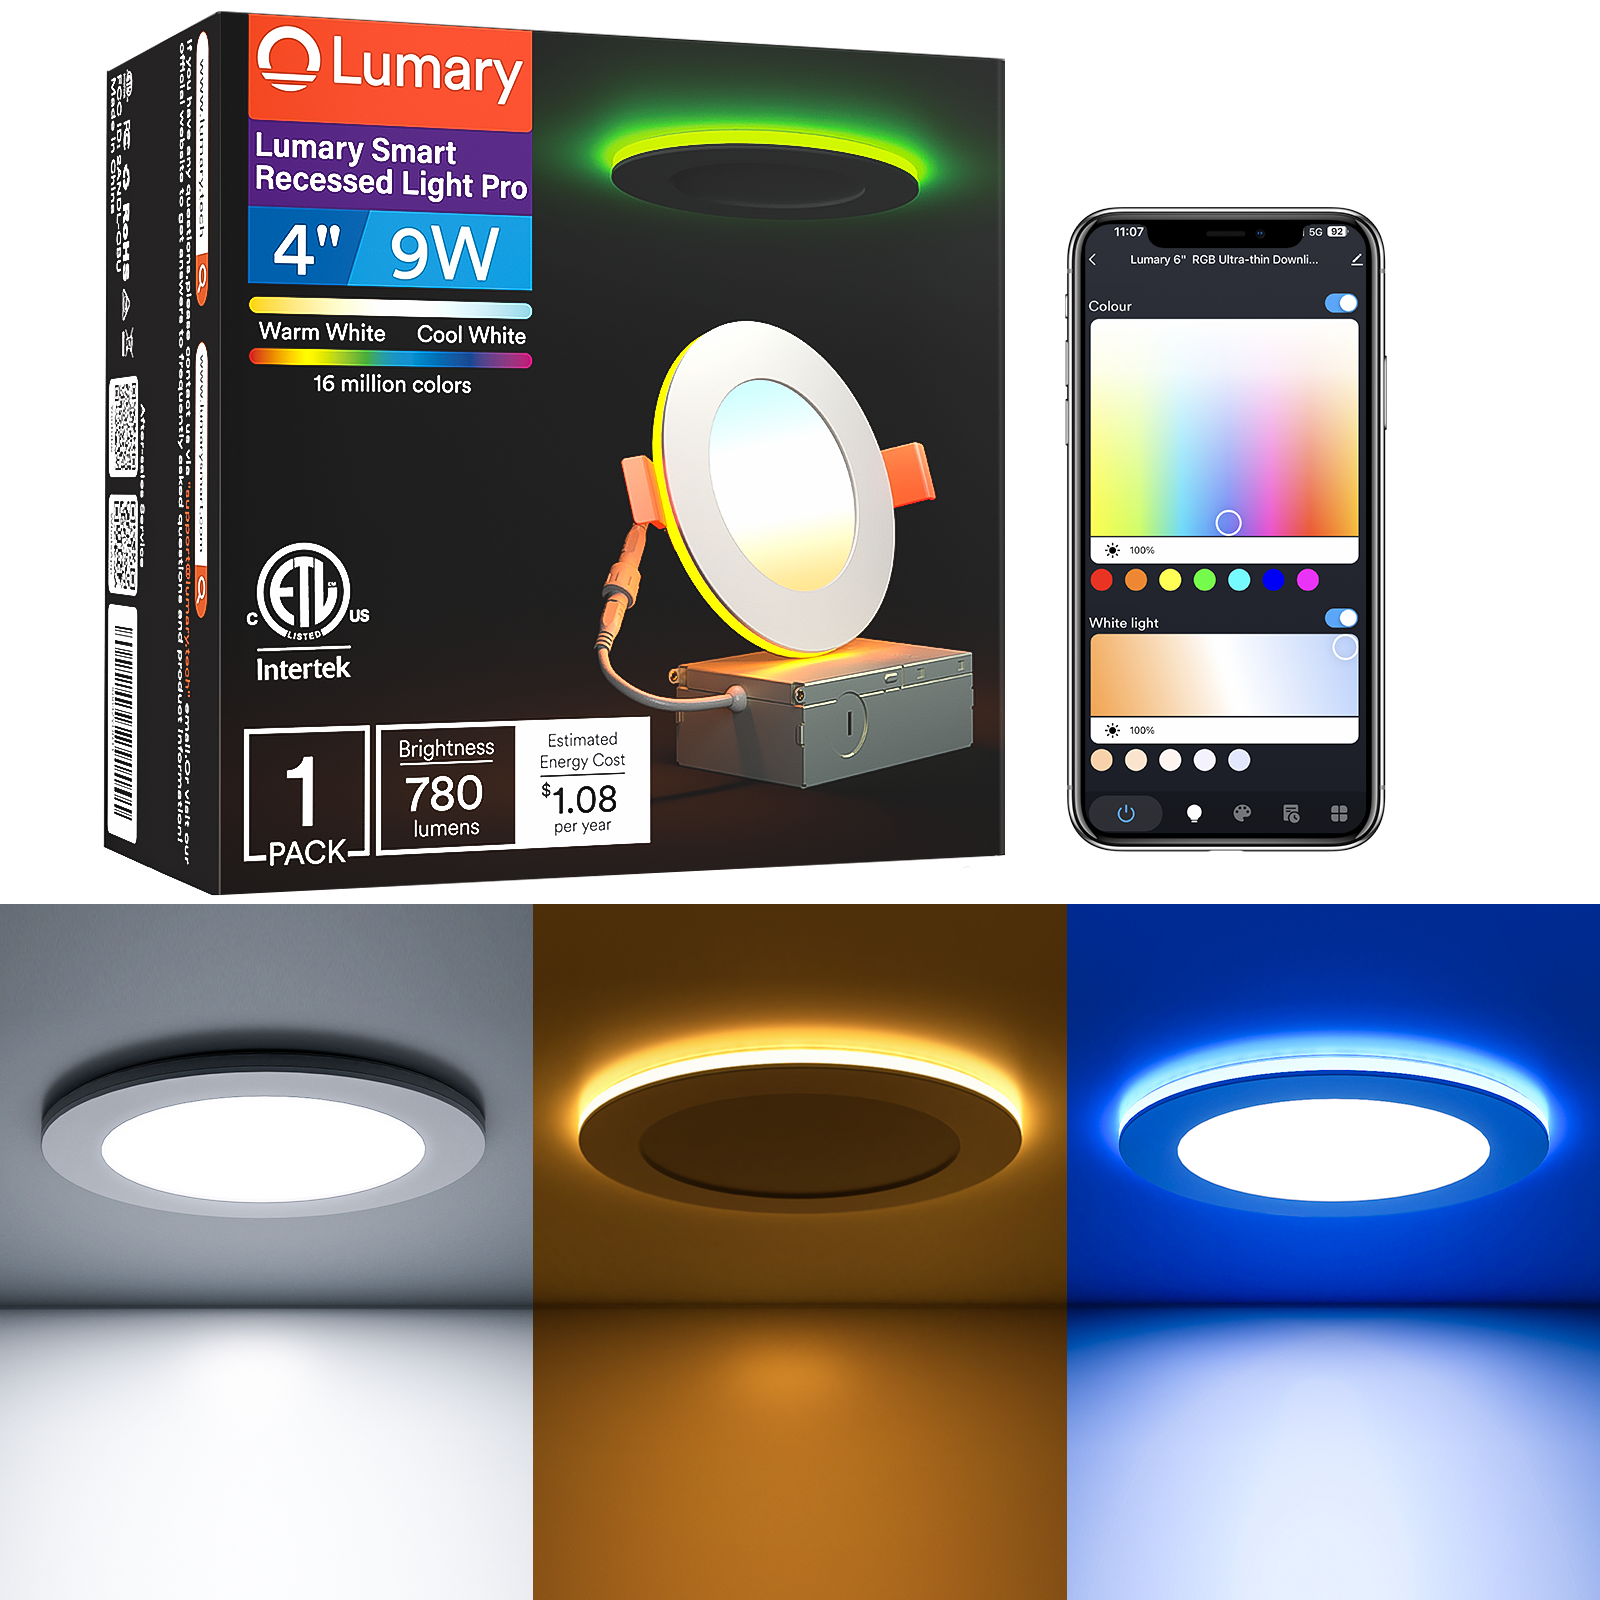
Smart recessed lights are becoming increasingly popular in modern indoor lighting, offering not only high-quality lighting effects but also intelligent control features, making your living space lighting more convenient and comfortable. However, many consumers still choose to spend a significant amount of money to hire an electrician to assist with installation to ensure safety and proper installation methods. To help you save this unnecessary expense, we will now provide you with a detailed guide on how to correctly install and use Lumary smart recessed lights, enabling you to enjoy a better lighting experience at home.
Step 1: Choose Suitable Recessed Lights
Before installation, you need to select appropriate embedded recessed lights based on your personal needs. Consider the following factors:
Size and Light Quantity: Lumary offers 3/4/6-inch recessed lights, and different sizes correspond to different hole sizes on the walls. Choosing the right size and quantity of recessed lights in advance is essential based on your room's size and layout.
Types of recessed lights: There are 3 types of Lumary smart recessed lights - Canless recessed lights, Retrofit can lights, and Gimbal recessed lights. Each type has distinct features. Canless recessed lights are suitable for smaller spaces like living rooms, hallways, and bedrooms due to their slim design. Retrofit can lights concentrate light more effectively and are suitable for areas like studies, bathrooms, and storage rooms. Gimbal recessed lights allow for rotational adjustments and are ideal for spaces like libraries, art exhibitions, and laboratories.
Material and Features: The material of the recessed lights can affect Wi-Fi signals and network transmission. Lumary offers recessed lights in two different materials: PC plastic and metal. Metal materials may slightly impede signals but offer greater texture and durability compared to PC plastic. Different features correspond to different recessed light types. For example, Lumary smart RGBAI 2-in-1 Canless recessed lights with night light integrates RGBAI lighting technology in addition to standard features, providing unique lighting effects.
Step 2: Install the Recessed Llights
Installing regular smart recessed lights might require some electrical knowledge. Lumary has taken this into consideration during product development and made significant improvements in the installation process.
- Power Off: Before any electrical work, ensure to switch off the corresponding power source to prevent electrical accidents.
- Prepare Tools: You might need screwdrivers, wire pliers, wire connectors, a marker, and a saw (or regular wood saw).
- Install the Bracket: Secure the recessed light's bracket onto the ceiling, ensuring stability. Skip this step if you plan to install the downlight directly into the ceiling.
- Open the Lumary smart recessed lights packaging and take out the cardboard disc. Use a marker to outline the desired position for the downlight on the ceiling and ensure three wires are present in the ceiling: live wire (red or brown), neutral wire (blue or black), and ground wire (green-yellow).
- Use a saw to cut a hole in the ceiling according to the marked circle. Pull the three wires slightly out of the hole.
- Connect Power: Connect the downlight's power wires to the corresponding color-coded wires of the power source.
- Press the springs on both sides of the recessed light and secure it to the ceiling.
- Installation Complete: Turn on the power switch to ensure the light illuminates correctly. Then, toggle the power switch three times (on-off-on-off-on) and wait a few seconds. Normally, the light will start flashing rhythmically. Open the Lumary App on your phone, connect to your Wi-Fi (2.4GHz), and initiate automatic scanning and connection. If the light stops flashing and maintains a constant color, the pairing is successful. Use the Lumary app to experience different light colors, temperatures, and scene modes.
Safety Precautions:
If you're unable to complete the installation successfully, contact our customer service (support@lumarysmart.com) or seek assistance from a professional electrician.
Always disconnect power before performing any electrical work to prevent accidents.
Pay attention to the downlights' heat dissipation to avoid using them in enclosed spaces to prevent overheating.
Regularly check if the downlight connections are secure to ensure proper functioning.
Severe network fluctuations might cause light disconnection and rhythmic flashing. Reconnect through the app to resolve.
Ensure your Wi-Fi router is sufficiently close to the downlights.
In conclusion, correct installation and use of smart embedded downlights can enhance your indoor lighting experience. By following the steps mentioned above, you can easily select, install, and configure smart downlights, creating a comfortable and intelligent lighting environment in your living space.


