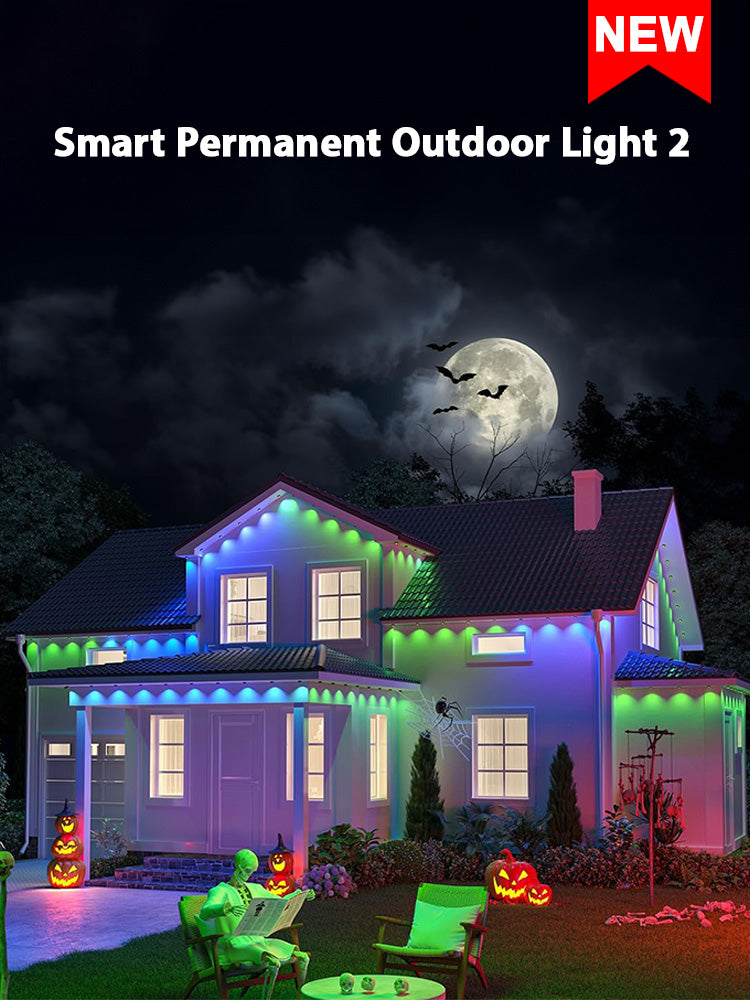
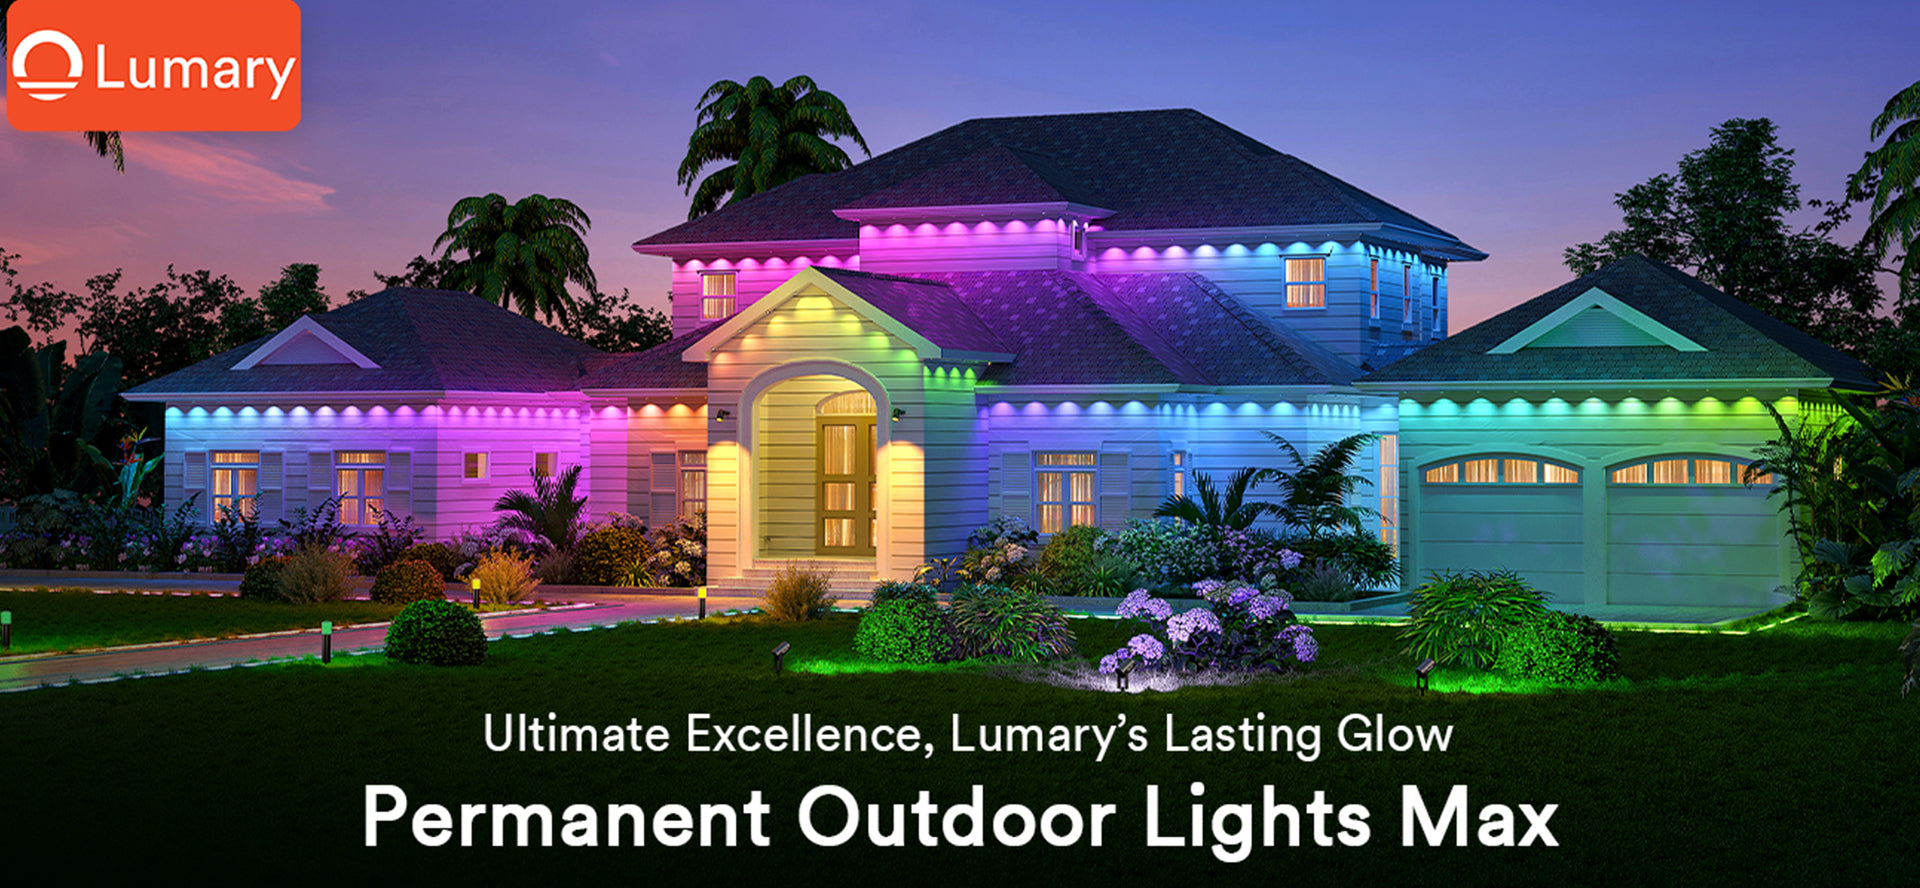
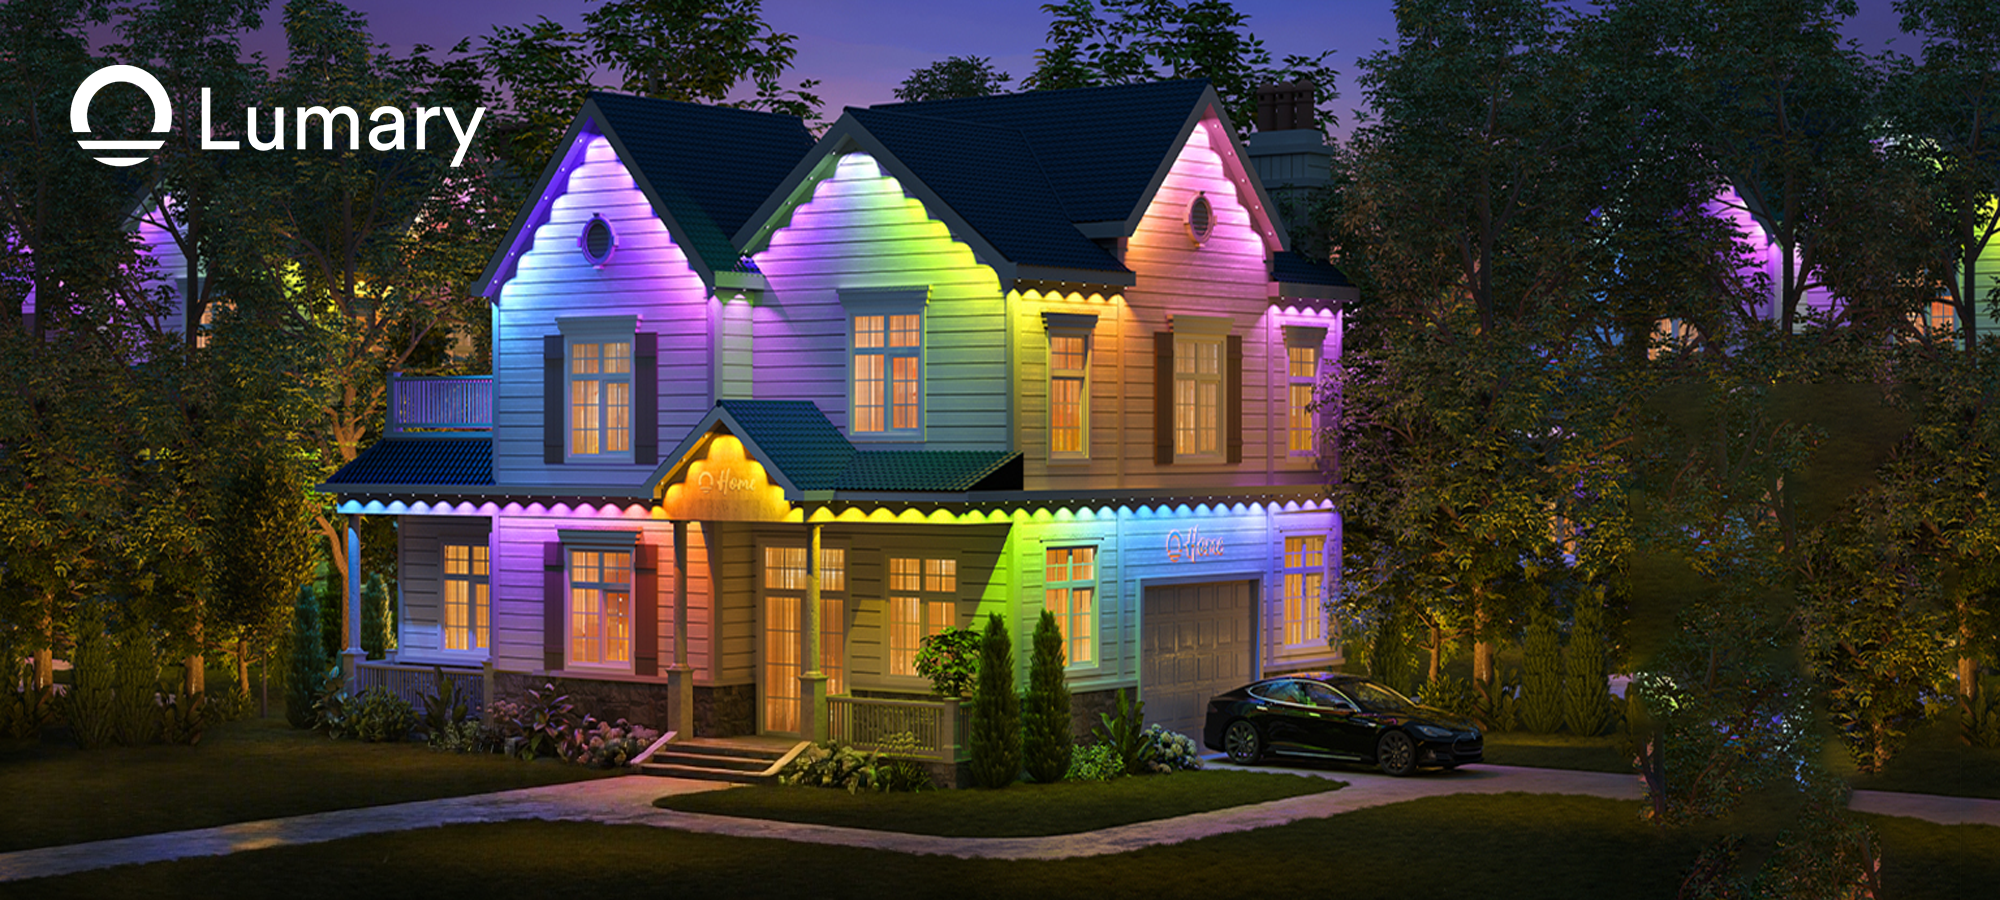
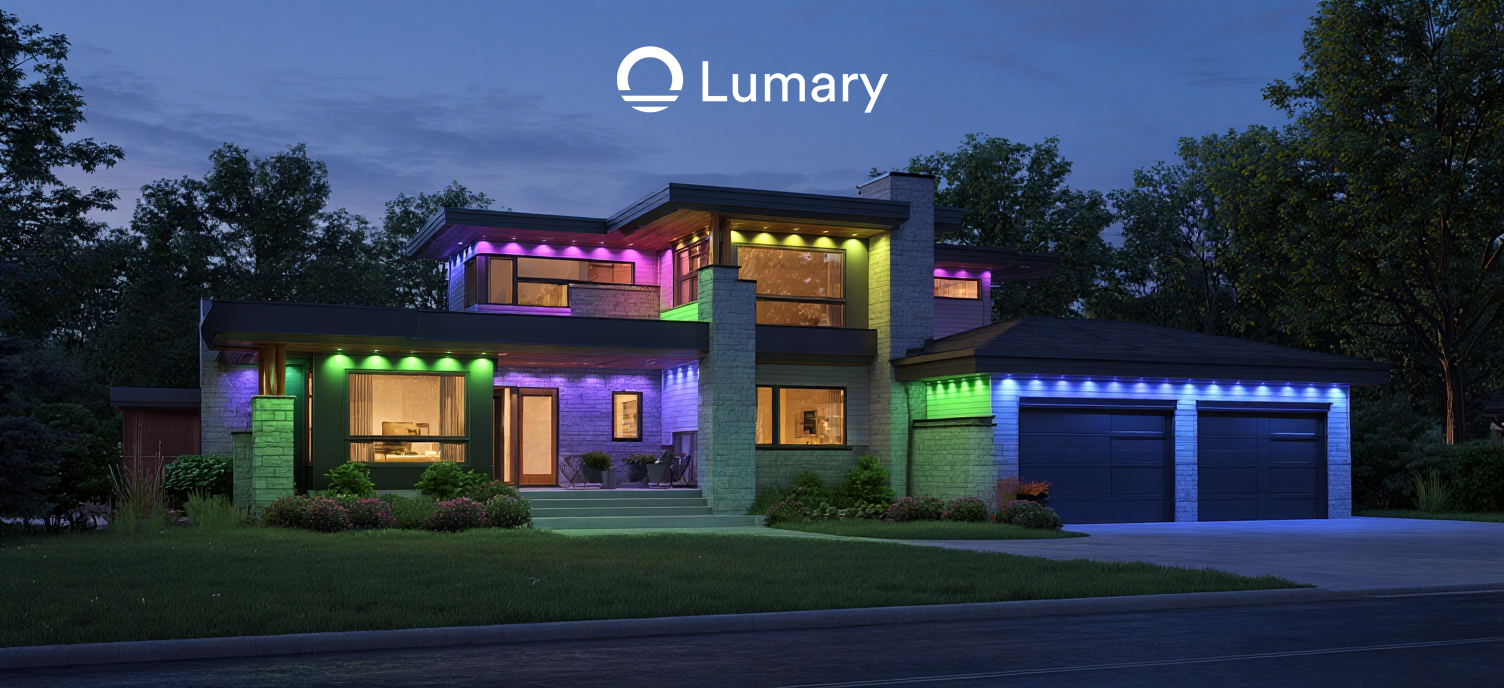
Imagine transforming your home into a festive wonderland without the hassle of yearly setup and takedown. Permanent outside Christmas lights offer this convenience, providing a long-lasting solution that brightens your home for decades. These lights not only save you time but also reduce energy costs. With LED technology, they last over 50,000 hours, making them a smart investment. Installing them is easier than you might think, allowing you to enjoy the holiday spirit effortlessly. So, why not make your outdoor space shine all year round?
Understanding Permanent Outside Christmas Lights

When it comes to decorating your home for the holidays, permanent outside Christmas lights offer a hassle-free solution. They provide a festive glow all year round without the need for constant setup and takedown. Let's dive into the types of lights available and the benefits of installing them permanently.
Types of Permanent Outside Christmas Lights
LED Lights
LED lights have become a popular choice for many homeowners. Why? They are energy-efficient and last much longer than traditional bulbs. You can save around 80% to 90% in energy costs compared to incandescent lights. This means lower electricity bills during the holiday season and beyond. Plus, LED lights emit minimal heat, making them safer to use around flammable materials. Their durability and efficiency make them a wise investment for any festive display.
Incandescent Lights
Incandescent lights, while less energy-efficient, still hold a place in holiday decorations. They offer a warm, classic glow that many people love. However, they consume more energy and have a shorter lifespan compared to LEDs. If you prefer the traditional look and don't mind the higher energy costs, incandescent lights might be your choice. But remember, they may require more frequent replacements.
Benefits of Permanent Installation
Cost Efficiency
Installing permanent outside Christmas lights can be a cost-effective decision in the long run. Although the initial investment might seem high, the savings on energy bills and the reduced need for replacements make it worthwhile. LED lights, in particular, offer significant savings due to their energy efficiency. Over time, you'll notice a decrease in your electricity expenses, making these lights a smart financial choice.
Time-Saving
Imagine not having to untangle strings of lights every year. Permanent installations save you time and effort. Once installed, you can enjoy the festive ambiance without the annual hassle. This convenience allows you to focus on other holiday preparations or simply relax and enjoy the season. With permanent lights, you can effortlessly keep your home looking festive all year round.
Preparing for Installation
Getting ready to install your permanent outdoor Christmas lights involves a bit of preparation. You want to ensure you have everything you need before you start. This will make the process smoother and more enjoyable.
Gathering Necessary Tools and Materials
Before you begin, gather all the tools and materials you'll need. Having everything on hand will save you time and frustration.
Tools Required
You'll need a few basic tools to get started:
-
Measuring Tape: Measure the area where you'll install the lights.
-
Drill: Use this for securing the lights to your home.
-
Screwdriver: Handy for tightening screws and making adjustments.
-
Ladder: Reach those high spots safely.
-
Wire Cutters: Trim any excess wiring.
Materials Needed
Once you have your tools, gather these materials:
-
Lights: Choose between LED or incandescent based on your preference.
-
Mounting Clips or Hooks: Secure the lights to your home.
-
Extension Cords: Ensure you have enough length to reach power sources.
-
Weatherproof Electrical Tape: Protect connections from the elements.
Safety Precautions
Safety should always come first when installing outdoor lights. Taking a few precautions can prevent accidents and ensure a successful installation.
Electrical Safety
Electricity can be dangerous if not handled properly. Here are some tips to keep you safe:
-
Check All Cords: Inspect for frays or damage before use.
-
Use Outdoor-Rated Equipment: Ensure all lights and cords are suitable for outdoor use.
-
Avoid Overloading Circuits: Plug lights into different outlets to prevent overloads.
Ladder Safety
Using a ladder requires careful attention to safety:
-
Set Up on Stable Ground: Ensure the ladder is on a flat, stable surface.
-
Have a Spotter: Ask someone to hold the ladder steady while you work.
-
Don't Overreach: Move the ladder instead of stretching too far.
By preparing properly and following these safety tips, you'll set yourself up for a smooth and successful installation. Now you're ready to bring your outdoor space to life with beautiful, permanent Christmas lights!
Step-by-Step Installation Guide

Ready to light up your home with permanent outside Christmas lights? Let's dive into the step-by-step process to make your installation smooth and successful.
Planning the Layout
Before you start, planning is key. A well-thought-out layout ensures your lights look stunning and cover the desired areas.
Measuring the Area
First, grab your measuring tape. Measure the length and height of the areas where you want to install the lights. This helps you determine how many lights you'll need. Don't forget to account for any corners or curves in your design. Accurate measurements prevent you from running short on lights or having too many leftover.
Designing the Light Pattern
Now, think about the pattern you want. Do you prefer a simple straight line or something more intricate? Sketch your design on paper. This visual guide will help you during installation. Consider the distance between each light to ensure even spacing. A well-designed pattern enhances the overall look and feel of your outdoor space.
Installing the Permanent Outside Christmas Lights
With your plan in place, it's time to bring it to life. Follow these steps to install your lights securely and efficiently.
Attaching Lights to the Structure
Start by attaching the lights to your home's structure. Use mounting clips or hooks to secure them in place. Begin at one end and work your way to the other, following your planned pattern. Make sure each light is firmly attached to prevent them from falling or shifting. If you're using adhesive, press firmly to ensure a strong bond.
Connecting to Power Source
Once your lights are in place, it's time to power them up. Connect the lights to an outdoor-rated extension cord. Plug the cord into a suitable outdoor outlet. Ensure all connections are tight and secure to avoid any electrical issues. Test the lights to make sure they're working properly. If any sections aren't lighting up, double-check your connections.
By following these steps, you'll have a beautiful display of permanent outdoor Christmas lights that will dazzle your neighborhood. Enjoy the festive glow and the convenience of a hassle-free holiday season!
Maintenance and Troubleshooting
Keeping your permanent outside Christmas lights in top shape ensures they shine brightly year after year. Regular maintenance and knowing how to troubleshoot common issues can save you time and keep your display looking its best.
Regular Maintenance Tips
Cleaning the Lights
To maintain the sparkle of your lights, regular cleaning is essential. Dust and dirt can accumulate on the bulbs, dimming their brightness. Use a soft cloth or a gentle brush to wipe away any debris. If your lights are waterproof, a light spray of water can help remove stubborn dirt. Always ensure the lights are unplugged before cleaning to avoid any electrical hazards.
Checking for Damages
Inspect your lights periodically for any signs of damage. Look for frayed wires or broken bulbs. Damaged lights not only affect the appearance of your display but can also pose safety risks. Replace any faulty components promptly to maintain both the beauty and safety of your lighting setup. As one expert notes, "Regularly inspect your lights for damaged bulbs or frayed wires and replace them promptly."
Common Issues and Solutions
Lights Not Turning On
If your lights aren't turning on, start by checking the power source. Ensure the outlet is functioning and the extension cords are securely connected. Sometimes, a simple reset of the circuit breaker can solve the problem. If the issue persists, inspect the wiring for any breaks or loose connections. Replacing a faulty section of the light string might be necessary.
Flickering Lights
Flickering lights can be frustrating, but they're often easy to fix. First, check that all bulbs are tightly screwed in. Loose bulbs can cause flickering. If the problem continues, examine the wiring for any loose connections. Sometimes, replacing a single bulb can resolve the issue. Remember, permanent outside Christmas lights are designed to be durable and efficient, so addressing these minor issues can ensure they perform optimally.
By following these maintenance tips and troubleshooting steps, you can enjoy the benefits of your permanent outside Christmas lights without interruption. They offer a hassle-free solution to holiday decorating, eliminating the need for annual setup and takedown. As one homeowner puts it, "Permanent Christmas lights offer several benefits: They eliminate the annual process of installing and removing holiday lights, saving time and effort."
Frequently Asked Questions
Can Permanent Lights Be Used Year-Round?
Absolutely! Permanent outdoor Christmas lights aren't just for the holiday season. You can enjoy their glow all year long. These lights offer versatility and durability, making them perfect for any occasion. Whether it's a summer barbecue or a winter celebration, they provide the right ambiance. With LED technology, you save energy and reduce costs. LED bulbs consume less power and last longer than traditional bulbs. This makes them an eco-friendly choice for your home. So, feel free to keep your lights shining bright throughout the year.
How to Replace a Burnt-Out Bulb?
Replacing a burnt-out bulb is straightforward. First, ensure the lights are unplugged to avoid any electrical hazards. Locate the faulty bulb in the string. Gently remove it by twisting or pulling, depending on the design. Insert a new bulb of the same type and wattage. Make sure it's securely in place. Plug the lights back in and check if the new bulb works. Regularly inspecting your lights helps maintain their brightness and efficiency. Keeping a few spare bulbs on hand ensures you're always ready for quick replacements.
You've now got the know-how to install permanent outside Christmas lights with ease. By following the steps outlined, you can transform your home into a festive wonderland without the yearly hassle. These lights not only save you time but also help conserve energy, leading to lower bills. Enjoy the long-lasting glow and safety they offer, making your home look amazing every holiday season. So, go ahead and bask in the joy of a beautifully lit home, knowing you've made a smart and sustainable choice.


