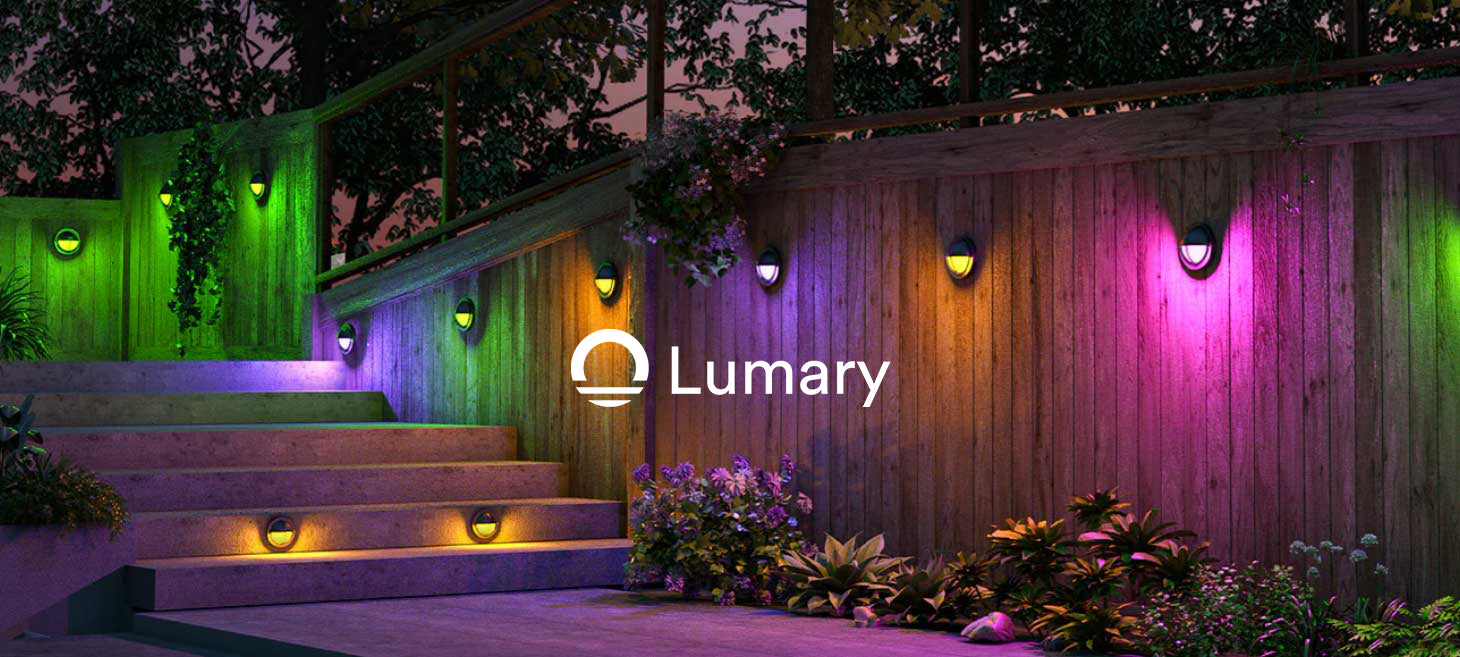
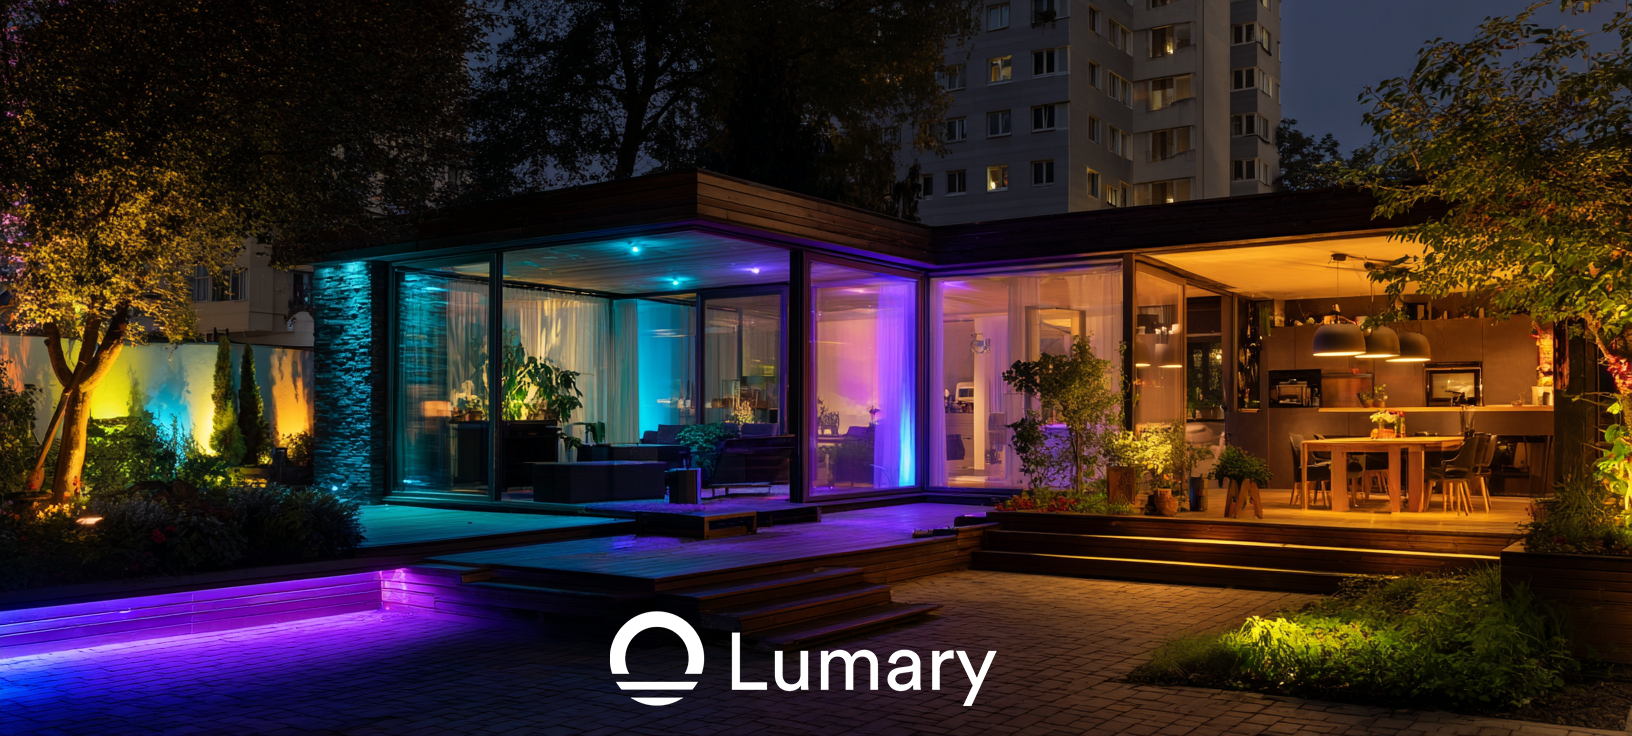
Imagine transforming your outdoor space with permanent outdoor LED lighting. These lights offer energy efficiency and long-lasting brightness. You can enjoy beautiful illumination without constant replacements. The Lumary RGBAI Permanent Outdoor Lights Pro provides a perfect solution. These lights deliver stunning effects and withstand harsh weather. Year-round lighting solutions enhance safety and ambiance for every occasion. Permanent outdoor LED lighting creates a welcoming environment for family gatherings or festive celebrations. Explore how these lights can elevate your outdoor experience.
Planning and Measuring the Layout

Assessing the Area
Identifying key lighting zones
Start by walking around your outdoor space. Look for areas that need lighting. Focus on pathways, entrances, and gathering spots. Think about where you spend time outside. Highlight these zones for lighting.
Measuring distances for accurate placement
Grab a tape measure. Check the distance between each zone. Write down the measurements. Accurate placement ensures even lighting. Keep these numbers handy for later.
Designing the Lighting Layout
Sketching a layout plan
Take a piece of paper. Draw a rough sketch of your outdoor area. Mark the key zones you identified. Use the measurements to place lights accurately. This plan helps visualize the final look.
Considering aesthetic and functional aspects
Think about how the lights will look. Consider the style of your home. Choose colors and brightness that match your vibe. Functionality matters too. Ensure the lights serve a purpose, like safety or ambiance. Balancing these aspects creates a perfect setup.
Setting Up the Power Supply and Controller
Choosing the Right Power Source
Evaluating power requirements
First, figure out how much power those lights need. Check the wattage on the light packaging or manual. Add up the total wattage for all the lights you plan to install. This number helps you find the right power source. You want enough power to keep everything shining bright.
Selecting a suitable power supply
Now, it's time to pick a power supply. Look for one that matches the total wattage of your lights. Make sure it can handle outdoor conditions. A weatherproof power supply works best. Choose one with a little extra capacity. That way, you have room for more lights later if you want.
Installing the Controller
Positioning the controller for optimal performance
The controller is like the brain of your lighting system. Find a spot close to the power source. Keep it away from water and direct sunlight. Mount it at eye level for easy access. A sheltered location helps it last longer. Make sure the controller can communicate with all the lights.
Connecting the controller to the power source
Time to connect the controller to the power source. Follow the instructions in the manual. Use the right cables and connectors. Double-check all connections for safety. Secure everything tightly to prevent loose wires. Once connected, test the setup to make sure it works.
Installation Process

Mounting the Lights
Selecting appropriate mounting hardware
Choose the right hardware for your lights. Look at the surfaces where you’ll mount the lights. Use screws or adhesive that fits those surfaces. Check the weight the hardware can hold. Make sure everything is sturdy and secure.
Securing lights to surfaces
Attach the lights firmly to each surface. Align the lights according to your plan. Use a drill if needed for screws. Press down if using adhesive tape. Ensure each light stays in place, even in windy conditions.
Splicing and Connecting the Lights
Understanding wiring configurations
Get familiar with the wiring setup. Read the instructions that come with the lights. Identify which wires connect together. Match colors or labels for easy connections. Keep the wiring neat and organized.
Ensuring secure and weatherproof connections
Make sure every connection is tight. Use waterproof connectors to protect from rain. Wrap exposed areas with electrical tape. Test each connection for stability. Confirm everything works before moving on.
Testing the Lights
Initial Power-Up
Checking for proper illumination
Time to power up those lights. Flip the switch and watch them light up. Check each light for brightness. Make sure every bulb shines evenly. Look for any dim or flickering lights. A quick inspection helps spot issues early.
Adjusting settings for desired effects
Now, play around with the settings. Use the controller or app to change colors. Try different brightness levels. Experiment with patterns and effects. Find the perfect look for your space. Adjust until everything feels just right.
Troubleshooting Common Issues
Addressing connectivity problems
Sometimes, lights don't connect as expected. Check the connections first. Make sure all wires are secure. Look at the controller settings. Ensure the app or remote links properly. Reset the system if needed. A little patience goes a long way.
Resolving power supply issues
Power issues can cause headaches. Verify the power source first. Check the outlet and power supply. Ensure everything plugs in correctly. Look for tripped breakers or blown fuses. Replace faulty components if necessary. Keep the lights shining bright with a stable power supply.
Long-Term Benefits and Maintenance
Enhancing Home Value
Increasing curb appeal
Permanent outdoor LED lighting boosts your home's curb appeal. Bright lights highlight architectural features. Neighbors and visitors notice the enhanced beauty. A well-lit home stands out in the neighborhood. The attractive appearance adds value to your property.
Improving security and safety
Outdoor LED lights improve security around your home. Bright illumination deters potential intruders. Well-lit pathways prevent accidents at night. Family and guests feel safer with visible surroundings. Security and safety contribute to peace of mind.
Maintenance Tips
Regular cleaning and inspection
Keep your lights in top shape with regular cleaning. Dust and debris can dim the brightness. Use a soft cloth to wipe the surfaces. Inspect the lights for any damage. Regular checks ensure everything works smoothly.
Replacing components as needed
Sometimes, parts need replacing to maintain performance. Check for burnt-out bulbs or damaged wires. Replace faulty components promptly. Use compatible parts for the best results. Keeping your lights updated ensures long-lasting use.
Installing colorful permanent outdoor LED lighting transforms your space into a year-round haven. You now know how to plan, measure, and install these lights. The benefits are endless. Enhanced curb appeal, improved safety, and energy efficiency make these lights a smart choice. Consider the Lumary RGBAI Permanent Outdoor Lights Pro for an exceptional lighting experience. These lights offer durability and stunning effects. Your outdoor area deserves the best. Why wait? Illuminate your home with style and functionality today.


