


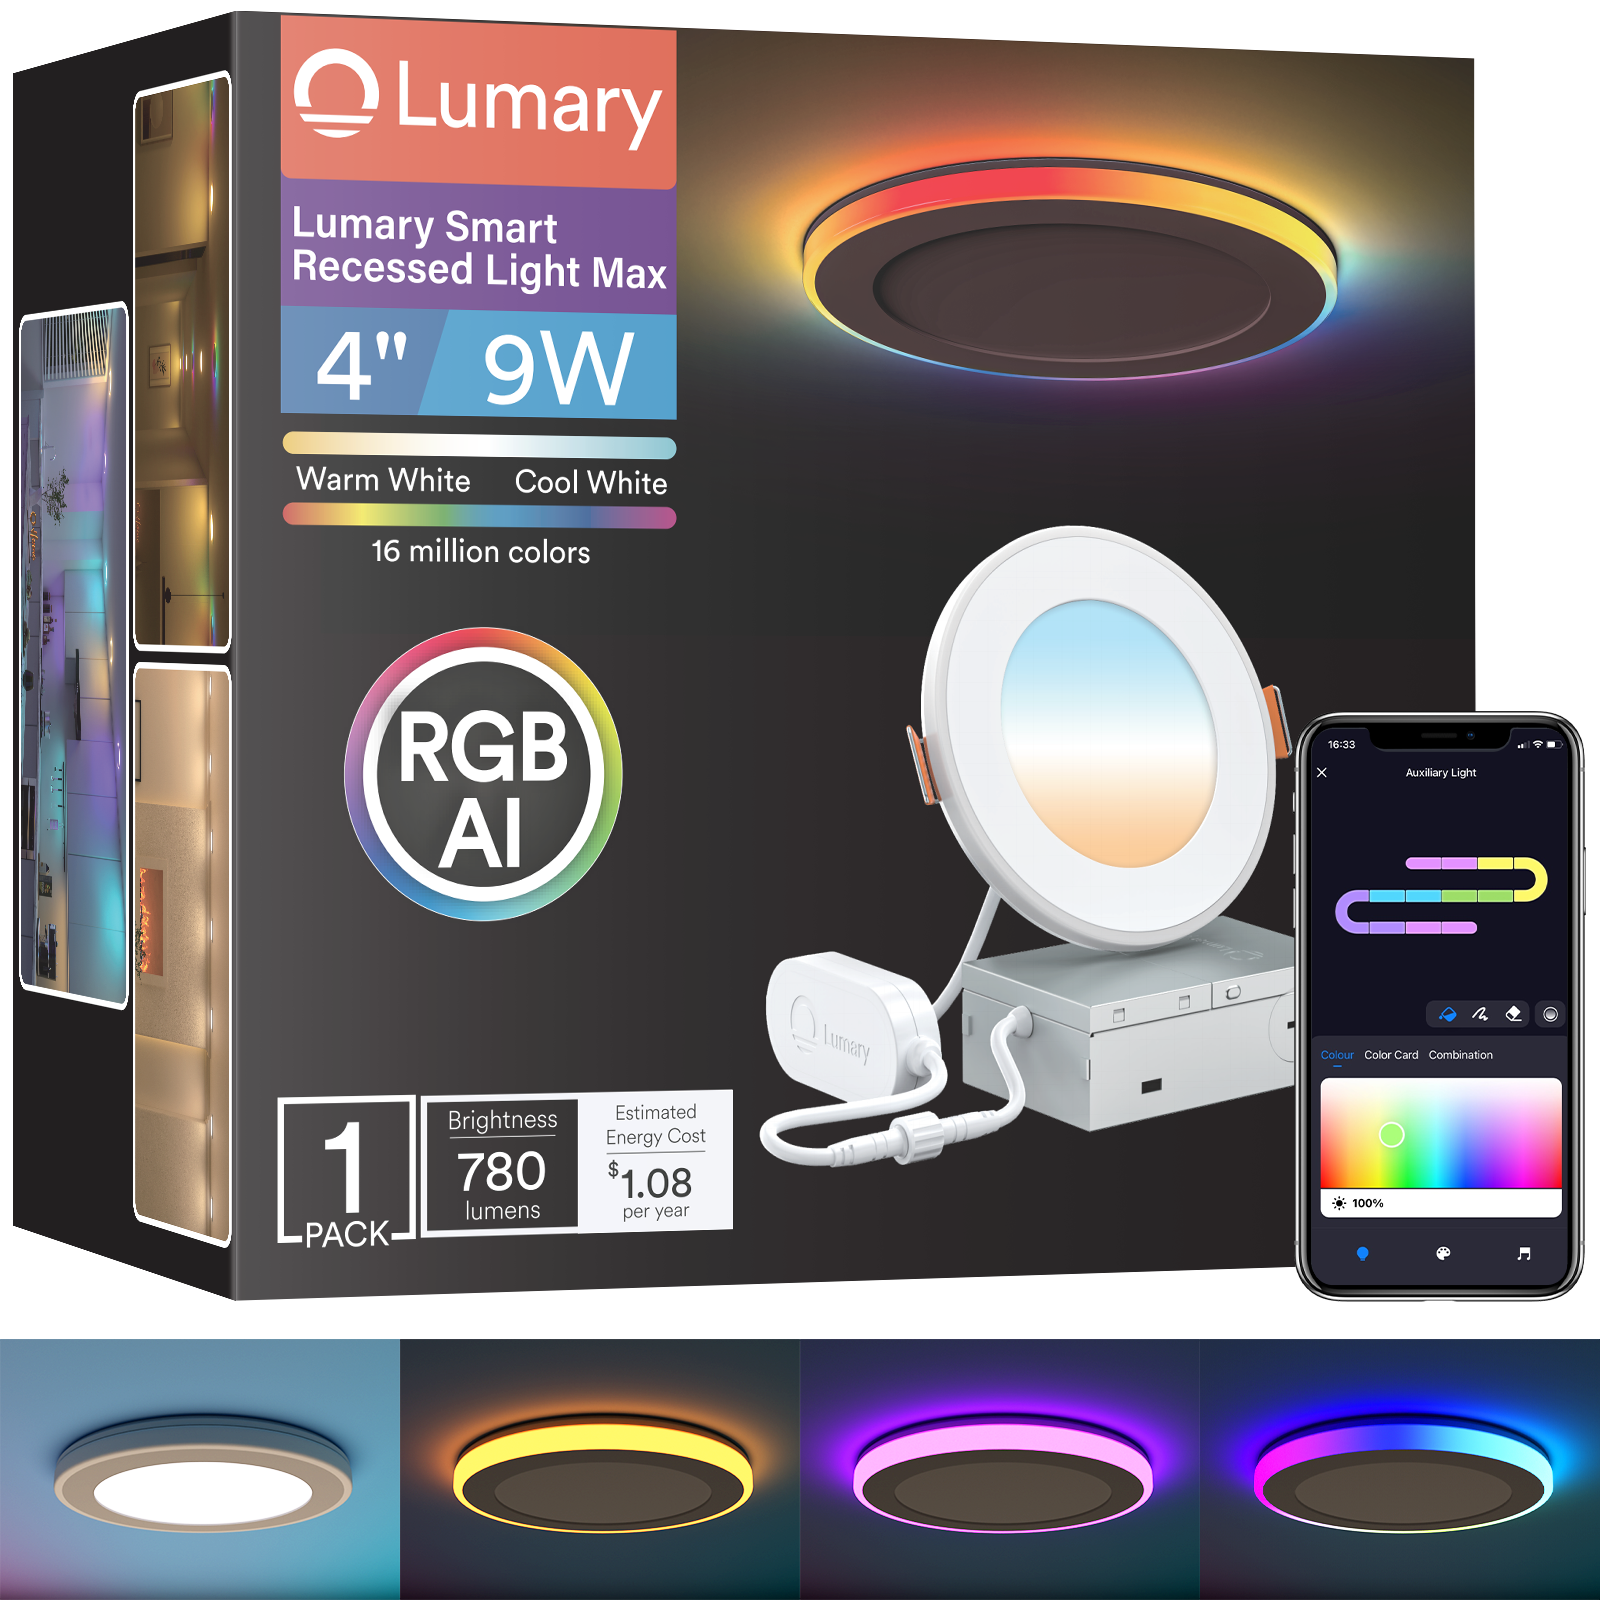
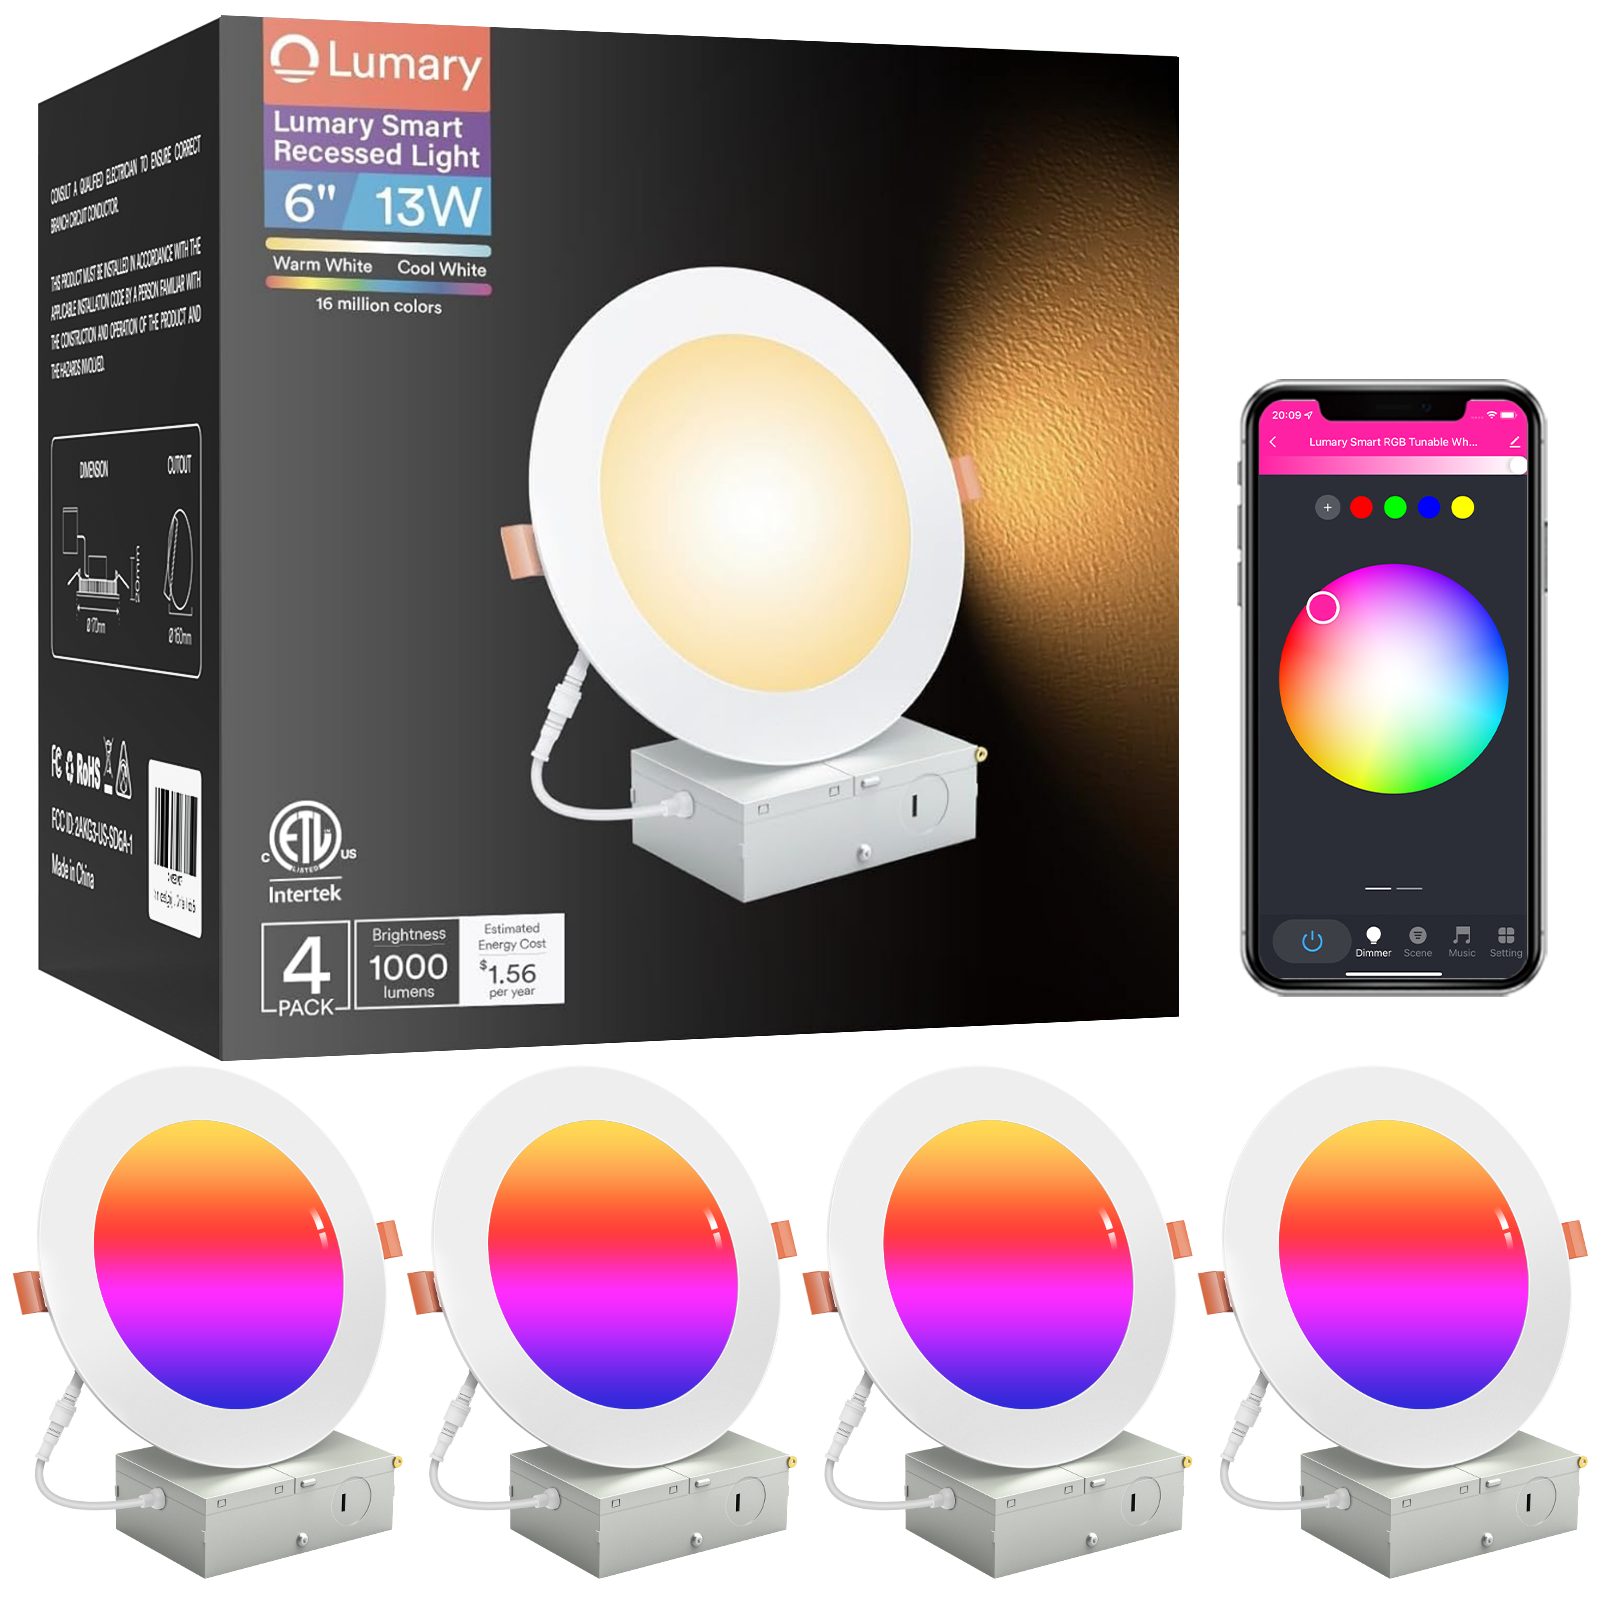
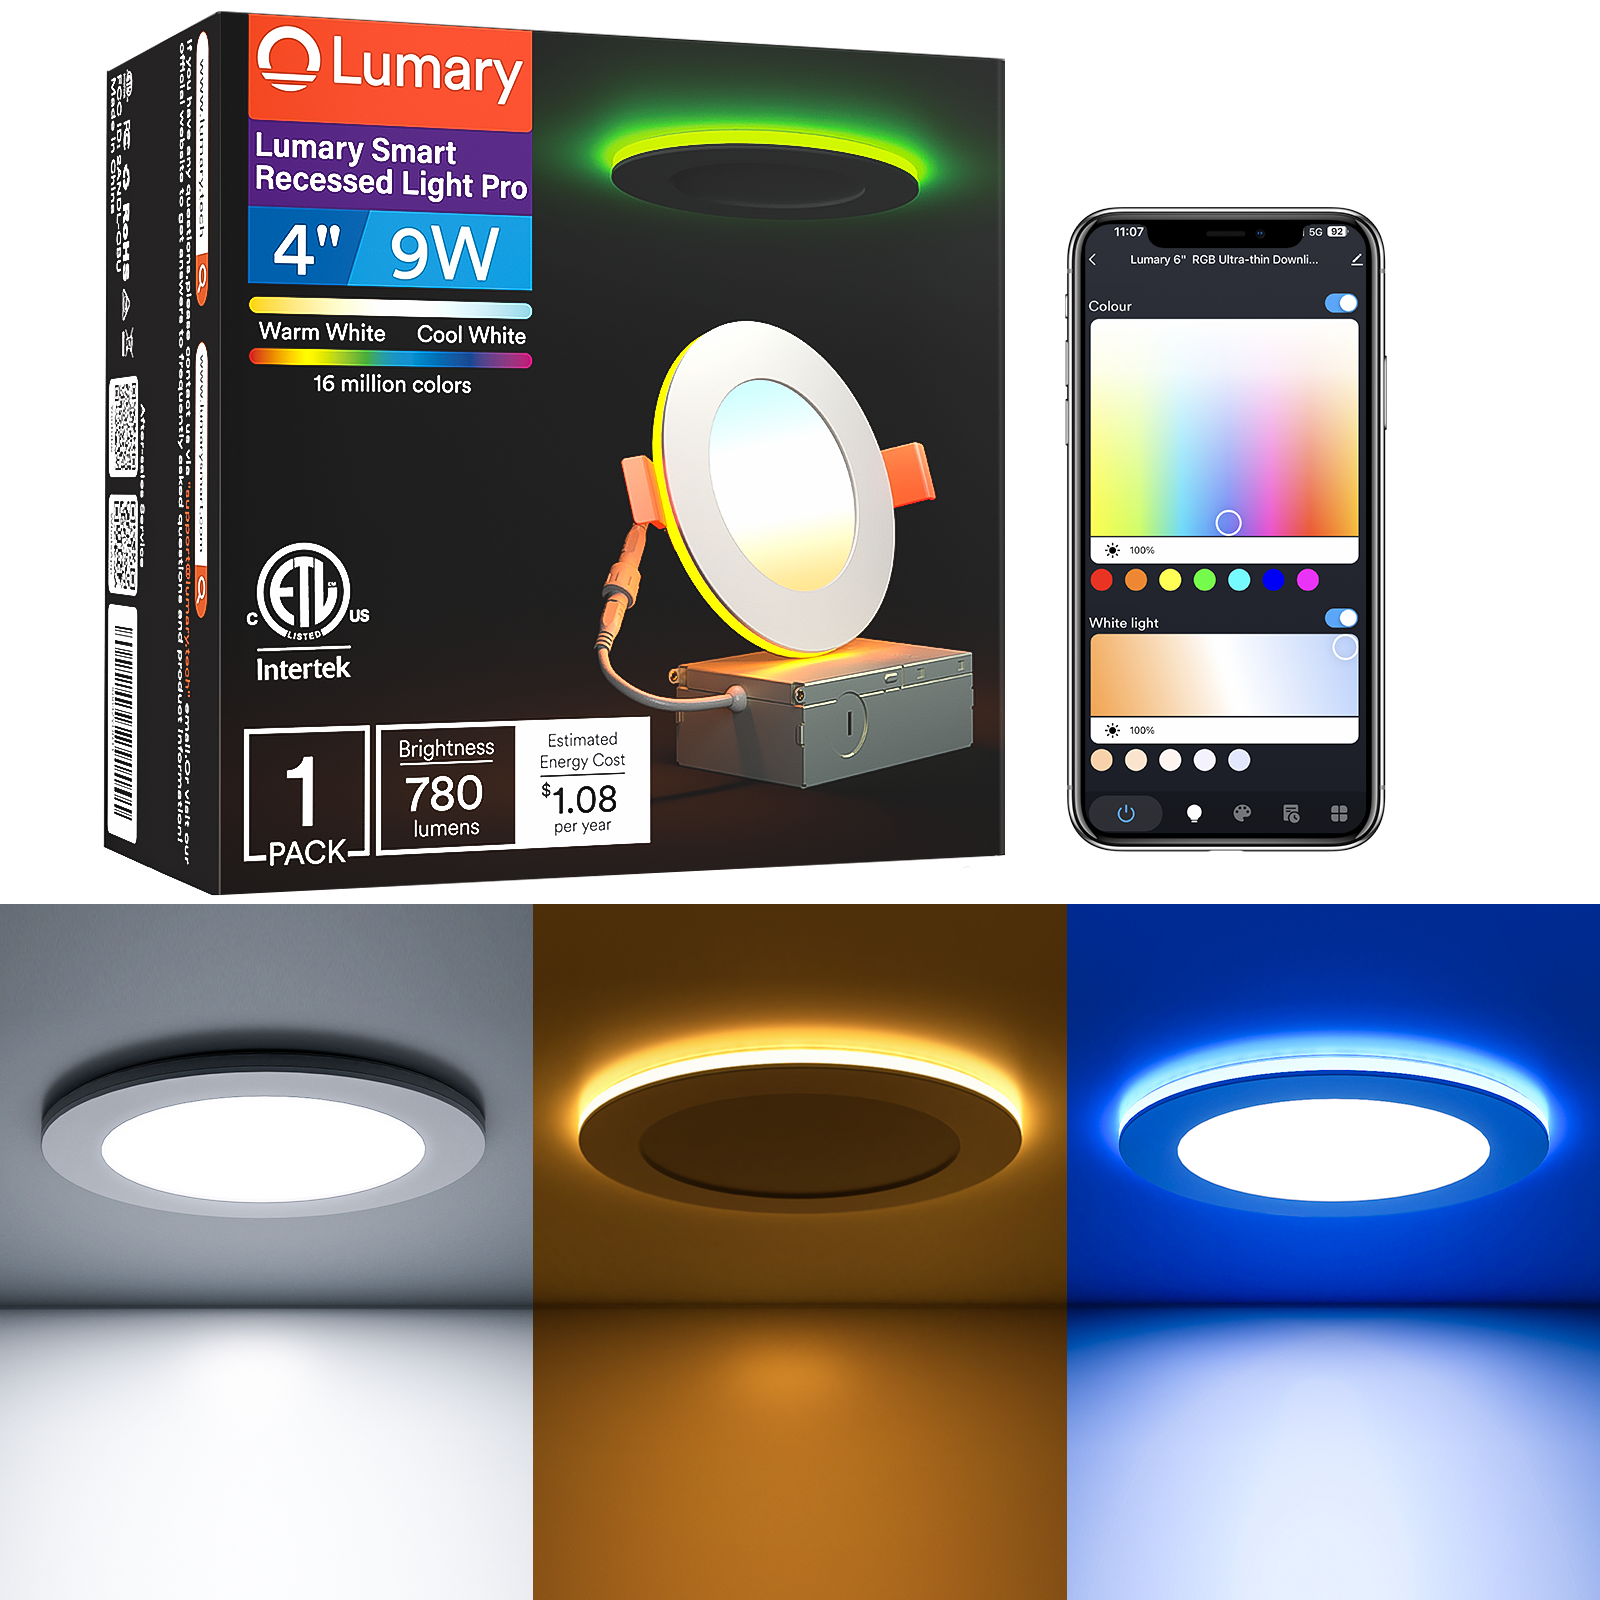
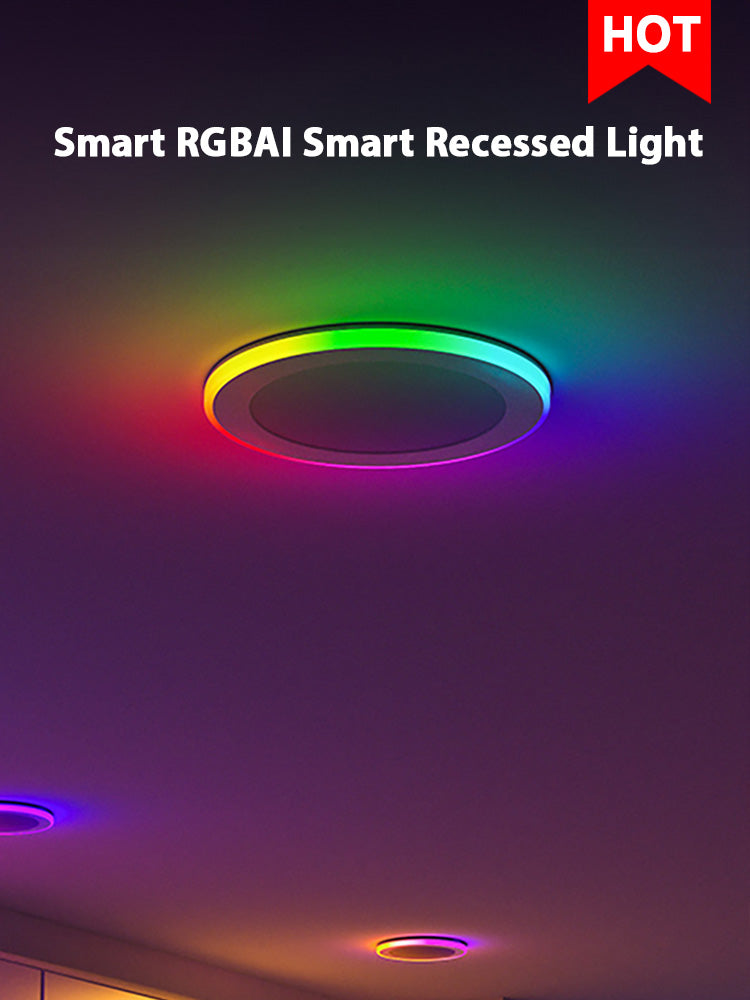


You want to put in a retaining wall light the safe way. You also want to do it fast and easy. Pick a smart, low-voltage light like the Lumary Smart Retaining Wall Light. Make a plan for where your lights will go. Always wear safety gear when you work. These LED lights have many good points:
-
They help the earth by lowering your carbon footprint.
-
You can recycle them completely.
This guide will show you how to make your outdoor space look great with lights.
Key Takeaways
-
Pick low-voltage lights such as the Lumary Smart Retaining Wall Light. These lights are safe and use less energy. Plan where you want to put your lights. Space them 6 to 8 feet apart. This helps the light cover the area evenly. Safety is very important. Turn off the power before you start. Wear protective gear like gloves and goggles. Make sure all connections are waterproof.

Retaining Wall Light Installation Prep
Tools and Materials Checklist
You want your installation to go smoothly. Start with the right tools and materials. Here’s what you need:
-
Drill and drill bits for making holes in your wall.
-
Screwdriver set to secure your lights.
-
Wire cutters and strippers for prepping wires.
-
LED fixtures like the Lumary Smart Retaining Wall Light. This light is sturdy, safe, and flexible. It uses low-voltage power and has an IP65 waterproof rating.
-
Power supply and connectors to link your lights.
-
Weatherproofing materials to protect your setup.
Planning Layout and Power Source
Think about where you want to install your lights. Good planning helps you avoid mistakes and keeps your project safe. Space your wall lights 6 to 8 feet apart for even coverage. If your wall is short, try 3 to 4 feet between lights. For taller walls, use 2 to 3 feet. Check the table below for spacing tips:
|
Fixture Type |
Recommended Spacing |
|---|---|
|
6-8 feet apart |
|
|
Puck Lights |
2-3 feet apart |
|
Cap Lights |
4-6 feet apart |
|
Surface-Mount Lights |
4-6 feet apart |
Pick a low-voltage power source (12V-24V). This lowers the risk of electric shock and boosts safety. Low-voltage systems use less energy and make your installation more efficient. If you want to use solar-powered lights, remember they may not work well in shady spots.
Safety Tips for Installation
Safety comes first. Always turn off the power before you install anything. Wear gloves and eye protection. Make sure your lights have a waterproof rating like IP65. This keeps them safe from dust and water jets. Check local codes before you start your installation. If you’re not sure about wiring, ask a pro for help. You want your lighting to last and stay safe.
Tip: The Lumary Smart Retaining Wall Light offers multiple control methods and waterproof protection, making it a smart choice for your outdoor project.

How to Install Hardscape Lighting Step-by-Step
You want your outdoor area to look bright and nice. Here are the steps to put in hardscape lighting. You can do this with a new wall or an old one. Follow these steps to install your retaining wall light safely and quickly.
Preparing the Retaining Wall
A strong base is important for your lights. If you are building a new wall, dig a trench 4 to 16 inches deep. Make the trench twice as wide as your blocks. Take out all the topsoil and plants. Use a hand tamper to press down the bottom of the trench. Put in 3 to 8 inches of crushed gravel, not pea gravel. Press the gravel down in layers. This makes the wall base strong.
Here’s a quick look at common materials:
|
Material |
Durability |
Cost |
Ease of Installation |
Aesthetic |
|---|---|---|---|---|
|
Concrete Blocks |
Excellent |
Moderate |
High |
Versatile |
|
Natural Stone |
Excellent |
High |
Low to Moderate |
Timeless |
|
Timber |
Moderate |
Low |
High |
Natural |
|
Brick |
Excellent |
Moderate |
Moderate |
Classic |
For old walls, measure and mark where each light will go. Put the lights every 6 to 7 feet for even light. Use a chisel to take off the capstone carefully. Mark where the wires will go. Use an angle grinder to cut a groove for the wires. The groove should be deep enough for the wires to fit flat. Put the fixture in place. Use masonry anchors and screws to hold it, or use block adhesive if you want less drilling.
Tip: The Lumary Smart Retaining Wall Light works well for new and old walls. Its strong aluminum body and IP65 waterproof rating make it great for outside.
Installing the Transformer and Wiring
You need a transformer that matches the total wattage of your lights. Add up the watts for each retaining wall light. Add 20% more for safety. For example, if you have 20 lights at 5 watts each, use a 120-watt transformer.
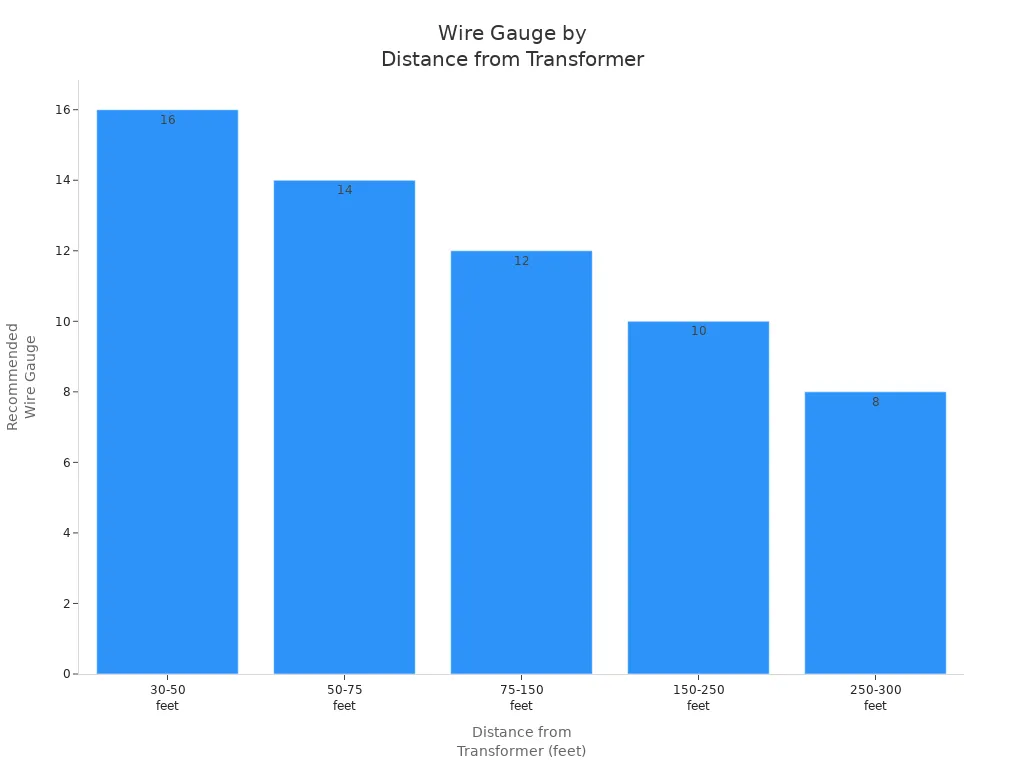
When you put in the wires, bury them at least 6 inches deep. This keeps them safe from people and pets. Pick the right wire gauge for the distance from the transformer:
|
Distance from Transformer |
Recommended Wire Gauge |
|---|---|
|
30-50 feet |
16 gauge |
|
50-75 feet |
14 gauge |
|
75-150 feet |
12 gauge |
|
150-250 feet |
10 gauge |
|
250-300 feet |
8 gauge |
Run the main wire sideways across slopes. This stops water from running down the wire trench. Make a drip loop at each connection. This helps water drip off instead of going into the wires.
Mounting the Retaining Wall Light
Now you can put up the fixtures. The Lumary Smart Retaining Wall Light gives you many ways to install. Use screws and anchors for brick walls with masonry drill bits. For concrete walls, use concrete screws and make pilot holes. You can turn the fixture up to 270° to get the best angle. If you do not want the baffle, you can leave it off.
Attach the lights tightly. Follow the instructions from the maker for wiring and mounting. If you want to use the Lumary app, Alexa, or Google Assistant, make sure your connections are good and your hub is ready.
Common question: Can I control Lumary Smart Retaining Wall Light with my phone?
Yes, you can use the Lumary app to control the lights, group them, sync with music, and use preset scenes.
Waterproofing and Concealing Wires
Waterproof connections are very important for outdoor lights. Use heat-shrink tubing or gel-filled connectors to keep water out. Use direct burial connectors for wires underground. Do not use only electrical tape. Always make sure you can reach the connections for repairs.
Hold the fixtures and wires in place with stakes and landscape staples. Hide the wires in the groove you made before. Put the capstone back on with block adhesive. Make sure it is flat and steady.
Note: Lumary Smart Retaining Wall Light is IP65 rated, so it can handle rain and dust. Still, waterproof connections help your lights last longer.
Testing and Adjustments
Test the system before you finish. Turn on the power and check each retaining wall light. If you use smart controls, open the Lumary app and test the lights. Change the brightness, color temperature, and RGB colors to fit your style. Try the group function to control many lights at once.
If you see flickering or dim lights, check your connections. Make sure the transformer is not too full. Test again after fixing any problems.
Tip: Testing helps you find problems early. Change the angle or brightness for the best look.
Troubleshooting and Common Mistakes
You might have some problems while installing. Here are some common mistakes and how to fix them:
-
Always turn off the power before you work with wires.
-
Use tools with insulation for safety.
-
Do not put too many lights on one circuit. Add up the watts and use the right transformer.
-
Make sure all connections are tight to stop flickering or danger.
-
Use screws and anchors to keep lights from moving.
-
Follow the maker’s instructions for wiring and mounting.
If your smart retaining wall light will not connect, check the distance from your router to the lights. Move the router closer or use a Wi-Fi extender. Make sure the Lumary app is updated. Restart your phone and the lights, then try again. If it still does not work, reset the lights using the manual.
Common question: What should I do if my Lumary Smart Retaining Wall Light won’t connect to the app?
Try moving your router closer, updating the app, and restarting your devices. If that does not work, reset the lights as the manual says.
Now you know how to install hardscape lighting step-by-step. These steps work for new or old retaining walls. They help you make your outdoor space safe and beautiful. Remember to make waterproof connections, secure the fixture, and test the system for the best results.

You got your wall to look bright by planning first. You used strong materials and followed safety steps. Always read the instructions from the maker for good results. Smart features let you change colors and set timers. This makes your outdoor space easy and fun to use. Are Lumary lights long-lasting? LEDs can shine for many years with little care.
FAQ
How do you change the color of the Lumary Smart Retaining Wall Light?
You can use the Lumary app on your phone. Pick any color or scene. You can also use voice control with Alexa or Google Assistant.
Can you use the Lumary Smart Retaining Wall Light in the rain?
Yes, you can. The light has an IP65 waterproof rating. It works well outdoors, even during heavy rain or dust storms.
What should you do if your Lumary light does not turn on?
First, check the power supply and all wire connections. Make sure the transformer works. If the problem continues, try resetting the light using the app.

