Lighting plays a crucial role in setting the perfect ambiance. Imagine walking into a room with dim ambient light. You feel relaxed and want to stay longer. Bright lighting, on the other hand, energizes and stimulates. LED lightstrips offer a versatile solution for creating these moods. You can easily adjust them to fit any setting. Installing a lightstrip might seem daunting, but it’s straightforward with the right guidance.
Preparing for Installation

Getting ready to install your lightstrip involves a few essential steps. This preparation ensures a smooth installation process and optimal results.
Selecting the Right Materials
Choosing the right materials is crucial for a successful lightstrip installation.
Types of LED Lightstrips
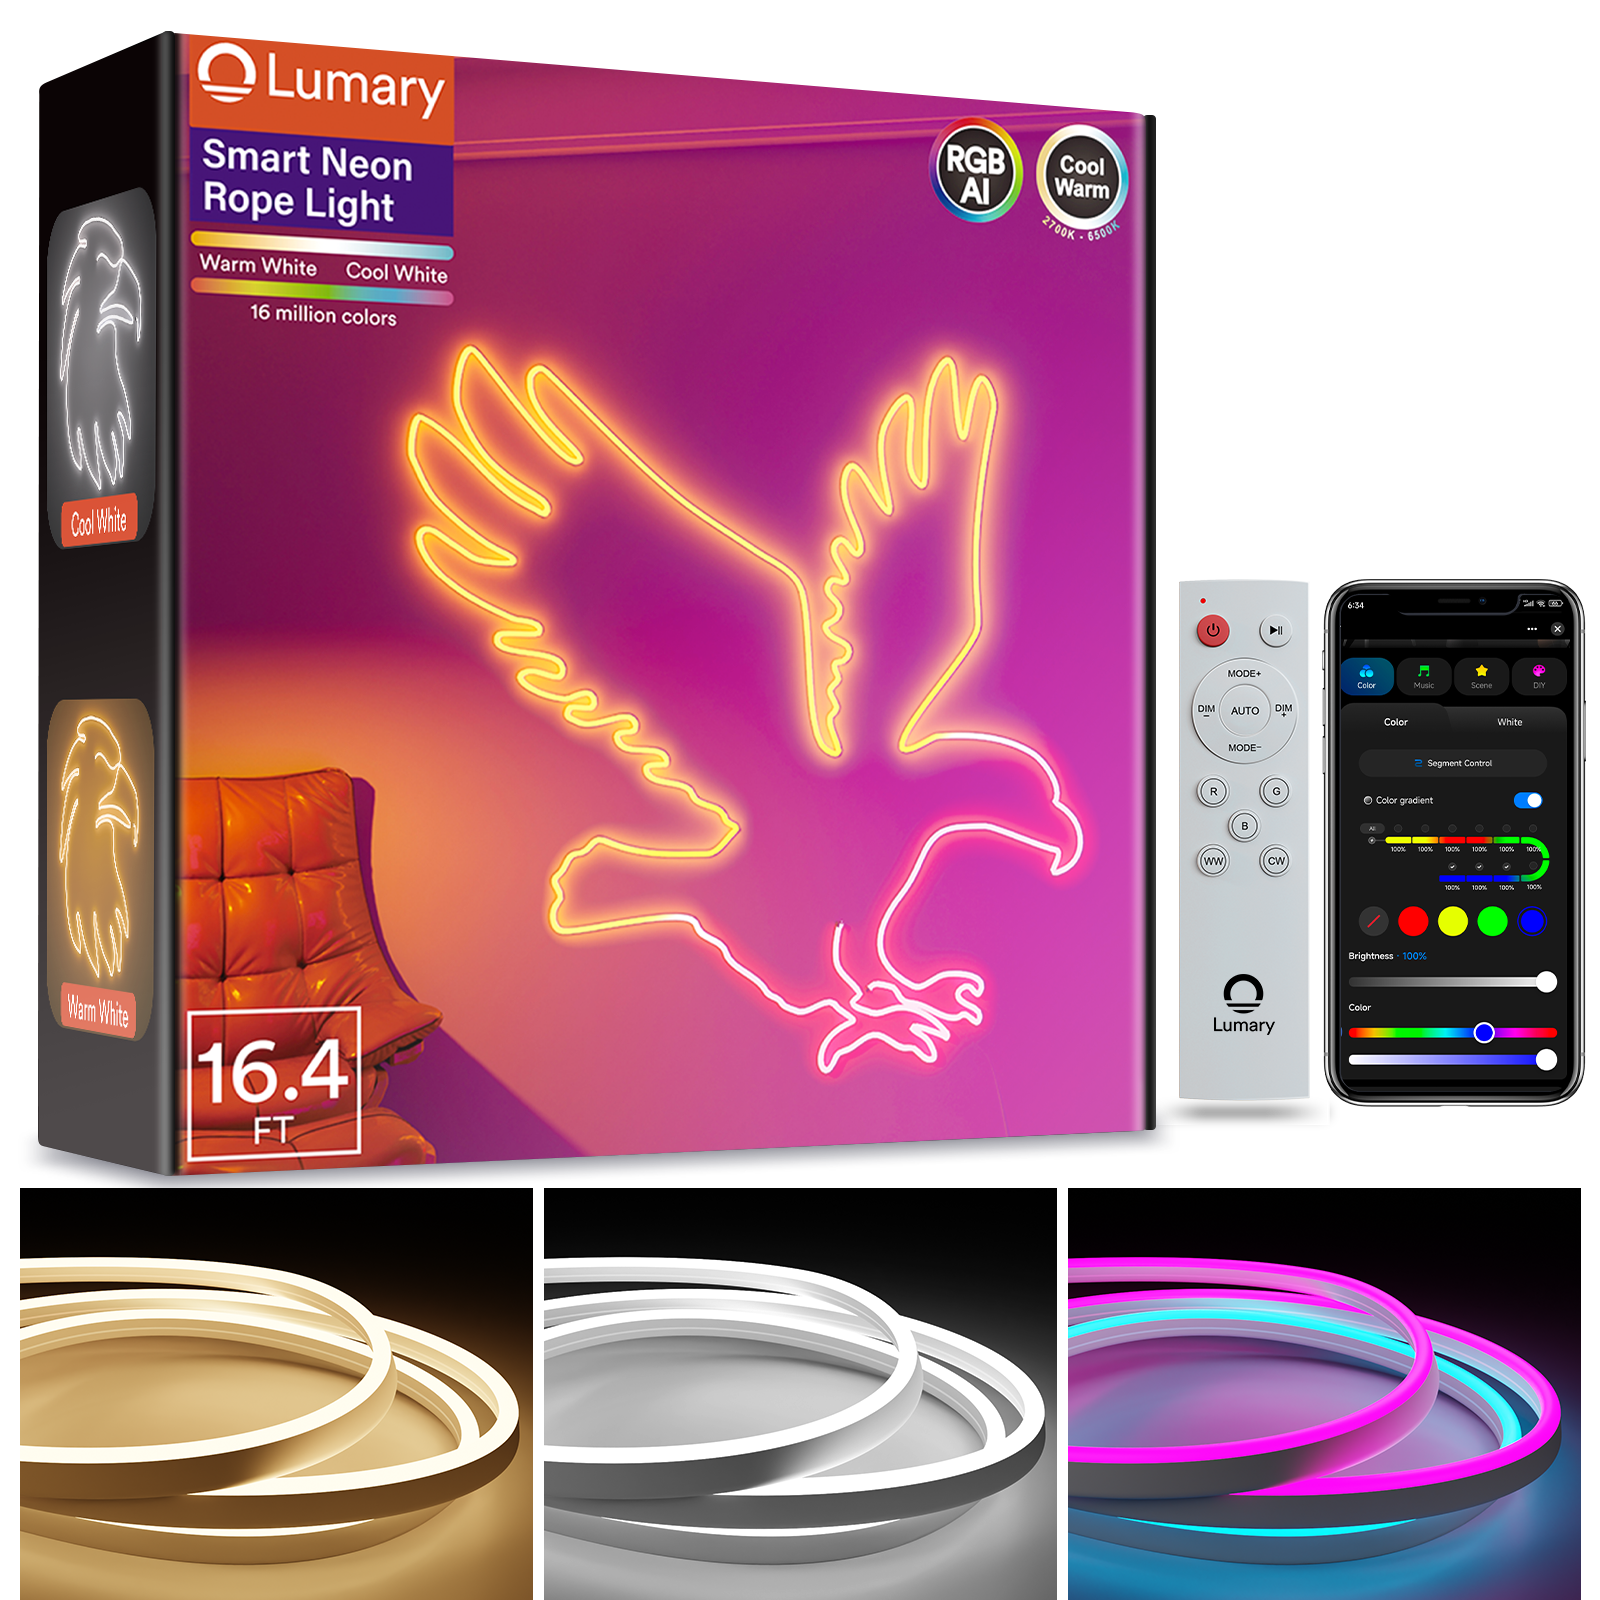
LED lightstrips come in various types. Some offer dynamic tunable white options, allowing you to adjust the color temperature. Others provide vibrant colors with addressable LEDs. The Philips Hue Lightstrips are a popular choice for their versatility and brightness. Consider your needs and preferences when selecting a lightstrip.
Necessary Tools and Supplies
Gathering the necessary tools and supplies is the next step. You will need a measuring tape, scissors, and a cleaning cloth. Adhesive or mounting clips are essential for securing the lightstrip. A power source and connectors may also be required. Ensure all tools are readily available before starting the installation.
Planning the Layout
Planning the layout helps achieve the desired ambiance with your lightstrip.
Measuring the Space
Accurate measurements prevent errors during installation. Use a measuring tape to determine the length of the area where the lightstrip will be placed. Mark the start and end points clearly. This step ensures the lightstrip fits perfectly in the designated space.
Deciding on Placement
Decide on the placement of the lightstrip based on the room's design. Under cabinets, along ceilings, or outlining furniture are popular choices. Consider areas that enhance the room's ambiance. Proper placement maximizes the lightstrip's effect and creates a stunning visual impact.
Testing the Lights
Testing the lights before installation avoids potential issues later.
Checking Functionality
Check the functionality of the lightstrip by connecting it to a power source. Ensure all LEDs light up correctly. Adjust settings to test different colors and brightness levels. This step confirms the lightstrip works as expected.
Identifying Any Defects
Inspect the lightstrip for any defects. Look for damaged sections or non-functioning LEDs. Address any issues before proceeding with the installation. Identifying defects early saves time and effort.
Step-by-Step Installation Process
Surface Preparation
Cleaning the Area
Start by cleaning the surface where you'll install the lightstrip. Use a damp cloth to remove dust and dirt. A clean surface ensures the adhesive sticks well. Let the area dry completely before moving on.
Ensuring a Smooth Surface
Check for any bumps or rough spots. A smooth surface helps the lightstrip adhere properly. Sand down any uneven areas if needed. A flat surface guarantees a neat installation.
Attaching the Lightstrips
Applying Adhesive
Peel off the backing from the lightstrip. Press the adhesive side onto the surface. Apply pressure for 10 to 15 seconds. This step secures the strip in place.
Securing the Strips
Use mounting clips for extra security. Place clips at regular intervals along the strip. Clips prevent the strip from sagging over time. Ensure each clip holds firmly.
Connecting to Power
Wiring the Strips
Connect the lightstrip to the power source. Follow the manufacturer's instructions for wiring. Proper connections ensure the lights work correctly. Double-check each connection for safety.
Testing the Connection
Turn on the power to test the lightstrip. Check that all sections light up. Adjust settings to see different colors and brightness levels. Confirm everything functions as expected.
Troubleshooting and Final Adjustments

Common Installation Issues
Troubleshooting Connectivity Problems
Connectivity problems can be frustrating. Check all connections first. Ensure every plug is secure. Inspect the power source for stability. Sometimes, a simple reset of the system helps. Use the Lumary App to diagnose issues. The app offers guidance for connectivity problems.
Addressing Uneven Lighting
Uneven lighting can ruin the ambiance. Examine the lightstrip for any twists or bends. Adjust the strip to lay flat. Check for any obstructions blocking the light. Consider using additional mounting clips for support. If the problem persists, inspect the LEDs for defects.
Final Testing
Ensuring All Lights Work
Final testing ensures everything functions properly. Turn on the lightstrip. Observe each section closely. Make sure every LED lights up. Test different colors and brightness levels. Confirm that the settings respond correctly.
Making Necessary Adjustments
Adjustments fine-tune the installation. Shift the lightstrip slightly if needed. Reposition any clips for better support. Use the Lumary App to customize settings. Experiment with different lighting modes. Create the perfect ambiance for your space.
You’ve mastered the installation process for lightstrips. A well-installed lightstrip transforms any space into a haven of ambiance. The right lighting enhances mood and decor. Experiment with different setups to find your perfect vibe. Try placing lightstrips under cabinets or along ceilings. Adjust colors and brightness to suit your mood. The Lumary Smart RGBAI Linear Light offers endless possibilities. Dive in and explore what works best for your home.


