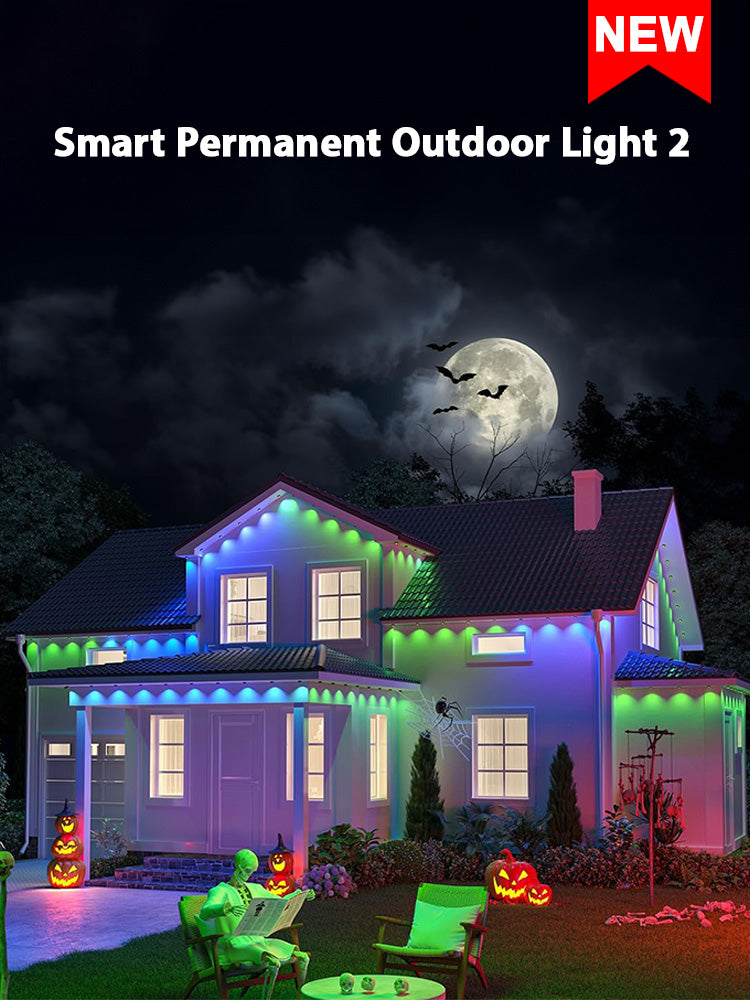
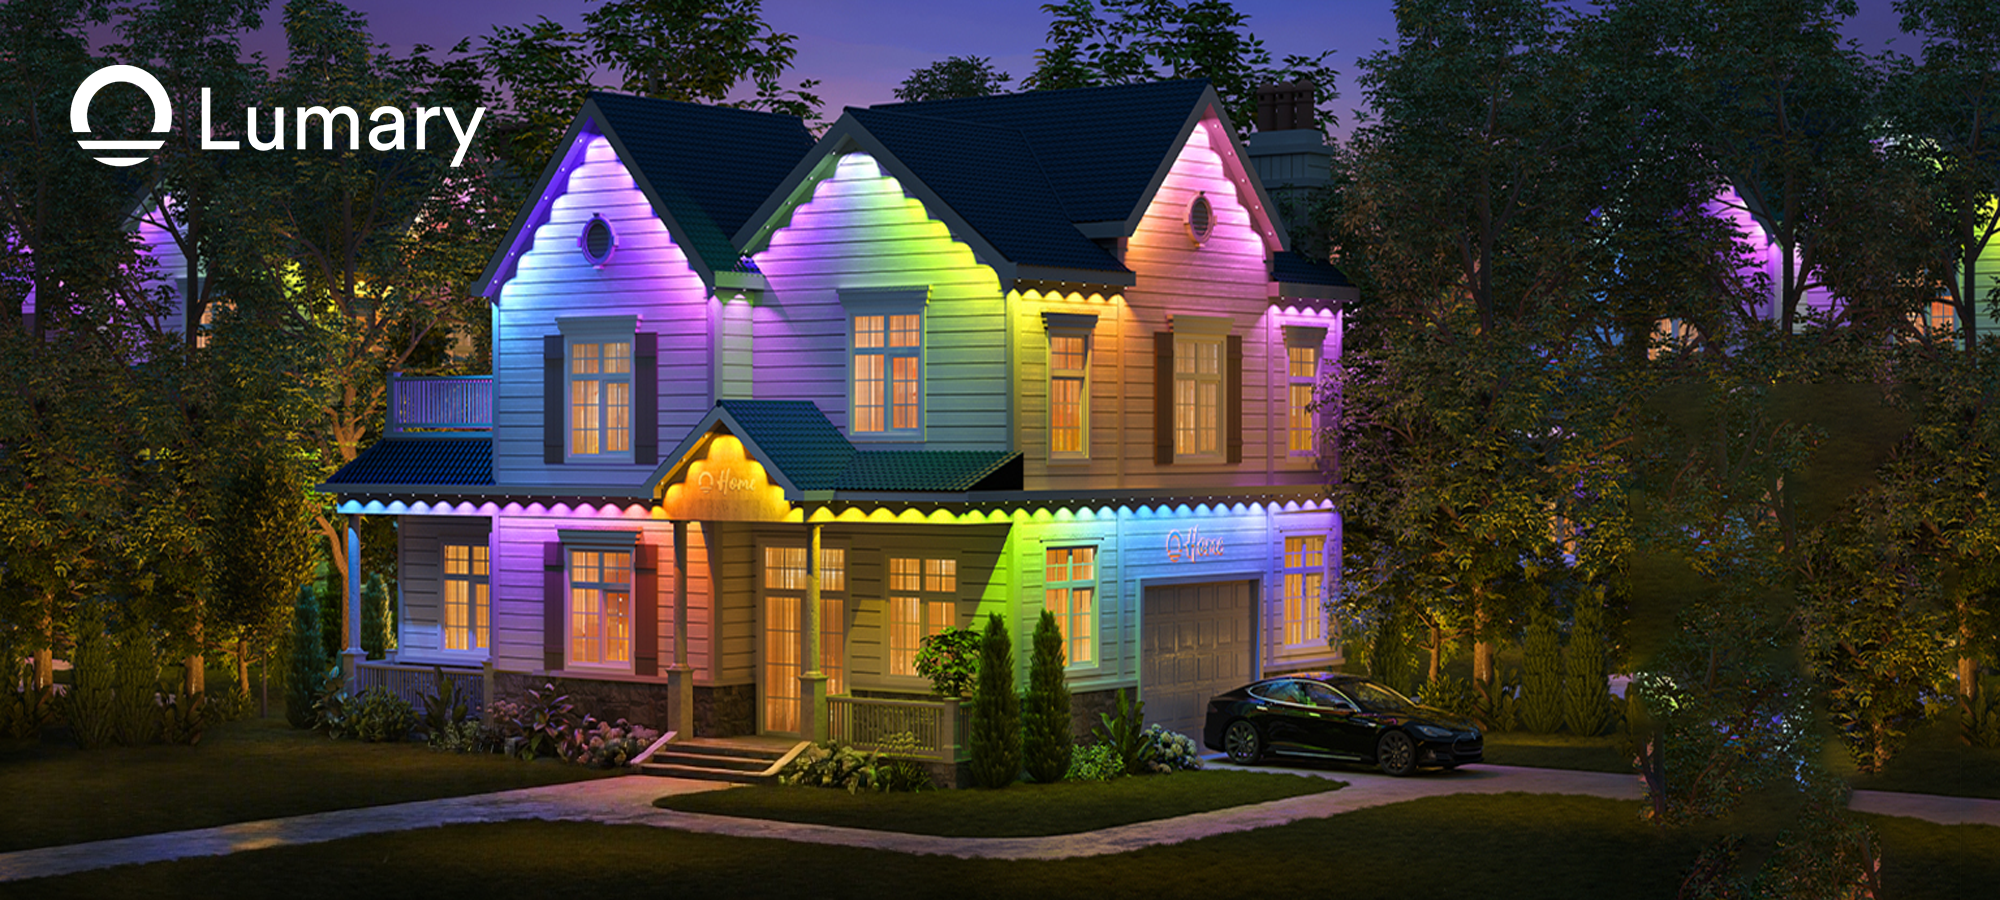
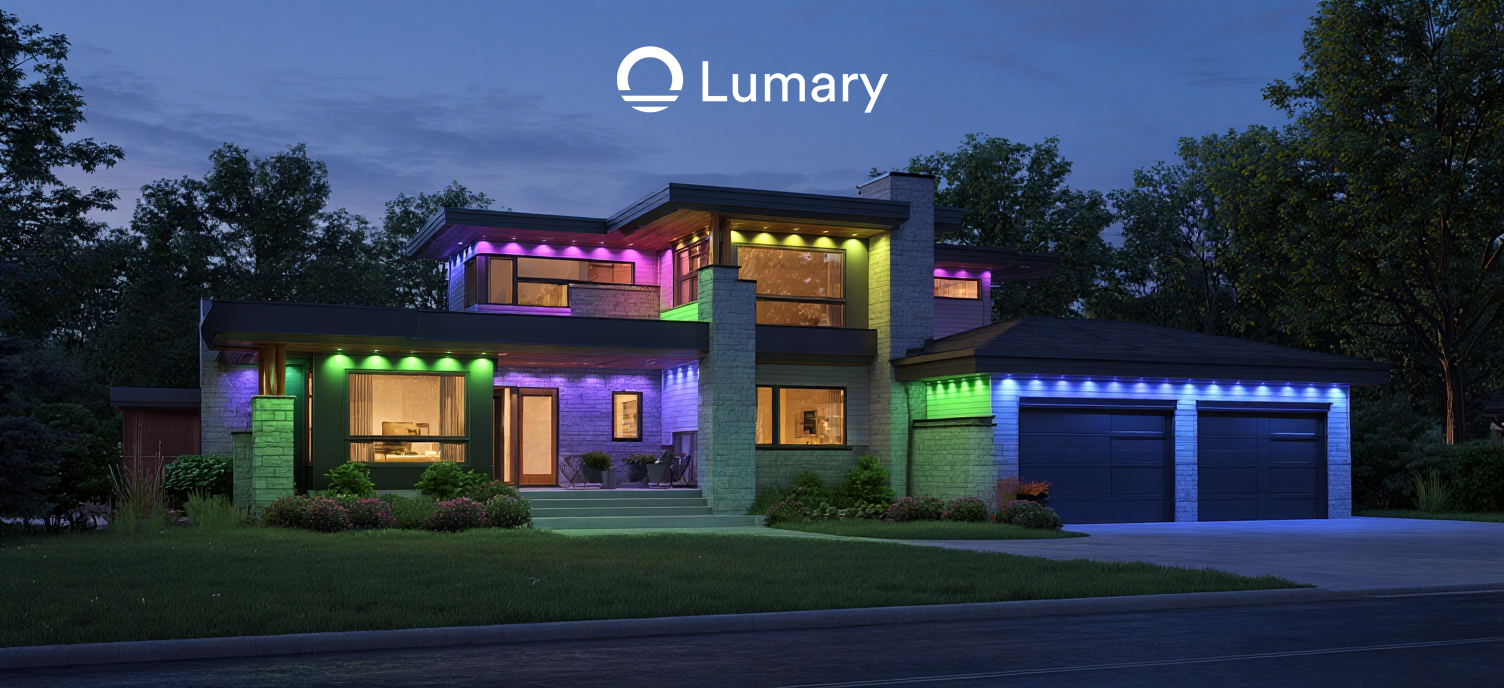
Illuminate your outdoor spaces with the Lumary RGBAI Permanent Outdoor Lights Pro. These lights offer impressive features like adjustable color temperatures and a 100° beam angle. You can create stunning effects with ease. Mastering installation techniques enhances your experience with these outdoor programmable LED lights. Proper installation ensures durability and optimal performance. You gain the ability to transform your environment into a vibrant and inviting space. By learning these techniques, you maximize the potential of your lighting setup, ensuring it meets your needs and preferences.
Preparation for Installation

Before you begin installing outdoor programmable LED lights, preparation is key. This ensures a smooth installation process and optimal performance of your lighting setup. Let's dive into the essential steps you need to take.
Measuring the Installation Area
Accurate measurements of your installation area are crucial. This helps you determine the exact length of lights required and ensures a seamless fit.
Tools Required for Measurement
To measure your installation area effectively, gather the following tools:
-
Measuring Tape: A flexible measuring tape allows you to measure curved or irregular surfaces accurately.
-
Laser Distance Measurer: For larger areas, a laser distance measurer provides precise measurements quickly.
-
Notepad and Pencil: Record your measurements to avoid any confusion later.
Calculating the Required Length of Lights
Once you have your measurements, calculate the total length of outdoor programmable LED lights needed. Consider the following:
-
Total Perimeter: Measure the entire perimeter where you plan to install the lights.
-
Spacing Between Lights: Decide on the spacing between each light for uniform distribution. This ensures a consistent look.
-
Extra Length: Add a little extra length to account for corners or unexpected obstacles.
Understanding Product Specifications
Understanding the specifications of your outdoor programmable LED lights is vital. This knowledge ensures compatibility and longevity.
IP Rating and Its Importance
The IP (Ingress Protection) rating indicates how well the lights withstand environmental factors like dust and water. For outdoor installations, choose lights with an IP rating of 65 or higher. This ensures they are weather-resistant and durable.
"All the LED lights are made of good materials for up to 100,000 hours and passed CE, ROHS, ENEC, CB, IP66, IK10, IEC62471, LM79, and TM-21 certificates or test reports."
This quote highlights the importance of selecting high-quality lights with appropriate certifications.
Voltage Requirements and Compatibility
Check the voltage requirements of your outdoor programmable LED lights. Ensure they are compatible with your power supply to avoid electrical issues. Most LED lights operate on low voltage, making them energy-efficient and safe for outdoor use.
By preparing thoroughly and understanding the specifications of your outdoor programmable LED lights, you set the stage for a successful installation. This preparation not only enhances the aesthetic appeal of your space but also ensures the longevity and performance of your lighting setup.
Step-by-Step Installation Guide

Gathering Necessary Tools
Before you start the installation, gather all the necessary tools. This ensures a smooth and efficient process.
Essential Tools for Installation
You need a few essential tools to install your outdoor LED lights effectively:
-
Screwdriver: Use it to secure brackets or clips.
-
Drill: Make holes for mounting brackets if needed.
-
Wire Strippers: Prepare wires for connection.
-
Voltage Tester: Ensure safety by checking electrical connections.
Optional Tools for Enhanced Efficiency
Consider these optional tools to enhance your installation efficiency:
-
Cable Ties: Organize and secure wires neatly.
-
Level: Ensure lights are installed evenly.
-
Extension Cord: Reach distant power sources easily.
Securing the Lights
Properly securing your lights is crucial for stability and longevity.
Using Adhesive for Stability
Adhesive provides a simple way to secure lights. Use high-strength 3M adhesive tape for a firm hold. Clean the surface before applying the tape to ensure maximum adhesion.
Installing Brackets for Support
For added support, install brackets. They provide extra stability, especially in windy conditions. Use a drill to attach brackets securely to the surface.
Ensuring Equal Spacing
Achieving equal spacing between lights enhances the overall appearance of your setup.
Techniques for Uniform Light Distribution
To ensure uniform light distribution, measure the distance between each light carefully. Use a measuring tape or laser distance measurer for accuracy. This technique creates a consistent and professional look.
Adjusting for Different Surface Types
Different surfaces require different approaches. On smooth surfaces, adhesive works well. For rough or uneven surfaces, brackets offer better support. Adjust your installation method based on the surface type for optimal results.
By following these steps, you can achieve a successful outdoor LED light installation. Many successful projects, like the San Jose Parkpak LED Case Study, demonstrate the importance of proper installation techniques. These projects highlight how effective installation can enhance both aesthetics and functionality.
Safety Tips During Installatio
Ensuring safety during the installation of outdoor LED lights is paramount. By following these guidelines, you can protect yourself and your property while achieving a successful setup.
Electrical Safety Precautions
Electrical safety is crucial when installing LED lights. It prevents injuries and protects your property.
Avoiding Cutting Wires While Powered
Always turn off the power before handling wires. This simple step prevents electric shock and potential accidents. Never cut wires while they are powered. Doing so can lead to dangerous situations. Ensure all connections are secure before restoring power.
Ensuring Proper Insulation
Proper insulation of wires is essential. It prevents electrical hazards and ensures the longevity of your installation. Use high-quality insulating materials to cover exposed wires. This practice protects against short circuits and other electrical issues.
"Understanding electrical safety during light fixture installation is crucial for any homeowner or DIY enthusiast. Electrical codes are written into law and relate to many aspects of building construction and maintenance."
This quote underscores the importance of adhering to electrical safety standards.
Placement Considerations
Thoughtful placement of your LED lights enhances safety and performance.
Keeping Lights Away from High-Traffic Areas
Install lights away from high-traffic areas. This reduces the risk of accidental damage. It also ensures the longevity of your lighting setup. Choose locations where the lights won't be easily disturbed.
Avoiding Overexposure to Elements
Protect your lights from harsh weather conditions. Although Lumary RGBAI Permanent Outdoor Lights Pro are weather-resistant, minimizing exposure to extreme elements prolongs their lifespan. Install them in sheltered areas when possible. This practice enhances durability and performance.
By following these safety tips, you ensure a secure and efficient installation process. Prioritizing safety not only protects you but also enhances the overall effectiveness of your outdoor lighting setup.
Optimizing Performance
Enhancing the performance of your outdoor LED lighting setup involves strategic planning and execution. By focusing on key aspects like positioning the wireless receiver and considering extensions, you can ensure your lighting system operates at its best.
Positioning the Wireless Receiver
The placement of your wireless receiver plays a crucial role in the functionality of your lighting system. Proper positioning ensures that your lights respond effectively to commands.
Ensuring Strong Signal Reception
To achieve strong signal reception, place the wireless receiver in an open area. Avoid obstructions like walls or large metal objects. These can weaken the signal. Position the receiver centrally if possible. This helps distribute the signal evenly across your lighting setup.
Minimizing Interference
Interference can disrupt the performance of your lighting system. Keep the receiver away from other electronic devices. Devices like routers or microwaves can cause interference. Ensure a clear path between the receiver and the lights. This minimizes disruptions and enhances performance.
Considering Extensions for Larger Setups
Expanding your lighting setup requires careful planning. Extensions allow you to cover larger areas without compromising performance.
Planning for Future Expansion
When planning for future expansion, consider the layout of your space. Identify areas where you might want to add more lights. Choose extension cords that match your current setup. This ensures compatibility and seamless integration.
Managing Power Supply for Extended Lengths
Managing power supply is vital for extended setups. Ensure your power source can handle the additional load. Use a power supply with adequate wattage. This prevents overloading and ensures consistent performance. Check the voltage requirements of your extensions. Compatibility with your existing setup is essential.
By optimizing these aspects, you enhance the efficiency and effectiveness of your outdoor LED lighting system. Proper positioning and planning ensure your lights perform reliably, providing you with a vibrant and inviting outdoor space.
Mastering proper installation techniques is crucial for achieving optimal lighting performance. By applying the tips shared in this guide, you can ensure your outdoor LED lights function efficiently and last longer. The Lumary RGBAI Permanent Outdoor Lights Pro offers versatility and numerous benefits, making it an excellent choice for any outdoor space. These lights not only enhance the aesthetic appeal of your environment but also provide reliable performance throughout the year. Embrace these techniques to transform your outdoor areas into vibrant, inviting spaces that reflect your style and needs.


