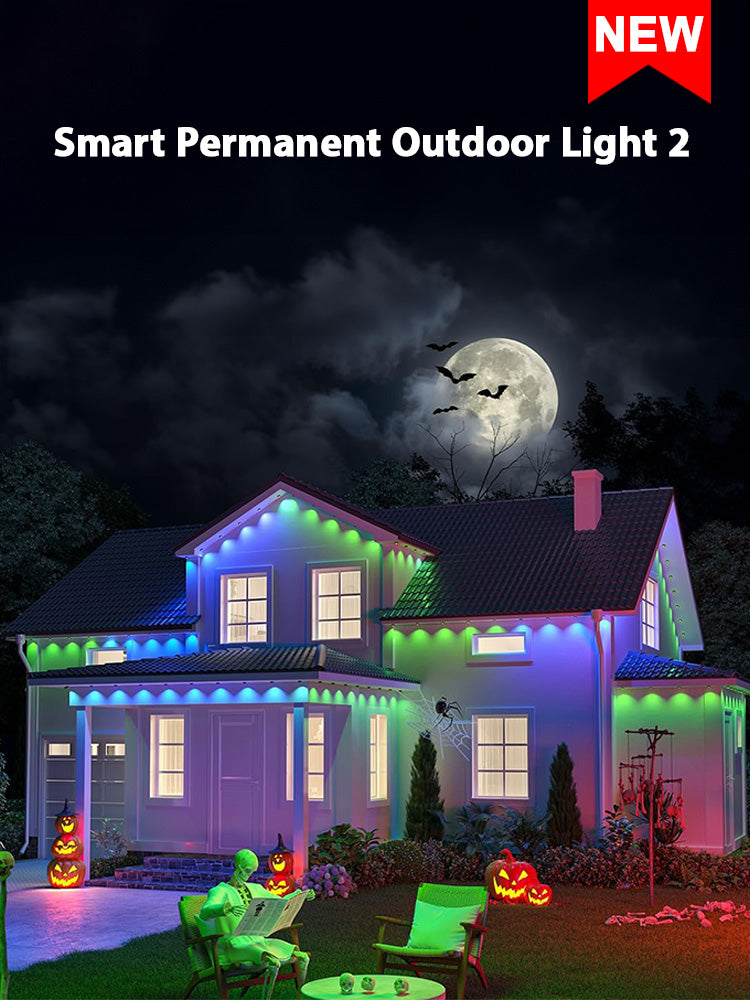
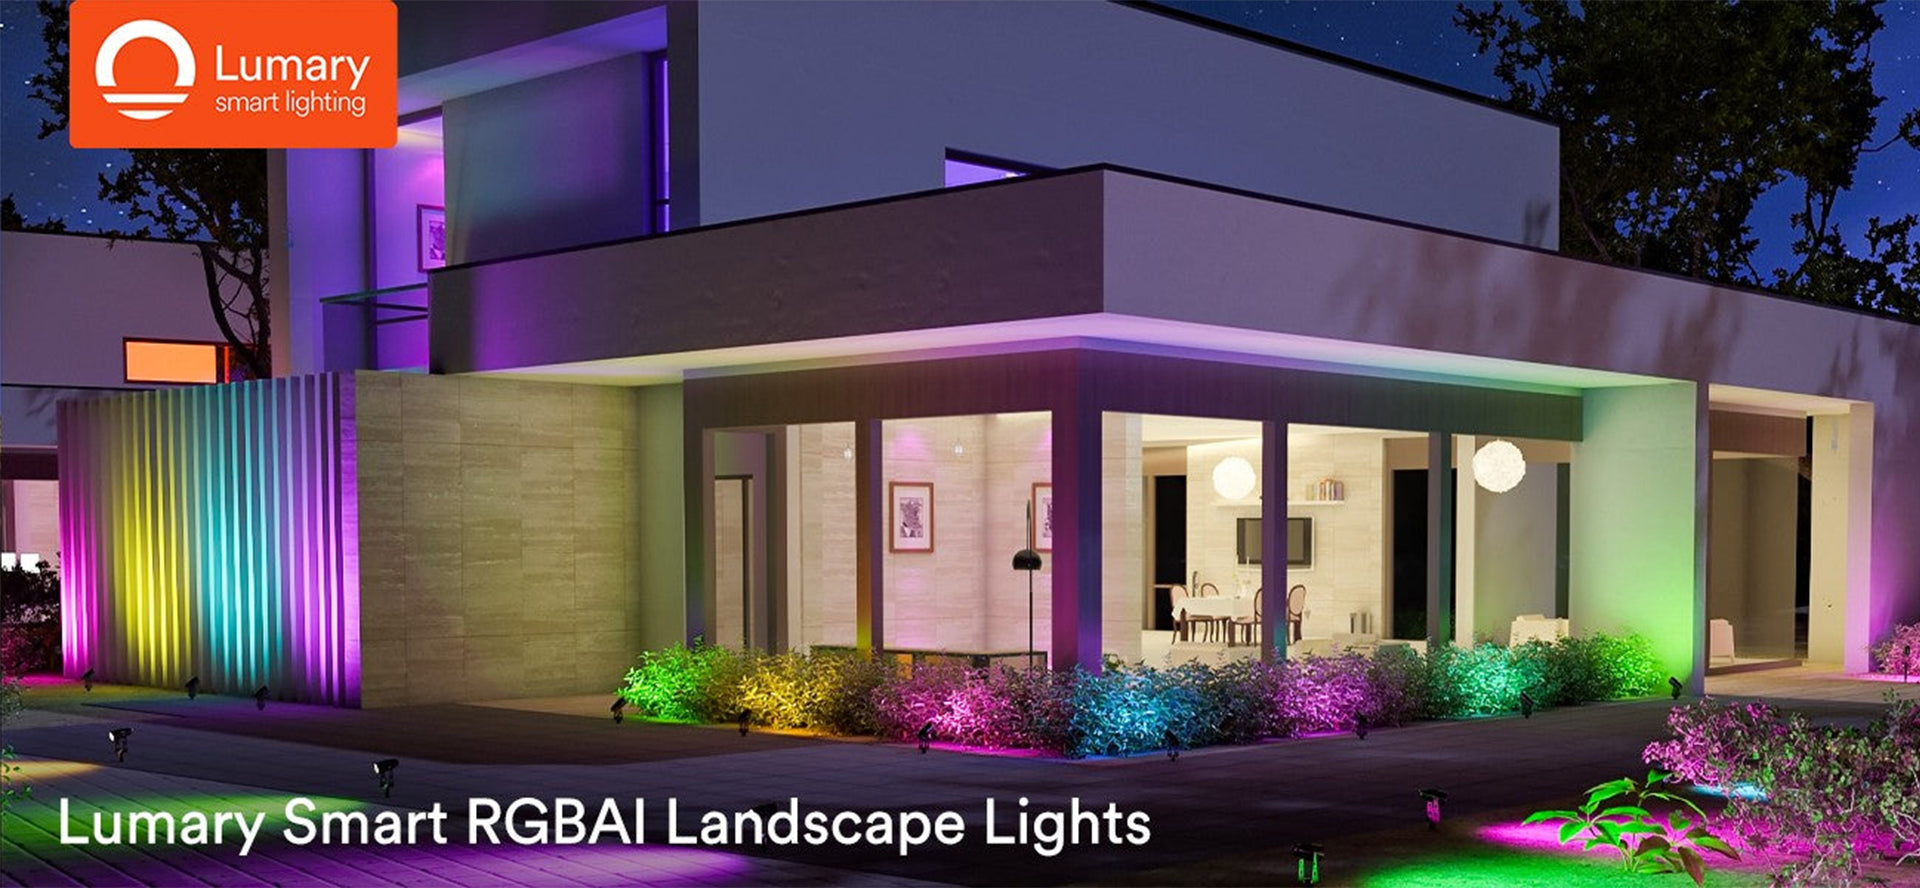
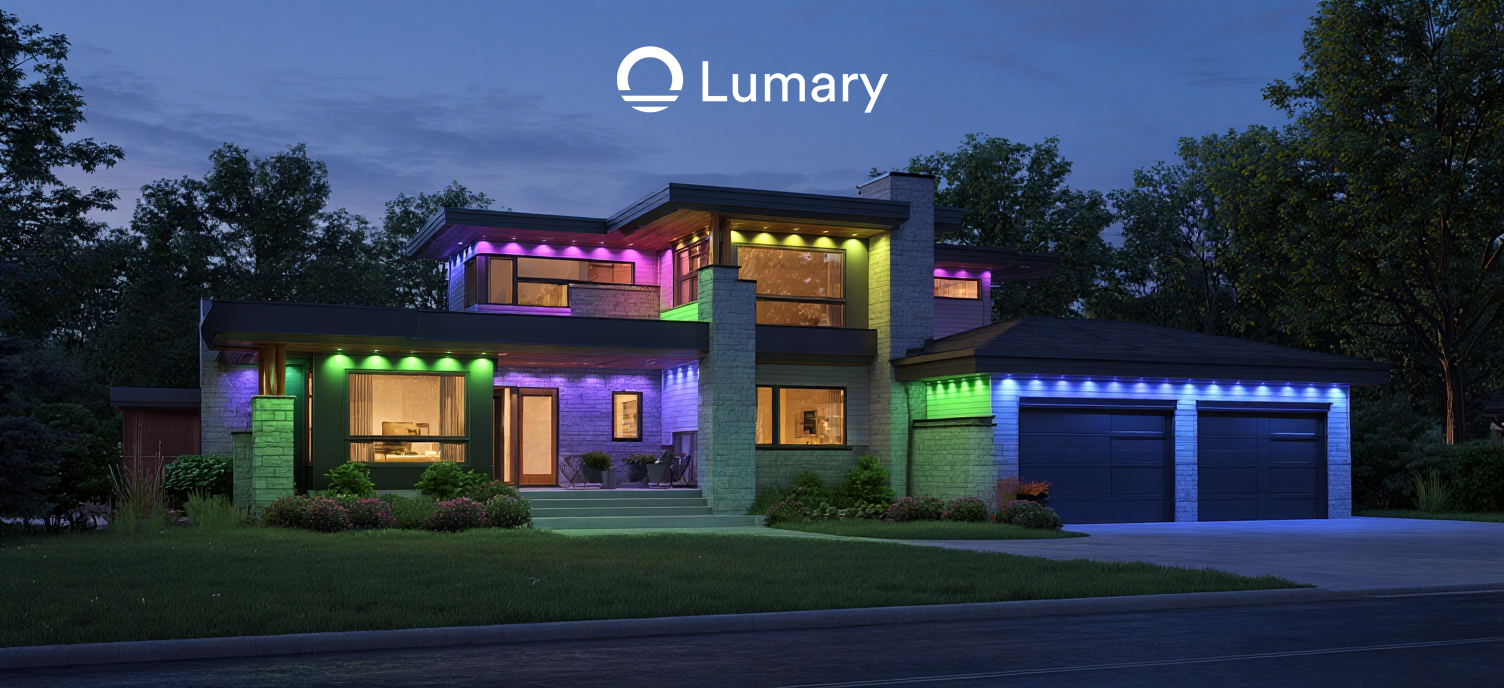
Outdoor lighting transforms your space into a welcoming haven. Low voltage outdoor lighting offers an energy-efficient and safe solution for illuminating your garden or patio. This type of lighting enhances the beauty and security of your home. You can easily install these lights yourself, saving money and adding a personal touch to your landscape. Imagine enjoying a cozy evening under the stars with perfectly placed lights highlighting your favorite features. Dive into the world of low voltage outdoor lighting and see how it elevates your outdoor experience.
Planning and Preparation for Low Voltage Outdoor Lighting

Assessing Your Outdoor Space
Identifying key areas for lighting can make a big difference in your outdoor space. Think about pathways, garden beds, and seating areas. These spots often benefit from a little extra light. Consider landscape features like trees, ponds, or sculptures. Highlighting these elements can create a stunning visual effect. A well-lit tree or water feature can become a focal point at night.
Choosing the Right Lighting
Types of low voltage lights vary, so pick ones that suit your needs. Spotlights work well for highlighting specific features. Path lights guide the way along walkways. Floodlights provide broader illumination for larger areas. Selecting appropriate fixtures involves considering style and function. Match the fixtures to your home's exterior design. Ensure the fixtures are durable and weather-resistant.
Gathering Necessary Tools and Materials
A list of tools required helps you get organized. Gather essentials like a shovel, wire cutters, and a screwdriver. A voltage tester ensures safe installation. A materials checklist keeps you on track. Include items like low voltage outdoor lighting kits, connectors, and cables. Double-check that you have everything before starting the project.
Installation Process of Low Voltage Outdoor Lighting

Setting Up the Transformer
Choosing the right spot for the transformer is crucial. Find a location near an outdoor outlet. Keep the transformer off the ground to avoid water damage. Use a wall or a sturdy post for mounting. Make sure the spot is easy to access for maintenance.
Connecting the transformer to the power source is the next step. Turn off the power at the circuit breaker. Attach the transformer to the outlet using a weatherproof cover. Follow the manufacturer's instructions for wiring. Double-check all connections for safety.
Laying Out the Wiring
Planning the wiring path requires some thought. Map out where each light will go. Use a string or garden hose to visualize the path. Avoid crossing walkways or driveways. This prevents tripping hazards and cable damage.
Burying the cables safely is important. Dig a shallow trench about six inches deep. Place the cables in the trench. Cover the cables with soil, leaving some slack for adjustments. Mark the path with small stakes to remember the location.
Installing the Fixtures
Positioning the lights makes a big difference. Place fixtures where they highlight key features. Use spotlights for trees or sculptures. Path lights work well along walkways. Experiment with angles to find the best look.
Securing the fixtures ensures stability. Push the stakes firmly into the ground. Adjust the fixtures to the desired height. Tighten any screws or bolts. Test the lights to make sure everything works.
Final Adjustments and Considerations
Testing the System
Checking for proper operation ensures everything works smoothly. Turn on the power to see how the lights illuminate your space. Walk around to check each fixture. Make sure every light turns on and shines brightly. Look for any flickering or dim lights.
Troubleshooting common issues helps fix any problems. If a light doesn't work, check the connection first. Ensure the wires are secure and properly connected. Use a voltage tester to verify power flow. Replace any faulty bulbs or connectors. Test the system again to confirm the issue is resolved.
Adjusting Light Placement
Fine-tuning angles and coverage enhances the lighting effect. Adjust each fixture to highlight the desired area. Experiment with different angles to find the best look. Move the lights slightly to cover more ground or focus on specific features.
Ensuring optimal illumination creates a beautiful ambiance. Check for dark spots or overly bright areas. Balance the lighting by repositioning fixtures. Aim for even coverage across the landscape. A well-lit space feels inviting and safe.
Maintenance Tips
Regular cleaning and upkeep keep the system in top shape. Wipe down fixtures to remove dirt and debris. Inspect the cables for any signs of wear or damage. Tighten any loose screws or bolts. Schedule routine checks to maintain performance.
Replacing bulbs and components extends the life of your lighting. Keep spare bulbs on hand for quick replacements. Swap out any burned-out bulbs promptly. Check connectors and cables for wear and tear. Replace any damaged parts to ensure reliability.
You’ve completed the installation of low voltage outdoor lighting. The process involved planning, setting up, and fine-tuning to achieve stunning results. Now, take a moment to admire the transformation. Your outdoor space now feels more inviting and secure. Enjoy evenings under the stars with beautifully illuminated features. Consider exploring more lighting projects to further enhance your landscape. Experiment with different styles or colors to create unique atmospheres. Your creativity can turn any outdoor area into a magical retreat.


