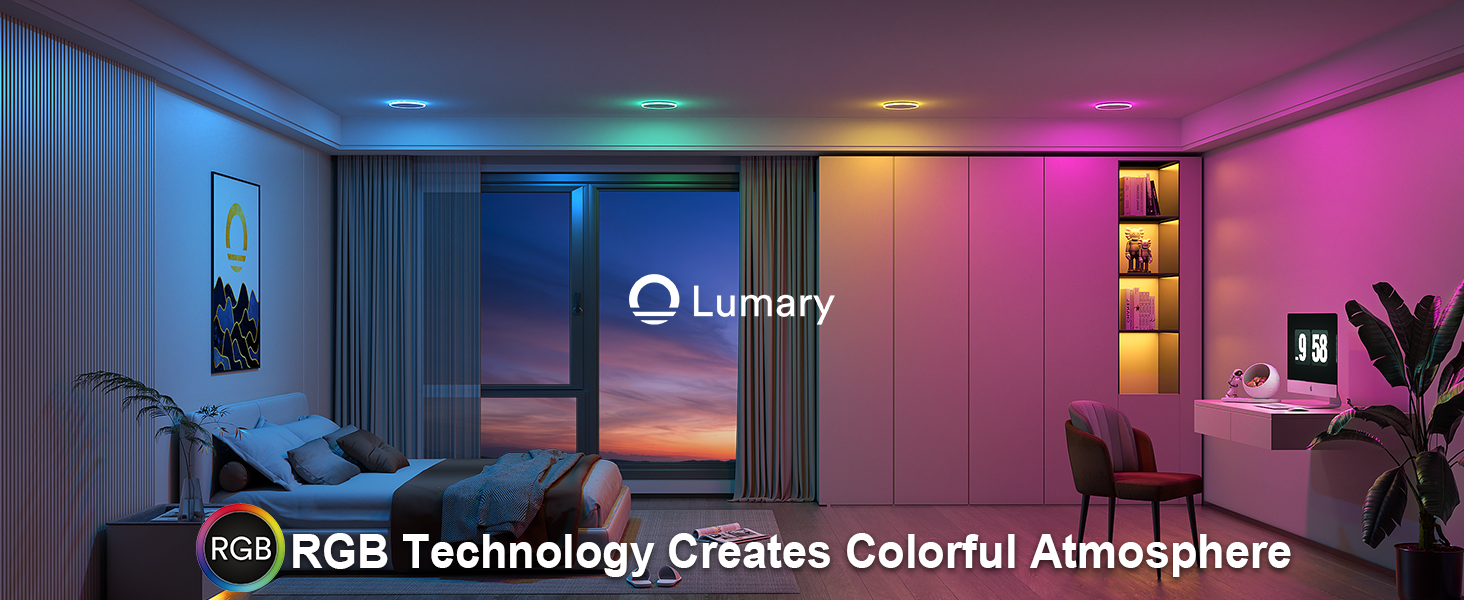
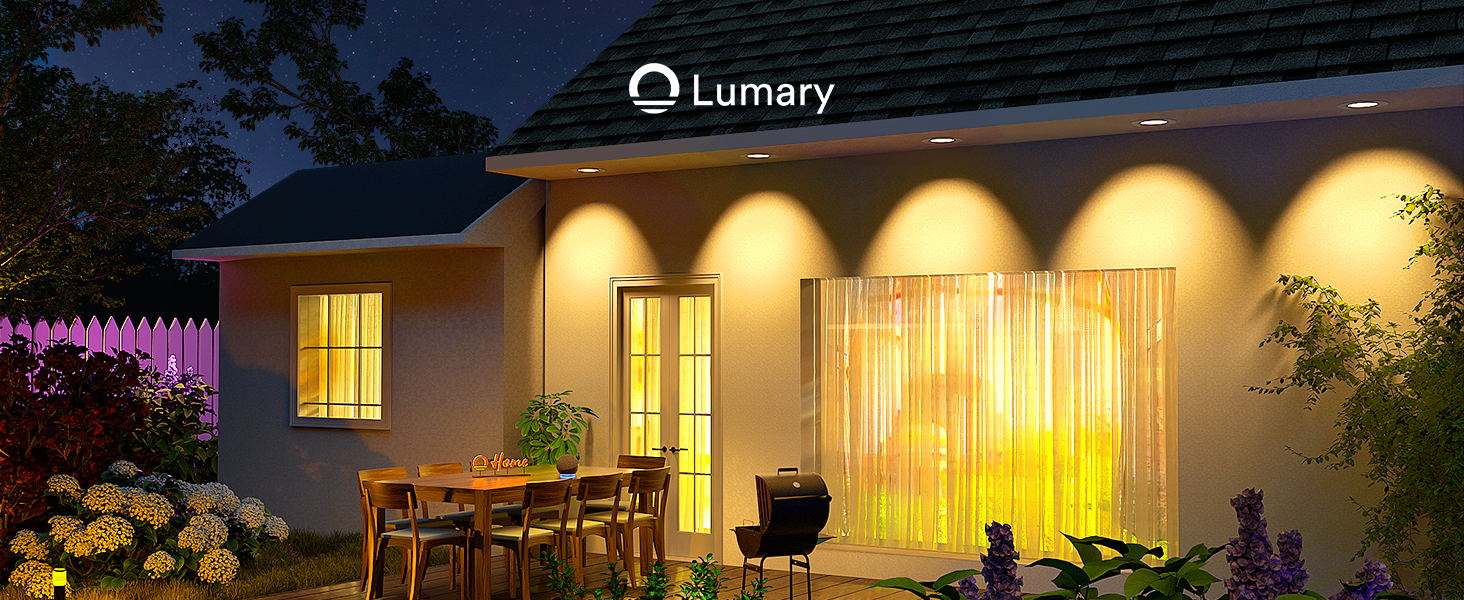
Smart recessed lights offer a modern solution for efficient and customizable home lighting. These lights reduce electricity use and carbon footprint by more than 50%, contributing to global power consumption reduction. Automatic brightness adjustment based on natural light availability enhances energy efficiency. Proper installation ensures functionality and safety, preventing electrical hazards. Smart recessed lights provide significant cost savings for homeowners and businesses, making them an ideal choice for sustainable living.
Preparation for Installing Smart Recessed Lights

Gathering Tools and Materials
Essential Tools
Proper tools ensure a smooth installation process. Gather a hole saw, a tape measure, a pencil, a stud finder, and a utility knife. A voltage tester, wire strippers, and a screwdriver set are also necessary. These tools help in cutting, measuring, and securing the smart recessed lights.
Required Materials
Materials play a crucial role in the installation. Obtain the smart recessed lights, electrical wiring, wire nuts, and junction boxes. Ensure that the lights are compatible with existing home wiring. Purchase safety gear like gloves and safety glasses to protect during the installation process.
Ensuring Safety
Turning Off Power
Safety must be a priority. Turn off the power at the circuit breaker before starting any electrical work. Use a voltage tester to confirm that no electricity flows through the wires. This step prevents electrical shocks and ensures a safe working environment.
Using Safety Gear
Wearing appropriate safety gear is essential. Equip yourself with gloves and safety glasses. Gloves protect hands from sharp objects and electrical components. Safety glasses shield eyes from debris and dust during the installation of smart recessed lights.
Planning the Layout
Measuring and Marking
Accurate measurements and markings guarantee a precise installation. Use a tape measure to determine the placement of each light. Mark the spots on the ceiling with a pencil. Ensure that the marks are evenly spaced for a uniform look.
Considering Light Placement
Consider the placement of the lights carefully. Think about the room's purpose and the areas that need illumination. Avoid placing lights near ceiling joists or other obstructions. Proper placement enhances the functionality and aesthetics of the smart recessed lights.
Choosing the Right Smart Recessed Lights
Selecting the appropriate smart recessed lights ensures optimal performance and satisfaction. Various types and features cater to different needs and preferences.
Types of Smart Recessed Lights
Wi-Fi Enabled
Wi-Fi-enabled smart recessed lights connect directly to a home network. Users can control these lights remotely through a smartphone app. This type offers convenience and flexibility, allowing adjustments from anywhere with internet access. Wi-Fi-enabled lights often integrate seamlessly with voice assistants like Alexa and Google Assistant.
Bluetooth Controlled
Bluetooth-controlled smart recessed lights offer a reliable connection without needing a home network. These lights pair directly with a smartphone or tablet. This type provides a stable connection within a limited range. Bluetooth lights are ideal for users who prefer a straightforward setup without relying on an internet connection.
Key Features to Look For
Dimmability
Dimmability is a crucial feature for smart recessed lights. Adjustable brightness levels allow users to create the perfect ambiance for any occasion. Dimmable lights enhance energy efficiency by reducing power consumption when full brightness is unnecessary. This feature also extends the lifespan of the lights.
Color Temperature
Color temperature customization adds versatility to smart recessed lights. Users can adjust the color temperature from warm to cool tones, ranging from 2200K to 6500K. This flexibility allows for different lighting moods, whether for relaxing or focusing. Customizable color temperature enhances the overall lighting experience.
Compatibility with Smart Home Systems
Compatibility with smart home systems is essential for seamless integration. Smart recessed lights should work with popular platforms like Alexa, Google Assistant, and Apple HomeKit. This compatibility ensures that users can control their lights using voice commands or through a unified smart home app. Integrated systems provide a cohesive and convenient user experience.
Installation Process for Smart Recessed Lights

Cutting the Ceiling for Smart Recessed Lights
Marking the Cutout
Accurate marking ensures a precise cut. Use a tape measure to determine the exact placement of each light. Mark the spots on the ceiling with a pencil. Double-check measurements to avoid errors.
Using a Hole Saw
A hole saw creates the necessary openings. Attach the hole saw to a power drill. Align the saw with the marked spots. Apply steady pressure and cut through the ceiling material. Remove any debris from the cutout area.
Wiring the Smart Recessed Lights
Connecting to Power Source
Proper wiring connects the lights to the power source. Strip the ends of the electrical wires using wire strippers. Connect the wires from the smart recessed lights to the home wiring. Secure the connections with wire nuts. Follow the manufacturer's instructions for specific wiring details.
Integrating with Smart Hub
Integration with a smart hub enhances functionality. Connect the smart recessed lights to the smart hub according to the manufacturer's guidelines. Ensure compatibility with the existing smart home system. Test the connection to verify proper integration.
Mounting the Smart Recessed Lights
Securing the Housing
Secure the housing to ensure stability. Insert the housing into the cutout. Tighten any screws or fasteners to hold the housing in place. Verify that the housing sits flush with the ceiling.
Inserting the Light Fixture
Insert the light fixture into the secured housing. Connect the fixture to the wiring inside the housing. Push the fixture into place until it clicks securely. Ensure the fixture aligns properly with the housing.
Testing and Maintenance of Smart Recessed Lights
Initial Testing
Powering On
Turn on the power at the circuit breaker to begin testing. Switch on the smart recessed lights using the designated control method. Observe if all lights illuminate correctly. Any issues at this stage may indicate improper wiring or installation errors.
Checking Connectivity
Verify the connectivity of the smart recessed lights with the smart home system. Open the corresponding app on a smartphone or tablet. Check if the app recognizes and controls each light. Test various functions such as dimming and color changes to ensure full functionality.
Regular Maintenance
Cleaning the Fixtures
Regular cleaning keeps the smart recessed lights in optimal condition. Use a soft cloth to wipe down the fixtures. Avoid using harsh chemicals that could damage the lights. Clean the fixtures periodically to remove dust and debris, which can affect light quality and efficiency.
Updating Software
Keep the smart recessed lights up-to-date by installing software updates. Check the manufacturer's app for any available updates. Follow the instructions to update the firmware. Regular updates often include performance improvements and new features, enhancing the overall user experience.
The installation process for smart recessed lights involves several key steps. Proper preparation, accurate measurements, and secure wiring ensure a successful setup. Users can now enjoy the numerous benefits of smart lighting, including energy efficiency, convenience, and enhanced security. Smart lighting technology not only improves daily routines but also contributes to environmental sustainability.
Feel free to leave comments or questions below. Engaging with the community helps everyone make informed decisions about smart lighting solutions.


