Illuminate your home with the versatile and efficient can light 6 inch fixtures. These lights not only enhance the aesthetic appeal of your space but also offer significant energy savings. LED lamps, for instance, consume at least 75% less energy and last 25 times longer than traditional incandescent bulbs. To get started, you'll need a few essential tools and materials:
-
Stud finder
-
Drill
-
Hole saw
-
Wire connectors
With these items on hand, you're ready to transform your home's lighting.
Understanding 6-Inch Can Lights

What Are 6-Inch Can Lights?
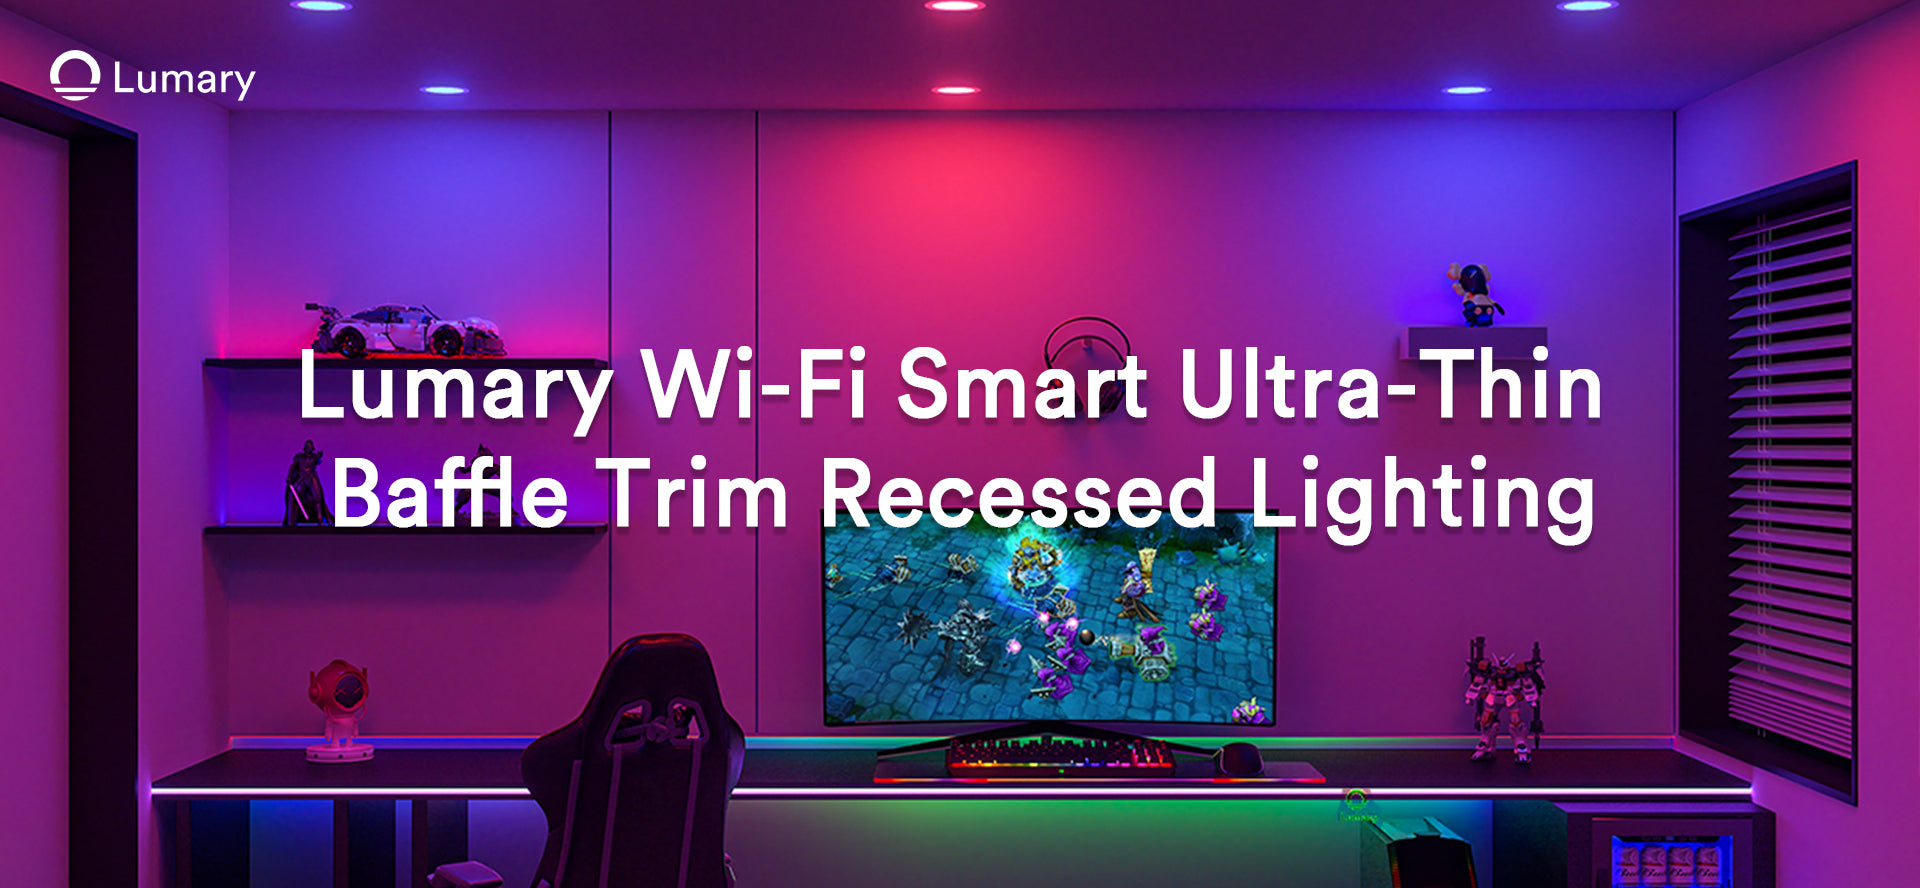
6-inch can lights, also known as recessed lights, are a popular choice for modern home lighting. They offer a sleek and unobtrusive design that fits seamlessly into your ceiling, providing a clean and finished look. These lights are particularly effective in medium to large rooms due to their wider area of light dispersal.
Features and Benefits
-
Wide Light Dispersal: The 6-inch diameter allows for a broad area of illumination, making them ideal for general lighting in spaces like living rooms, hallways, and kitchens.
-
Energy Efficiency: Many 6-inch can lights use LED technology, which consumes significantly less energy than traditional bulbs and offers a longer lifespan.
-
Versatility: These lights can be used in various settings, including residential and commercial spaces. They are suitable for drop ceilings and can be installed in damp areas like bathrooms and garages when UL wet or damp listed models are chosen.
-
Aesthetic Appeal: The recessed design maintains a clean ceiling line, enhancing the overall aesthetic of your space.
Common Uses in Home Lighting
6-inch can lights are commonly used in areas where you need ample lighting without the clutter of hanging fixtures. They are perfect for:
-
Living Rooms: Provide ambient lighting that complements other light sources.
-
Kitchens: Offer task lighting over countertops and islands.
-
Bathrooms: When using damp-rated models, they provide safe and effective lighting.
-
Hallways and Stairwells: Ensure safety and visibility with evenly distributed light.
Types of 6-Inch Can Lights
Understanding the different types of 6-inch can lights will help you choose the right option for your needs.
New Construction vs. Remodel
-
New Construction: These lights are designed for homes that are still being built or undergoing major renovations. They are installed before the ceiling is finished, allowing for a more integrated look.
-
Remodel: Ideal for existing ceilings, remodel can lights are designed to fit into pre-cut holes. They are perfect for upgrading your lighting without extensive construction work.
IC Rated vs. Non-IC Rated
-
IC Rated: These lights are safe to use in contact with insulation. They prevent overheating and are essential for energy efficiency in insulated ceilings.
-
Non-IC Rated: Suitable for areas without insulation, these lights require a clearance to prevent heat buildup. They are often used in non-insulated spaces or where insulation is not a concern.
By understanding these features and types, you can make informed decisions about installing can light 6 inch fixtures in your home. This knowledge ensures you select the right lights for your specific needs, enhancing both the functionality and aesthetics of your space.
Preparing for Installation
Gathering Tools and Materials
Before you begin installing your 6-inch can lights, gather all necessary tools and materials. This preparation ensures a smooth installation process.
Essential Tools
-
Stud Finder: Locate ceiling joists to avoid cutting into them.
-
Drill: Create pilot holes and secure fixtures.
-
Hole Saw: Cut precise openings in the ceiling for the lights.
-
Wire Strippers: Strip insulation from electrical wires for connections.
Required Materials
-
6-Inch Can Lights: Choose models that fit your needs, such as IC rated or non-IC rated.
-
NM-B Cable: Connect the lights to your power source.
-
Junction Boxes: Ensure safe wiring and connections.
-
Wire Nuts: Secure electrical connections.
-
Replacement Electrical Boxes: Use these if you're replacing existing fixtures.
Planning the Layout
Proper planning of your lighting layout is crucial for achieving optimal illumination and aesthetic appeal.
Determining Light Placement
Decide where to place your lights for even distribution. Use a stud finder to avoid joists. For larger rooms, space the lights about 6 to 7 feet apart. In smaller rooms, reduce the spacing to ensure adequate lighting.
Calculating the Number of Lights Needed
Calculate the number of lights based on room size and desired brightness. A general rule is to divide the room's square footage by the wattage of the bulb to determine the number of fixtures needed. Adjust according to personal preference and room function.
Ensuring Safety

Safety should be your top priority when working with electrical installations.
Checking Electrical Codes
Review local electrical codes to ensure compliance. These codes dictate safe installation practices and help prevent hazards.
Turning Off Power
Before starting any electrical work, turn off the power at the circuit breaker. Verify that the power is off using a voltage tester. This step is essential to prevent electrical shock or injury.
By following these steps, you prepare yourself for a successful installation of 6-inch can lights. Proper preparation and planning not only enhance the efficiency of the process but also ensure the safety and effectiveness of your new lighting system.
Step-by-Step Installation Process
Installing 6-inch can lights in your home can transform your space into a well-lit and stylish environment. Follow these steps to ensure a successful installation.
Cutting the Ceiling Holes
Measuring and Marking
Begin by measuring and marking the spots where you want to install the can lights. Use a tape measure to determine the exact placement, ensuring even spacing for optimal light distribution. Mark the center of each location with a pencil. This step is crucial for achieving a balanced lighting layout.
Using a Hole Saw
Once you've marked the spots, use a hole saw to cut the openings in the ceiling. Choose a hole saw that matches the diameter of your can light 6 inch fixtures. Carefully drill into the ceiling at each marked spot, keeping the saw steady to avoid uneven edges. This precision ensures a snug fit for the light housings.
Wiring the Can Lights
Connecting the Wires
With the holes cut, proceed to wire the can lights. First, run NM-B cable from your power source to each light location. Strip the insulation from the ends of the wires using wire strippers. Connect the black wire to the black fixture wire, the white wire to the white fixture wire, and the ground wire to the green or bare copper wire. This step establishes the electrical connection necessary for the lights to function.
Securing the Connections
After connecting the wires, secure them with wire nuts. Twist the nuts onto the wire ends to ensure a tight connection. Tuck the wires neatly into the junction box to prevent any interference with the light housing. Properly secured connections are vital for safety and reliability.
Installing the Can Light Housings
Inserting the Housings
Insert the can light housings into the ceiling holes. Align the housing with the opening and gently push it into place. Ensure that the housing sits flush with the ceiling surface. This alignment is essential for a seamless appearance.
Securing with Clips or Screws
Finally, secure the housings using clips or screws, depending on the design of your can lights. If your lights come with clips, push them into place to hold the housing securely. For screw-mounted housings, use a screwdriver to fasten them to the ceiling. This step ensures that the lights remain stable and properly positioned.
By following these steps, you can successfully install can light 6 inch fixtures in your home. This guide helps you understand the benefits and importance of installing these lights properly, so you can enjoy a well-lit and stylish environment.
Adding the Light Bulbs and Trims
Enhancing your home's lighting with can light 6 inch fixtures involves more than just installation. The final touches, such as selecting the right bulbs and attaching the trims, play a crucial role in achieving the desired ambiance and functionality.
Choosing the Right Bulbs
Selecting the appropriate bulbs for your can lights ensures optimal performance and energy efficiency. Consider the following factors when choosing bulbs:
-
Type of Bulb: LED bulbs are highly recommended for can light 6 inch fixtures. They offer significant energy savings and have a longer lifespan compared to traditional incandescent bulbs.
-
Brightness: Measure brightness in lumens, not watts. For general lighting, aim for bulbs that provide around 800 to 1100 lumens. This range offers ample illumination for most rooms.
-
Color Temperature: Choose a color temperature that suits the room's purpose. Warm white (2700K-3000K) creates a cozy atmosphere, while cool white (3500K-4100K) is ideal for task-oriented spaces like kitchens and offices.
-
Dimmability: If you want adjustable lighting, ensure your bulbs are compatible with dimmer switches. This feature allows you to set the mood according to your preference.
By carefully selecting the right bulbs, you enhance the efficiency and aesthetic appeal of your lighting setup.
Attaching the Trims
Trims not only complete the look of your can lights but also help direct the light effectively. Follow these steps to attach the trims:
-
Select the Trim Style: Choose a trim style that complements your room's decor. Options include baffle trims for reducing glare, reflector trims for maximizing light output, and adjustable trims for directing light to specific areas.
-
Align the Trim: Position the trim over the installed can light housing. Ensure it aligns properly with the ceiling surface for a seamless appearance.
-
Secure the Trim: Depending on the design, either snap the trim into place or use screws to fasten it securely. A snug fit prevents gaps and ensures a polished finish.
-
Adjust as Needed: After securing the trim, make any necessary adjustments to ensure it sits flush with the ceiling. This step is vital for maintaining a clean and professional look.
By following these steps, you complete the installation of your can light 6 inch fixtures, creating a well-lit and stylish environment. Properly chosen bulbs and trims not only enhance the functionality of your lighting but also contribute to the overall aesthetic of your space.
Additional Tips and Troubleshooting
Common Installation Mistakes
When installing 6-inch recessed can lights, you might encounter some common pitfalls. Avoiding these mistakes ensures your lighting system functions efficiently and safely.
Avoiding Overheating
Overheating can damage your lights and pose a fire risk. To prevent this, ensure you use the correct type of bulb for your fixtures. LED bulbs are an excellent choice as they produce less heat compared to traditional incandescent bulbs. Additionally, make sure your lights are not in contact with insulation unless they are IC rated. This rating indicates that the fixture is safe to use in contact with insulation, reducing the risk of overheating.
Ensuring Proper Insulation
Proper insulation around your can lights is crucial for energy efficiency and safety. If your lights are non-IC rated, maintain a clearance between the fixture and any insulation. This prevents heat buildup and ensures the longevity of your lighting system. For IC rated models, you can safely install them in insulated ceilings, which helps maintain your home's energy efficiency.
Maintenance and Care
Regular maintenance and care of your 6-inch can lights will keep them functioning optimally and extend their lifespan.
Cleaning the Fixtures
Dust and debris can accumulate on your light fixtures, affecting their performance and appearance. To clean them, first turn off the power to the lights. Use a soft, damp cloth to wipe the trims and housings gently. Avoid using harsh chemicals or abrasive materials that could damage the finish. Regular cleaning ensures your lights remain bright and attractive.
Replacing Bulbs Safely
When a bulb needs replacing, safety should be your priority. Turn off the power at the circuit breaker before removing the old bulb. Allow the bulb to cool if it has been on recently. Use a ladder to reach the fixture safely, and gently unscrew the old bulb. Insert the new LED bulb, ensuring it is compatible with your fixture. This process not only maintains the efficiency of your lighting but also ensures your safety during maintenance.
By following these additional tips and troubleshooting advice, you can enjoy the full benefits of your 6-inch recessed can lights. Proper installation, regular maintenance, and careful bulb replacement will enhance the ambiance of your home while ensuring safety and efficiency.
You've now learned the essentials of installing 6-inch can lights in your home. This guide has walked you through each step, from understanding the types of lights to the final touches of adding bulbs and trims. If you're comfortable with electrical work, consider trying this DIY project. It offers a rewarding way to enhance your home's lighting. Remember to prioritize safety: always turn off the power before starting and ensure your fixtures are IC rated if near insulation. With these tips, you can confidently illuminate your space with style and efficiency.


