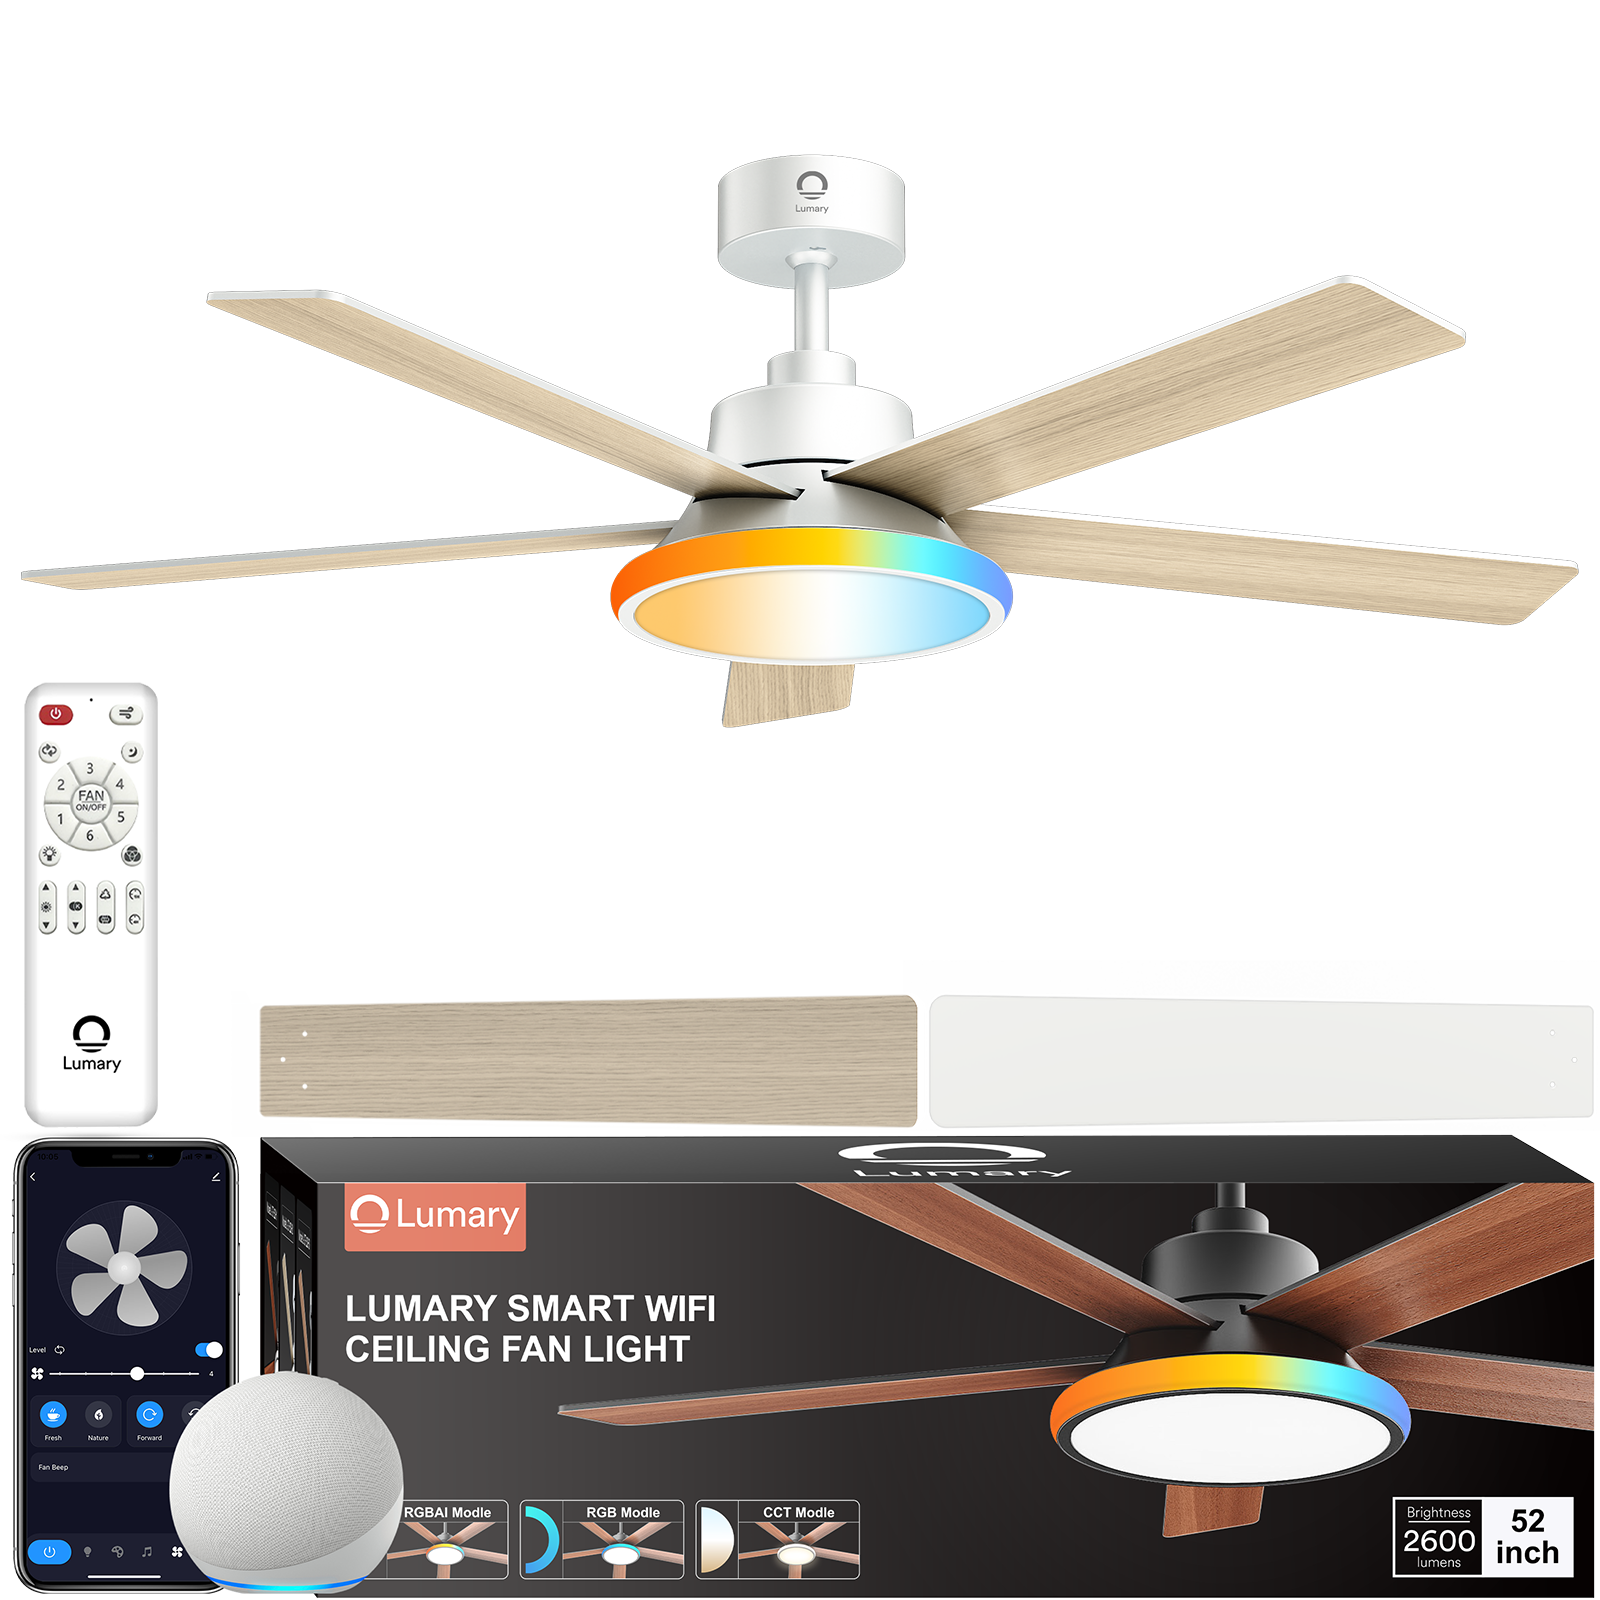
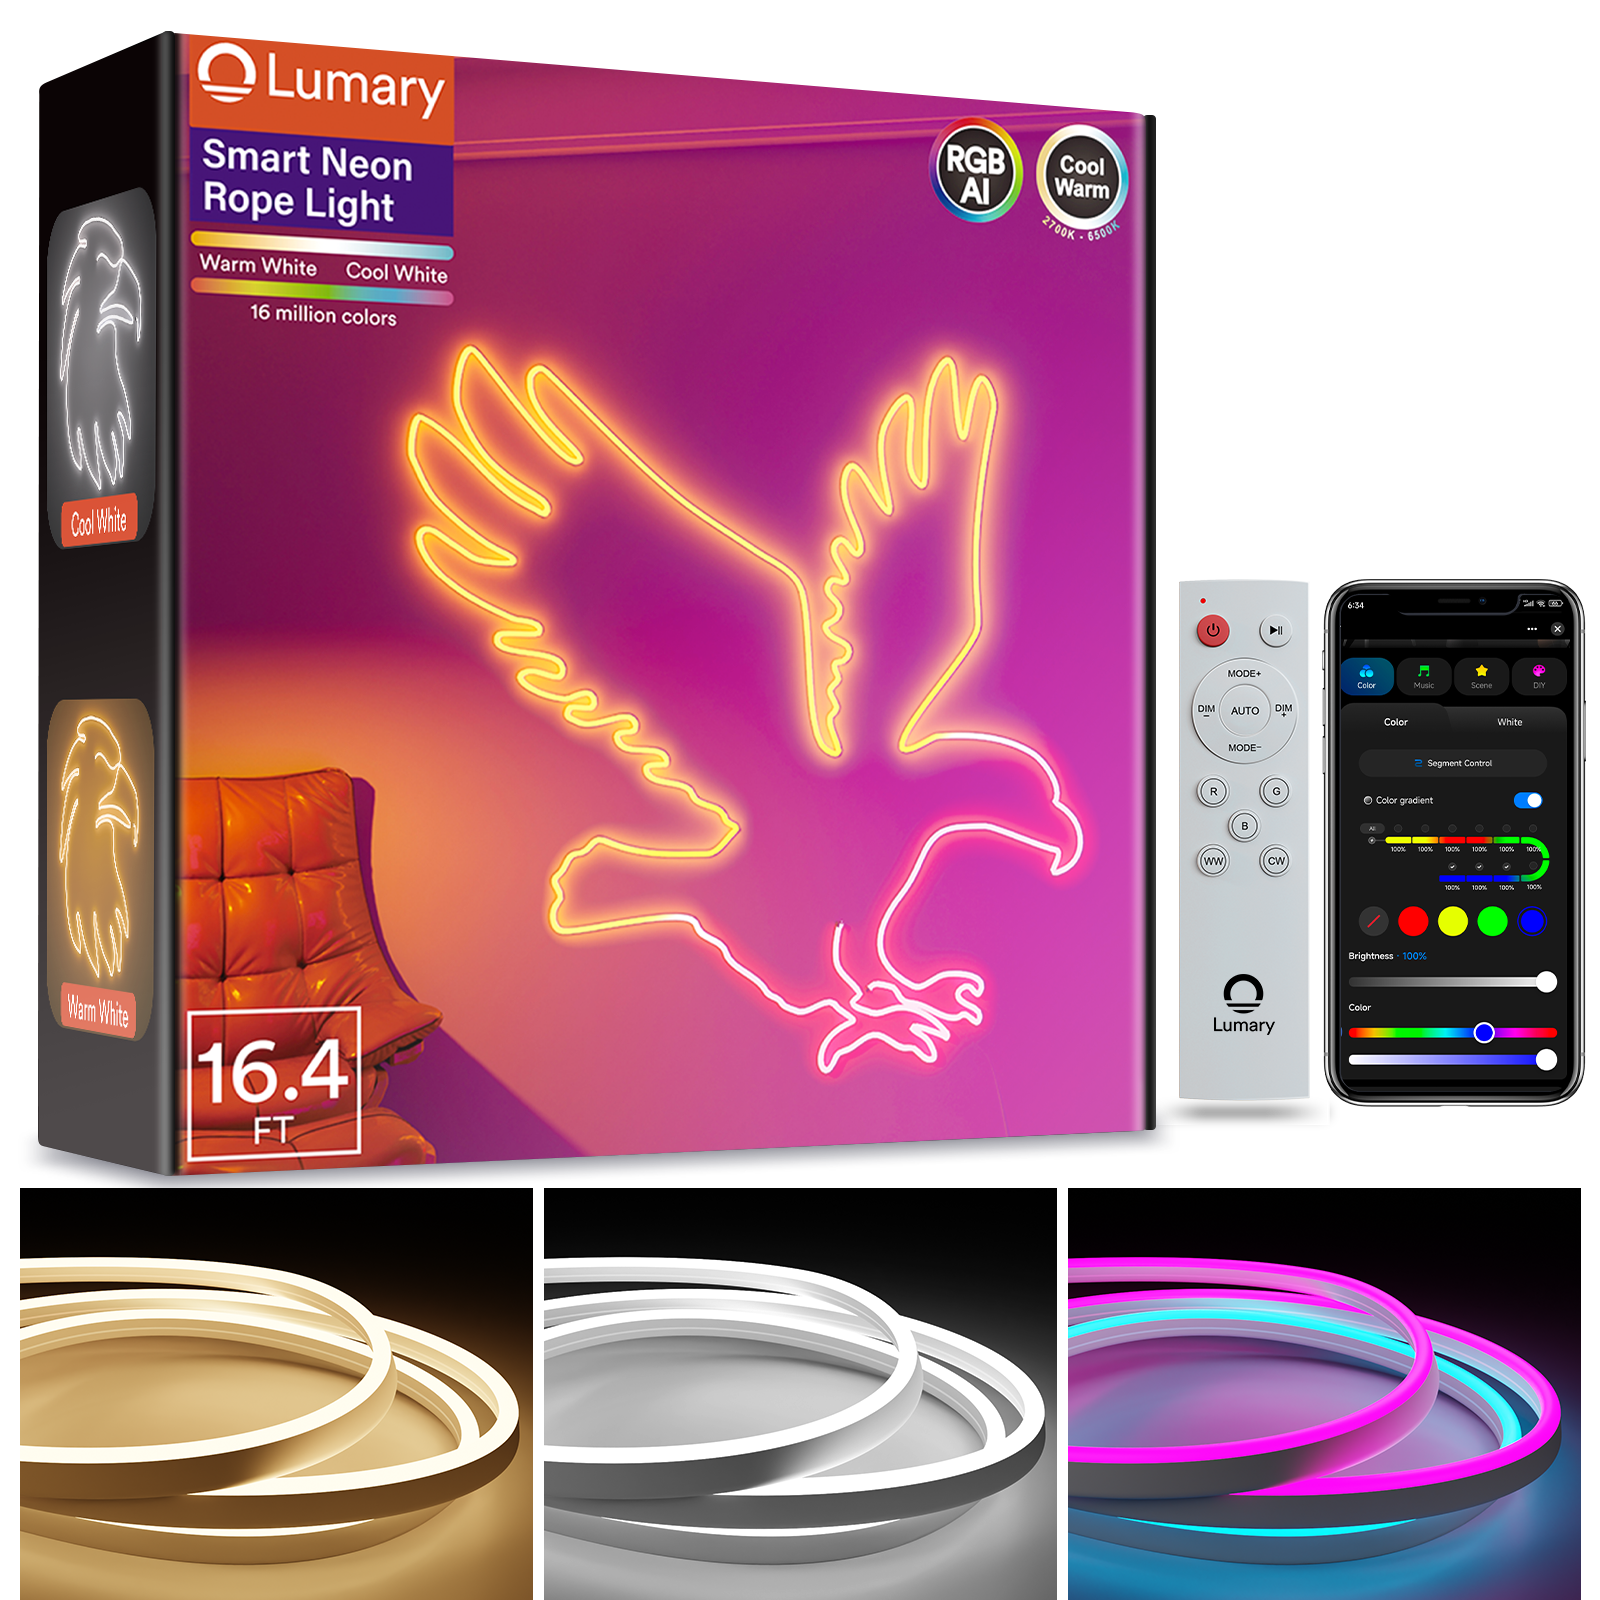
LED lighting has become a game-changer for many households. You can enjoy energy savings of at least 75% compared to traditional incandescent lamps. LEDs transform around 95% of their energy into light, making them incredibly efficient. The global LED market is booming, expected to reach nearly $100 billion by 2030. Installing shelf lighting with LEDs is perfect for beginners. You get long-lasting lights that are easy to install and maintain. High-quality LED lamps last 25 times longer than incandescent ones, so you save money and time.
Determine the Length and Wattage for Shelf Lighting

Installing LED shelf lighting involves a few key steps. First, you need to determine the length and wattage required for your setup. This ensures that your lighting is both efficient and effective.
Measuring Your Shelf for Shelf Lighting
Tools Needed
Before you start measuring, gather some essential tools. A measuring tape will help you get accurate dimensions. A pencil and paper are useful for jotting down measurements. You might also want a level to ensure even placement of the lights.
Calculating Length
Measure the length of each shelf where you plan to install the lighting. Accurate measurements help you purchase the correct amount of LED strips. Make sure to account for any corners or edges that might require additional length. Write down each measurement clearly to avoid confusion later.
Choosing the Right Wattage
Understanding Wattage
Wattage determines how much power your LED lights will use. Higher wattage means brighter lights but also more energy consumption. Consider the purpose of your shelf lighting. For accent lighting, lower wattage might suffice. For task lighting, you might need higher wattage.
Energy Efficiency Tips
Energy efficiency is crucial when choosing LED lights. Look for LED strips that offer high lumens per watt. This ensures maximum brightness with minimal energy use. Consider adding a dimmer switch to control the intensity of your lighting. Dimmers allow you to adjust the brightness based on the time of day or mood, saving energy in the process.
Decide on Dimming Features
Dimming features can really elevate your LED shelf lighting experience. You get control over the brightness and mood of your space. Let's dive into the types of dimmers and their benefits.
Types of Dimmers
Manual Dimmers
Manual dimmers offer a straightforward way to adjust light levels. You turn a knob or slide a lever to change the brightness. This type of dimmer is easy to install and doesn't require any fancy tech skills. Manual dimmers work well for those who like simple solutions.
Smart Dimmers
Smart dimmers bring technology into the mix. You control the lighting through an app on your smartphone or even with voice commands. Smart dimmers often integrate with systems like Alexa or Google Assistant. This option gives you flexibility and convenience. You can set schedules or automate routines for your lights.
Benefits of Dimming
Energy Savings
Dimming your lights can lead to significant energy savings. Lowering the brightness reduces power consumption. This means you save money on electricity bills. Energy efficiency becomes even more important when you consider the long-term benefits.
Mood Lighting
Mood lighting transforms the atmosphere of any room. You can create a cozy ambiance for movie nights or a bright setting for reading. Dimming features allow you to customize the light intensity to match your activities. This flexibility enhances the overall experience in your space.
Lighting Specialist Insight: "The lighting industry has waded through the often-choppy, often-murky waters of LED dimming over the last several years and, while a lot of the problems have been solved, flickering and strobing and early burnout still happens all the time."
Understanding these challenges helps you make informed decisions about dimming features. Choose quality products to minimize issues like flickering or burnout.
Plan the Layout
Planning the layout for your LED shelf lighting ensures a seamless installation. A well-thought-out design enhances both the aesthetic and functional aspects of your space. Let's dive into the key considerations for planning your layout.
Design Considerations
Aesthetic Placement
Aesthetic placement focuses on how the lighting complements your room's decor. Consider the color and style of your shelves. LED lights with a 5000K daylight color temperature can mimic natural light, creating a bright and inviting atmosphere. Think about how the lights will highlight decorative items or create visual interest. Position the lights to accentuate the best features of your shelves.
Functional Placement
Functional placement prioritizes practicality. Determine where you need the most light. For example, task areas like reading nooks or workspaces benefit from brighter lighting. Ensure the LED strips provide adequate illumination for these activities. Consider the height and depth of your shelves to avoid shadows or uneven lighting. Proper placement maximizes the utility of your shelf lighting.
Sketching the Layout
Tools for Sketching
Sketching your layout helps visualize the final setup. Gather tools like graph paper, a pencil, and a ruler. These tools assist in creating a precise sketch. Use the graph paper to draw a scaled representation of your shelves. Mark the positions for the LED strips clearly. This sketch serves as a guide during installation.
Finalizing the Design
Finalizing the design involves reviewing your sketch. Ensure the layout meets both aesthetic and functional needs. Double-check measurements and placements. Adjust the design if necessary. Consider the LED efficacies for residential use, which range from 110 lm/W to 130 lm/W. This ensures your lighting is both efficient and effective. Once satisfied, proceed with confidence to the installation phase.
Measure and Cut the Strips

Safety Precautions
Handling Tools Safely
Safety first, folks! Before you dive into cutting those LED strips, make sure you've got the right tools. A good pair of scissors or a specialized cutting tool will do the trick. Always handle these tools with care to prevent any accidents. Keep your fingers away from the cutting edge and ensure you've got a steady hand. If you're using a cutting tool, follow the manufacturer's instructions for safe operation. Remember, a little caution goes a long way in keeping you safe.
Avoiding Mistakes
Mistakes happen, but let's try to avoid them. Double-check your measurements before making any cuts. Measure twice, cut once—it's a golden rule for a reason. Cutting too short can lead to wasted materials and frustration. Ensure you're cutting along the designated lines on the LED strip. These lines indicate where it's safe to cut without damaging the strip's functionality. Taking your time and being precise will save you from headaches down the road.
Cutting Techniques
Using Scissors
Scissors are a handy tool for cutting LED strips. Make sure your scissors are sharp to get a clean cut. Align the blades with the cutting line on the strip. Apply steady pressure as you cut through the material. A clean cut ensures the strip will function properly when installed. If you feel resistance, double-check that you're cutting in the right spot. Patience and precision are your best friends here.
Using a Cutting Tool
A cutting tool can offer more precision than scissors. These tools often come with guides to help you cut straight lines. Place the LED strip in the tool's guide, aligning it with the cutting line. Apply even pressure to make a clean cut. Using a cutting tool can reduce the risk of jagged edges or uneven cuts. Follow the tool's instructions for best results. A well-cut strip will make installation smoother and more efficient.
Light Supplier Insight: "Check the brightness, intensity, and color of the lights before proceeding with the installation."
Ensuring your strips are correctly cut and functioning will make the rest of the process much easier.
Mount the Strips
Mounting the LED strips is a crucial step in your shelf lighting project. Proper mounting ensures that the lights stay in place and provide even illumination. Let's explore some adhesive options and positioning techniques to get the best results.
Adhesive Options
Double-Sided Tape
Double-sided tape offers a simple and effective way to mount LED strips. Many LED strip lights come with strong 3M™ 300 LSE adhesive backing. This type of tape sticks well to most surfaces, including wood, metal, and plastic. Clean the surface before applying the tape to ensure a secure bond. Press the strip firmly onto the shelf to activate the adhesive. Double-sided tape works great for lightweight strips and smooth surfaces.
Mounting Clips
Mounting clips provide extra security for your LED strips. These clips hold the strips in place and prevent them from sagging or falling. Use screws to attach the clips to the shelf. Space the clips evenly along the length of the strip for balanced support. Mounting clips are ideal for heavier strips or uneven surfaces. Consider using clips if you plan to adjust or reposition the strips in the future.
Positioning the Strips
Ensuring Even Lighting
Even lighting enhances the appearance and functionality of your shelves. Place the LED strips at the front edge of the shelf for the best coverage. This position minimizes shadows and highlights the items on display. For wider shelves, consider using multiple strips to ensure uniform brightness. Test the lighting before securing the strips to make any necessary adjustments.
Securing the Strips
Securing the strips properly prevents future issues. Check that each section of the strip adheres fully to the surface. Apply additional pressure to areas that seem loose. If using mounting clips, tighten the screws to keep the strips in place. Regularly inspect the strips to ensure they remain secure over time. Properly secured strips provide consistent lighting and enhance the overall look of your shelf lighting setup.
Make Electrical Connections
Now comes the exciting part—making those electrical connections. This step brings your LED shelf lighting project to life. You have a couple of options for connecting to power. Let's dive into them.
Connecting to Power
Plug-in Options
Plug-in options offer a straightforward way to power your LED lights. You just need an outlet nearby. Plug the LED strip's adapter into the outlet. Ensure the plug fits snugly. A loose connection can cause flickering or power loss. Plug-in options work great for temporary setups or when you want flexibility. You can easily move the lights if needed.
Hardwiring
Hardwiring provides a more permanent solution. This method involves connecting the LED strips directly to your home's electrical system. Hardwiring requires some electrical knowledge. Consider consulting an electrician if you're unsure. Hardwiring offers a cleaner look with no visible cords. This option is ideal for long-term installations.
Testing the Setup
Once you've connected to power, it's time to test the setup. You want to ensure everything works perfectly before finalizing the installation.
Checking Connections
Check all connections carefully. Ensure each plug or wire is secure. Loose connections can lead to flickering or no light at all. Turn on the lights and observe. Look for any inconsistencies in brightness. Check that all sections of the LED strip light up evenly. A thorough check saves you from future headaches.
Troubleshooting Issues
Encountering issues? Don't worry. Troubleshooting can help resolve common problems. If the lights don't turn on, check the power source first. Ensure the outlet works by plugging in another device. Inspect the LED strip for any visible damage. Damaged sections may need replacement. If flickering occurs, double-check all connections. Secure any loose wires or plugs. Consulting an electrician can provide additional guidance.
Electricians Insight: "Installation can be done in one day as part of a DIY project. Consulting an electrician is recommended before installation."
Following these steps ensures your LED shelf lighting shines bright and functions smoothly. Enjoy the transformation of your space with beautifully installed LED lights!
LED shelf lighting offers numerous benefits. You get energy efficiency, long-lasting illumination, and a modern aesthetic. Troubleshooting tips ensure smooth installation. Check connections and secure strips properly. Avoid common dimming issues by choosing quality products. Don't hesitate to try installing LED lights yourself. The process is beginner-friendly and rewarding. Engage with the community by sharing your experience or asking questions. Your feedback helps others and enriches your learning journey. Enjoy the transformation LED lighting brings to your space!


