You can tackle permanent christmas lights installation on your own. This guide helps you take control and enjoy big savings compared to hiring a pro.
-
DIY means you get more choices and keep costs low.
-
Lights stay up for every christmas, not just one season.
Let this guide show you how to make your home shine for christmas, and keep those lights glowing all year. Safety and planning matter, so use the right tools and follow each guide carefully. Christmas decorating feels easier than ever!
Key Takeaways
-
Putting up permanent Christmas lights yourself costs less and gives you more ways to decorate. You can pick your own designs.
-
Use the correct tools and follow safety rules. This helps make sure you install the lights safely and easily.
-
Permanent lights let you decorate all year. Your house can look bright for any event.
 DIY Permanent Christmas Lights: Tools & Planning
Essential Tools & Materials
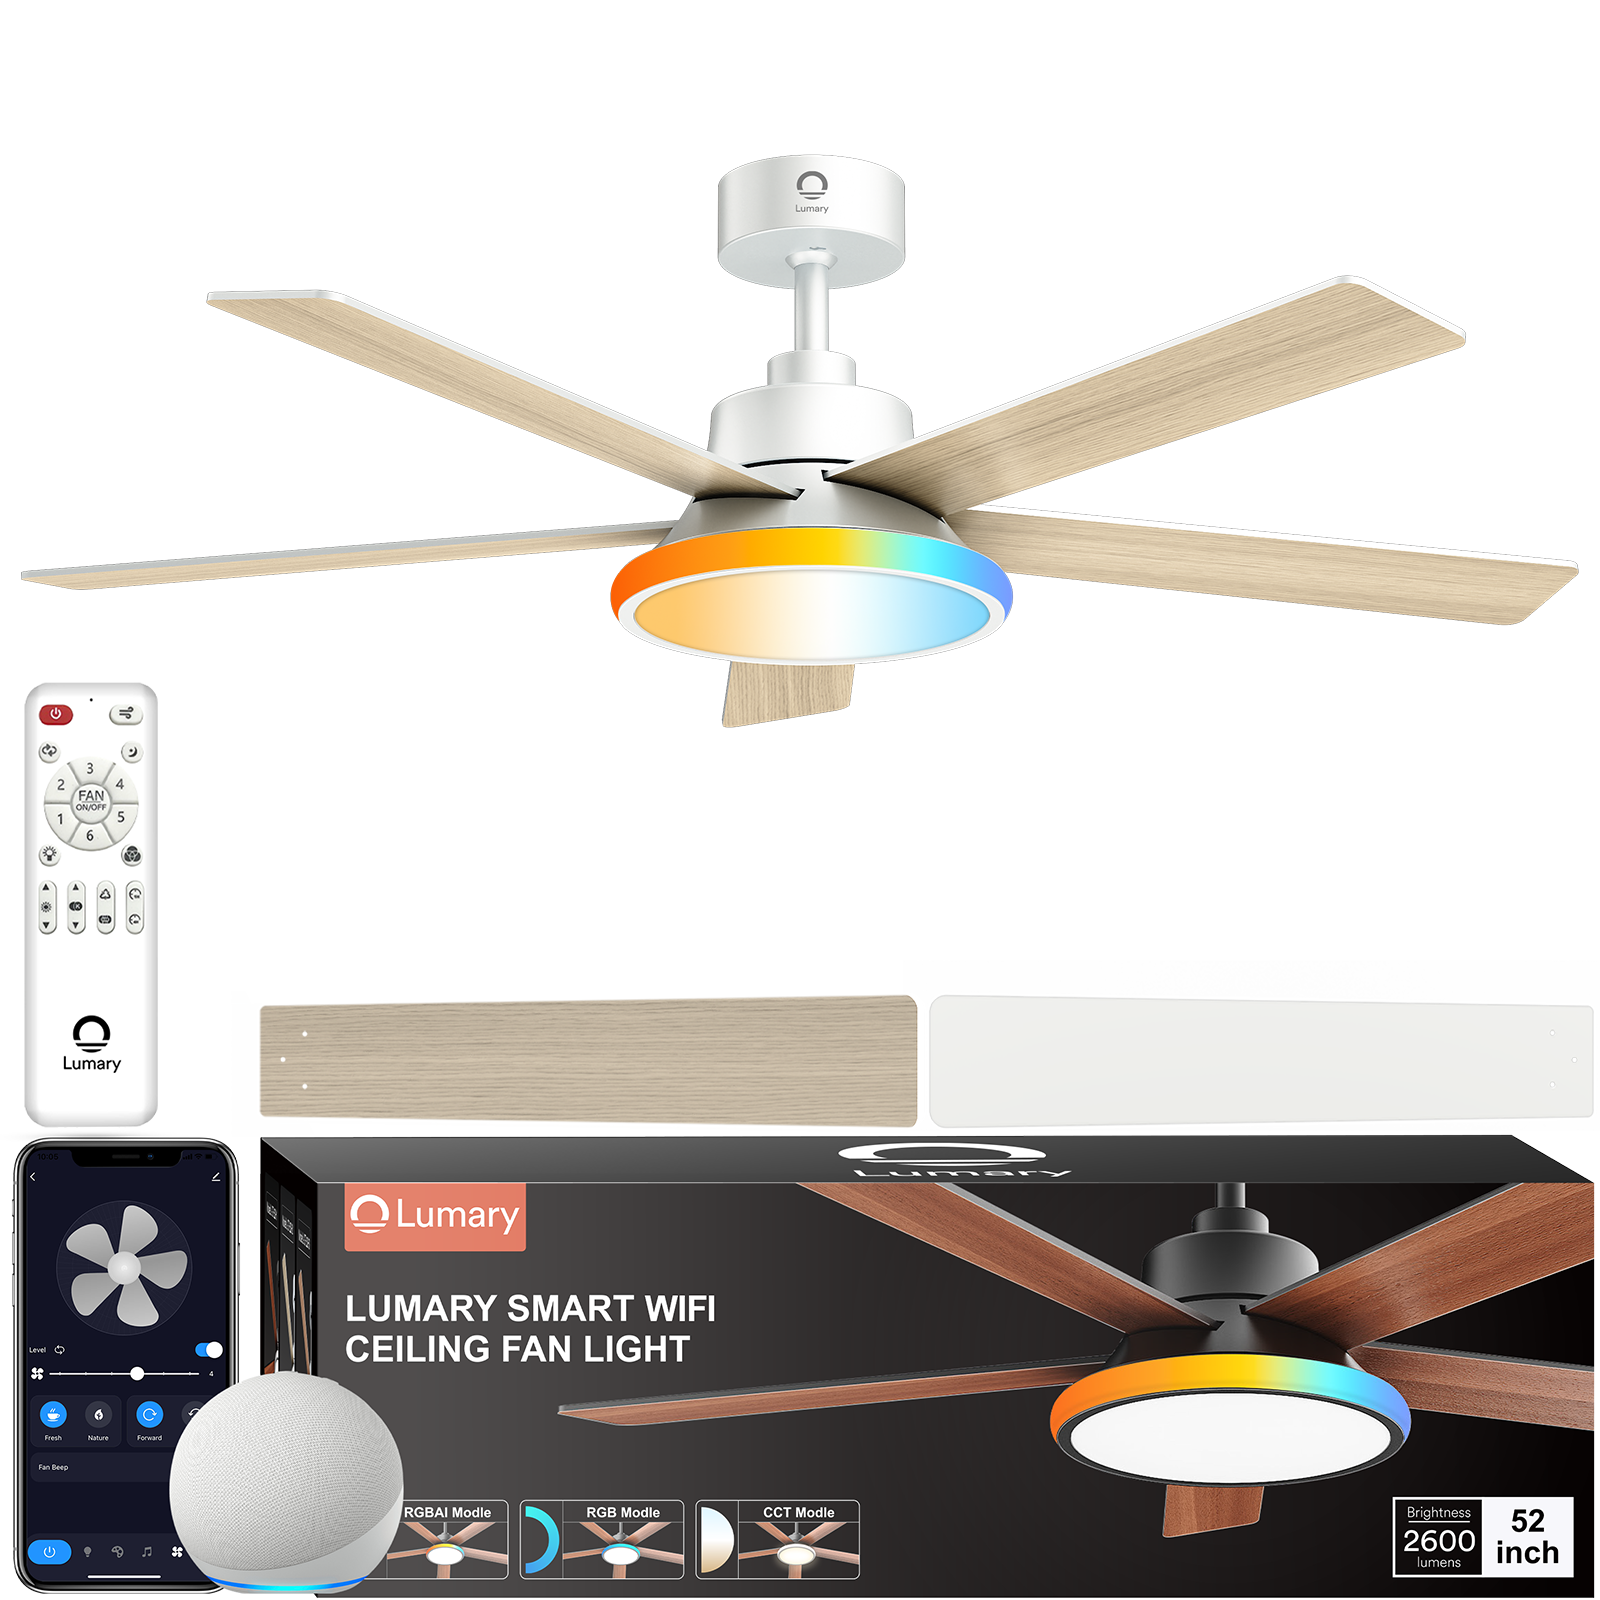
You should have all your tools ready before you start. Lumary permanent outdoor lights are simple to put up and set up. These lights have a slide-base and strong glue. You can use clips or screws to make them stay in place. The lights have a tough case and are waterproof, so rain or snow will not hurt them. You can cut the lights to fit your christmas display. The app lets you pick colors and patterns with easy steps. You do not need any special skills to set up these lights.
Here is a short list of tools for installing permanent christmas lights:
-
Tape measure
-
Ladder (Little Giant Ladder or extension ladder)
-
Aviation snips
-
Drill and impact driver
-
Ladder stabilizer
-
Safety harness
-
Smartphone for app controls
|
Feature |
Description |
|---|---|
|
Weatherproofing |
IP65+ rating keeps your lights safe in rain, snow, and dust. |
|
App Controls |
Change colors and patterns with your phone for easy setup. |
|
Customization Options |
Cuttable lights and preset scenes for easy christmas displays. |
Planning & Measuring Your Installation
You must measure and plan where your diy permanent christmas lights will go. Use a tape measure or measuring wheel to check roof edges, gutters, and yard lines. You can use building plans or Google Maps for better measurements. This helps you buy the right number of lights. Some neighborhoods have rules about when and where you can put up christmas lights. Always read the instructions and get permission if you need it.
Safety Tips for DIY Installations
Safety is important every time you work on your project. Wear good shoes and use a safety harness on ladders. Ladder stabilizers and roof anchors help you stay safe. Ground Fault Circuit Interrupters stop electrical shocks. Always follow the instructions and use waterproof connections for safe installation. LED lights do not get hot, so they are safe for trees and decorations.
Tip: Plan your project with easy steps and clear instructions. Measure, check your tools, and follow safety tips for a smooth install.
 How to Install Christmas Lights: Step-by-Step Guide
Mounting Options & Spacing
You want your permanent christmas lights to look nice and bright. First, plan where each section will go. Before you put up the first lights, do a practice run. Lay the lights along your roof or fence to check if they fit. This helps you see if the spacing is right. It also helps you avoid mistakes and makes things easier.
Spacing is important for how the lights look and how much power they use. Here is a simple guide:
|
Type of Light |
|
|---|---|
|
Globe lights |
4–6 inches apart |
|
Mini lights |
1–2 inches apart |
|
Larger bulbs |
6–10 inches apart |
Leave 2–8 inches between the lights and the wall for the best look. Use mounting channels, J-channels, or slide-base tracks to keep lights straight. These help your lights stay in place. If you have vinyl siding, use hooks that clip on. For brick or concrete, a hot glue gun works well. On wood or shingles, use all-in-one clips or shingle tabs. Outdoor mounting tape works well on smooth surfaces.
Tip: Always read the instructions for your mounting hardware. Make sure the lights are tight so they do not fall in storms.
Here are some common ways to attach permanent christmas lights outside:
-
Command strip clips for rope lights
-
Outdoor adhesive clips for columns and pillars
-
Plastic zip ties for railings and porches
-
All-in-one clips for roofs and gutters
-
Hot glue gun for rough surfaces
-
Outdoor mounting tape for quick or lasting installs
Do not use nails, screws, or staples. These can hurt your house and make it hard to take the lights down.
Connecting & Securing the Lights
After you put up the first lights, connect each strand carefully. Use connectors made for outdoor use. Make sure each connection is tight and waterproof. If you need to join two strands, use extension cables and wire covers. This keeps everything safe from rain and snow.
Check that the lights are straight and spaced evenly. Use zip ties or clips to hold loose wires. Hide wires behind trim or under eaves for a neat look. If wires look messy, try hiding them in mounting channels.
|
Surface Type |
|
|---|---|
|
Wood/Shingles |
All-in-one clips or shingle tabs fit under shingles for C7/C9 bulbs |
|
Vinyl Siding |
Vinyl siding hooks clip on without drilling |
|
Brick/Concrete |
Hot glue guns attach lights to rough surfaces |
|
Smooth Surfaces |
Outdoor mounting tape after cleaning the area |
Note: Use the right hardware to keep lights from sagging or breaking in storms.
Power Setup & Controls
You need a safe power setup for your permanent christmas lights. Use a 12-volt low-voltage system for safety and saving energy. Plug the lights into an outdoor outlet. Put the outlet close to the control box so you do not need long cords.
Here are some tips for power setup:
-
Use outdoor extension cords if you need them
-
Put outlets near your control box
-
Make sure all plugs are weatherproof
Smart controls make your lights even better. You can use an app to pick colors, brightness, and patterns. Voice commands work with Alexa, Google Assistant, or Siri. You can set timers, automate your lights, and turn them on when you get home.
Popular control options:
-
Lumary app for custom scenes and timers
-
Voice control with Alexa, Google Assistant, or Siri
-
Remote control for easy changes
-
LED controllers let you use your phone or voice to manage lights.
-
You can set lights to turn on or off at certain times.
-
Voice commands let you control lights without touching anything.
Testing & Troubleshooting
Before you finish, test the christmas lights. Turn on each section to check if they are bright and the right color. Walk around your house to see if the lights look even. If you see problems, fix them before you finish.
Common problems and fixes:
|
Problem Description |
Resolution |
|---|---|
|
Visible wires creating a messy look |
Hide wires with mounting channels or behind trim |
|
Holes drilled into gutters causing damage |
Use track systems instead of mounting on gutters |
|
Unequal distribution of power |
Spread out electrical load and use proper outlets |
|
Downward/outward facing tracks |
Use custom track fabrication for unique rooflines |
If a strand does not light up, check the connectors and power. Make sure you did not plug too many things into one outlet. Always use outdoor equipment for safety.
Tip: Plan your install and test each part before you finish. This saves time and helps you avoid mistakes.
 Why DIY Permanent Christmas Lights Are Worth It
When you put up permanent christmas lights yourself, you get more than just holiday fun. You save money, enjoy lights all year, and make your house look great. Permanent christmas lights use LED technology, so they save energy and are safe. You do not have to climb ladders every year or untangle old lights.
Here are some top benefits:
-
Custom displays for any holiday or event
-
No need to set up every year
-
LED lights save energy
-
Safe because they stay up
-
Save money over time
-
Use for birthdays, parties, and more
-
Save time with no tangled lights
Permanent christmas lights let you decorate for Christmas, Halloween, Valentine’s Day, and birthdays. You can change colors and patterns with your phone or voice. Your house will shine all year, and you get to enjoy a smart lighting system.
Callout: Permanent christmas lights make every party brighter and easier. You can design your own displays and enjoy them anytime.
If you follow this step-by-step guide, you will have a safe, pretty, and flexible lighting system. Your house will stand out for Christmas and every special day.
You can install permanent christmas lights in a weekend and enjoy them for every christmas. Keep your lights working by turning them off during the day, replacing bulbs fast, and protecting them from harsh weather. If you run into trouble, check your tools or ask for help. Show off your christmas display!
FAQ
Are Lumary permanent outdoor lights waterproof?
Yes, these lights have an IP65 rating. You can leave them outside in rain or snow. They keep working in all kinds of weather.
Can I use these lights in coastal or humid areas?
You can use them near the ocean or in humid places. The tough design protects the lights from salty air and moisture.
Do I need a professional to install Lumary permanent lights?
No, you do not need a pro. You can install them yourself. Just follow the steps in this guide and enjoy your christmas display.


