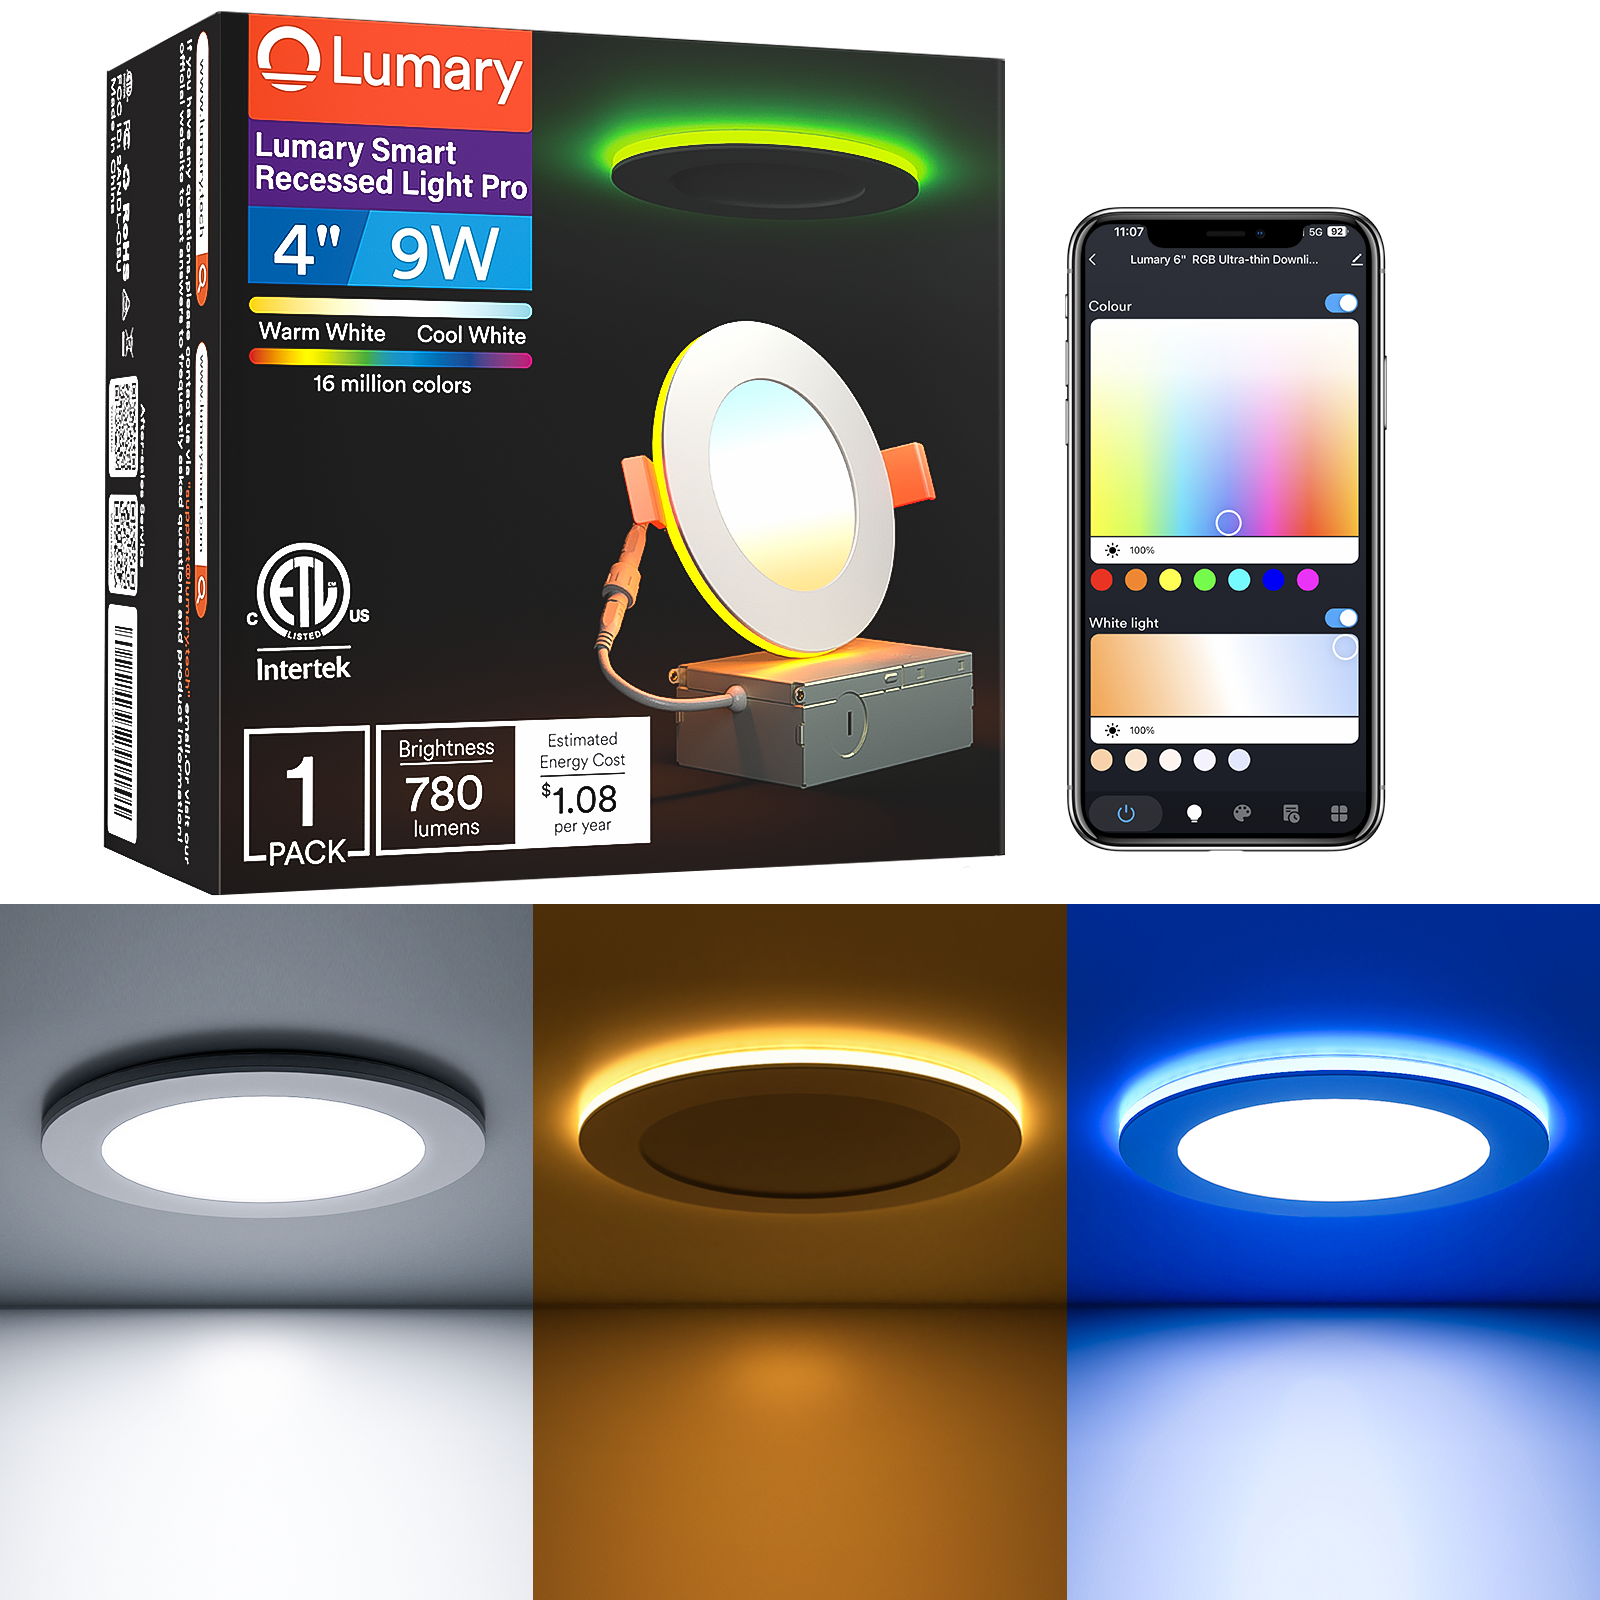
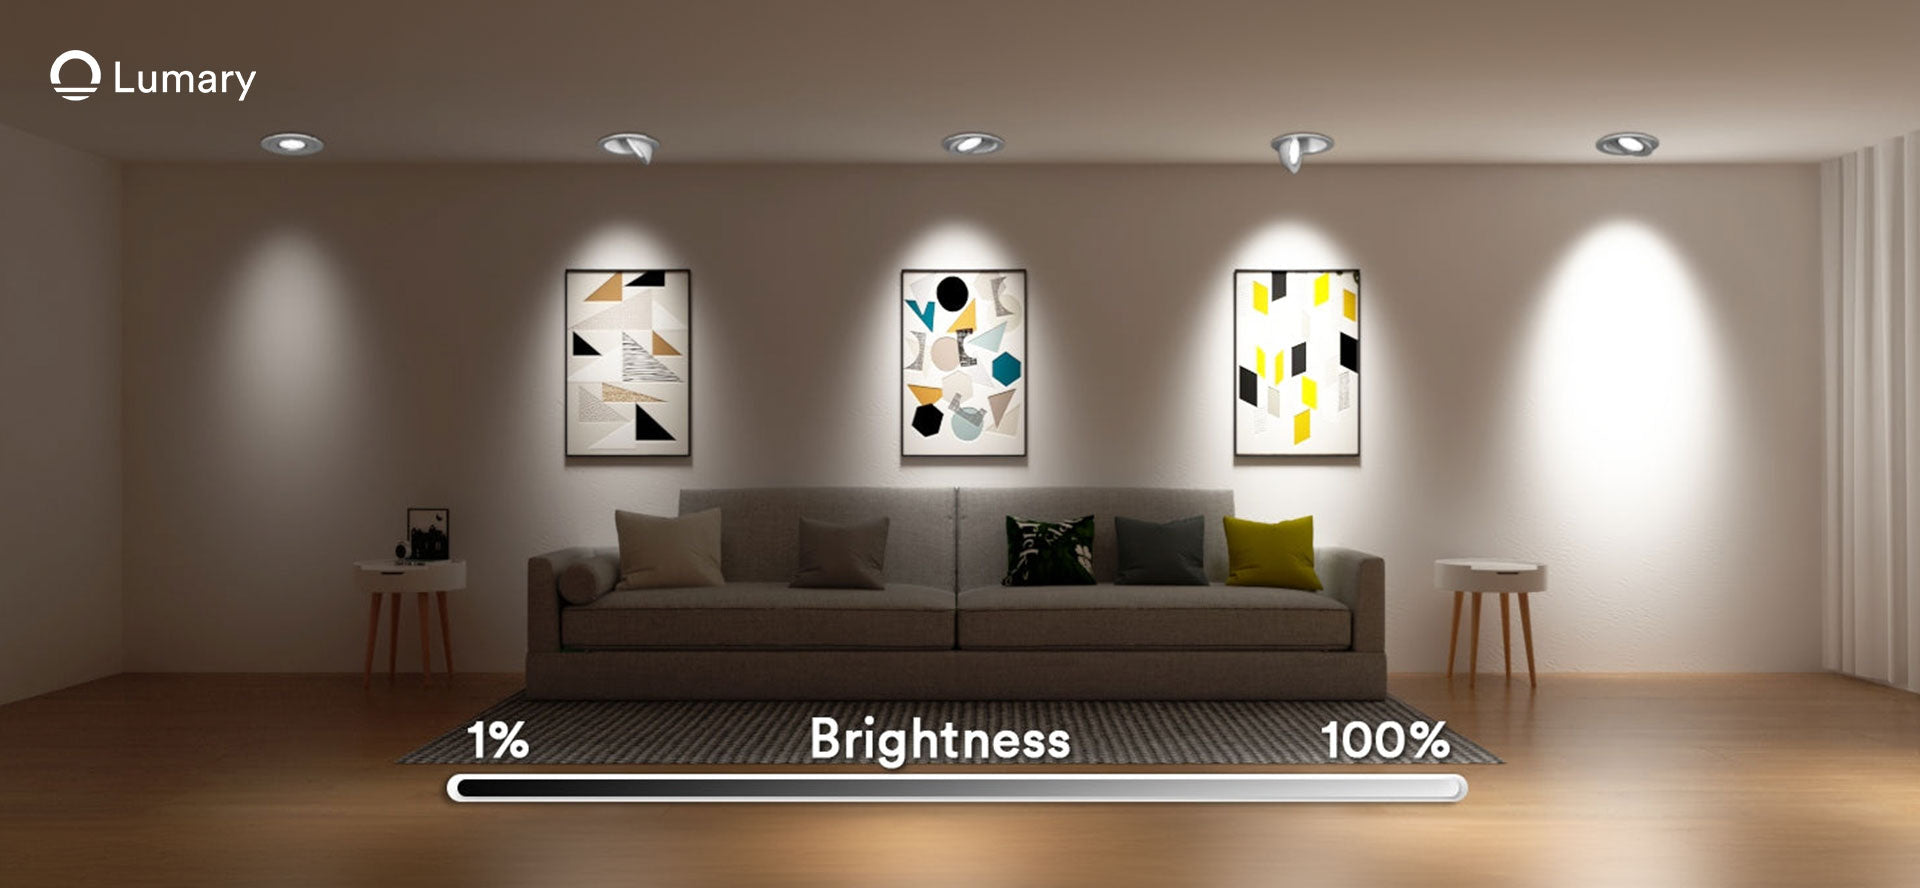
Lumary Smart Gimbal Recessed Lights offer numerous benefits for your home lighting. These recessed canless lights enhance the ambiance with 16 million color options and adjustable brightness. The ability to rotate 360 degrees horizontally and 90 degrees vertically allows precise light focus. Voice control through Amazon Alexa or Google Assistant adds convenience. The durable construction ensures longevity and superior fire performance. The air-tight design prevents dust and water mist entry, making these lights a reliable choice for any room.
Tools and Materials Required
Essential Tools
Screwdrivers
You need screwdrivers to secure the light fixtures and junction boxes. A set of both flathead and Phillips screwdrivers will cover most needs.
Wire Strippers
Wire strippers are necessary for removing the insulation from electrical wires. This tool ensures clean and safe connections.
Drill
A drill is essential for making holes in the ceiling for the recessed lights. Use a hole saw attachment to achieve precise cuts.
Necessary Materials
Lumary Smart Gimbal Recessed Lights
The Lumary Smart Gimbal Recessed Lights serve as the primary lighting fixtures. These lights offer adjustable brightness and color options.
Electrical Wiring
You need electrical wiring to connect the lights to your home's power supply. Ensure the wiring meets local electrical codes for safety.
Junction Boxes
Junction boxes house the electrical connections for the lights. These boxes protect the connections and prevent electrical hazards.
Tip: Consult with a professional before installing new wiring or electrical appliances to ensure safety and compliance with electrical codes.
Step-by-Step Installation Guide for Recessed Canless Lights

Step 1: Turn Off the Power
Locate the circuit breaker
Locate the circuit breaker in your home. Identify the switch that controls the area where you will install the recessed canless lights.
Ensure power is off
Flip the switch to turn off the power. Use a voltage tester to confirm that no electricity flows to the installation site. This step ensures safety and prevents electrical hazards.
Step 2: Prepare the Installation Location
Mark the spots for lights
Use a measuring tape to mark the spots on the ceiling where you plan to install the lights. Follow the manufacturer's template to ensure accurate placement. Proper marking helps avoid mistakes during installation.
Check for obstructions
Inspect the marked spots for any obstructions. Look for pipes, wires, or structural elements that could interfere with the installation. Clear any obstacles to ensure a smooth process.
Step 3: Run Electrical Wiring
Plan the wiring route
Plan the route for the electrical wiring. Consider the shortest and safest path from the power source to the light fixtures. Running the wiring through the attic is often recommended for finished ceilings.
Secure the wiring
Secure the wiring along the planned route using cable clamps or staples. Ensure the wiring is tight and free from any sharp edges. Properly secured wiring prevents future electrical issues and maintains safety.
Tip: Consult with a professional before installing new wiring or electrical appliances to ensure safety and compliance with electrical codes.
Step 4: Cut Openings
Measure and mark the ceiling
Measure the ceiling where you plan to install the recessed canless lights. Use a measuring tape for accuracy. Mark each spot with a pencil. Follow the manufacturer's template to ensure precise placement. Proper marking helps avoid mistakes during installation.
Use a hole saw to cut openings
Attach a hole saw to your drill. Align the hole saw with the marked spots on the ceiling. Drill carefully to create clean openings. Ensure the holes match the size of the recessed canless lights. Clean the edges of the holes to remove any debris.
Step 5: Wire the Fixture
Connect the wires
Strip the insulation from the ends of the electrical wires using wire strippers. Connect the wires from the light fixture to the corresponding wires in the junction box. Match the colors: black to black, white to white, and ground to ground. Twist the wires together securely.
Secure connections with wire nuts
Place wire nuts over the twisted wire connections. Twist the wire nuts until they are tight. Ensure no bare wire is exposed. Tuck the connected wires neatly into the junction box. Properly secured connections prevent electrical hazards.
Step 6: Install the Housing
Insert the housing into the opening
Insert the housing of the recessed canless lights into the drilled openings. Push the housing up until it sits flush with the ceiling. Ensure the housing fits snugly without any gaps. The air-tight design prevents dust and water mist entry.
Secure it in place
Use screws to secure the housing in place. Tighten the screws until the housing is firmly attached to the ceiling. Check for stability by gently tugging on the housing. Properly secured housing ensures the lights remain in place.
Tip: Consult with a professional before installing new wiring or electrical appliances to ensure safety and compliance with electrical codes. This step helps prevent potential electrical hazards.
Step 7: Test the Lights
Restore power
Return to the circuit breaker. Flip the switch to restore power to the area where you installed the recessed canless lights. Ensure the power flows correctly by using a voltage tester. Confirm that electricity reaches the light fixtures.
Check functionality
Turn on the light switch. Observe each recessed canless light to ensure proper functionality. Check for consistent brightness and color. Adjust the settings using the Lumary app or voice control through Amazon Alexa or Google Assistant. Verify that the lights respond to commands and adjust as needed.
Tip: If any light does not function correctly, double-check the wiring connections. Ensure all wires are secure and properly connected. Consult a professional if issues persist.
Tips for Optimal Placement and Spacing of Recessed Canless Lights

Determine the Best Locations
Consider room layout
Evaluate the room's layout before installing recessed canless lights. Identify areas that require focused lighting, such as workspaces, reading nooks, or art displays. The Lumary Smart Gimbal Recessed Lights offer flexibility with 360-degree horizontal and 90-degree vertical rotation. Use this feature to highlight specific areas effectively.
Avoid shadows and glare
Position the lights to minimize shadows and glare. Place lights away from reflective surfaces like mirrors and glass. Ensure even lighting distribution across the room. This approach enhances the room's ambiance and functionality.
Spacing Guidelines
Recommended distance between lights
Follow the general rule of spacing lights half the height of the ceiling. For example, if the ceiling height is 8 feet, space the lights 4 feet apart. This guideline ensures optimal illumination and prevents dark spots.
Adjust based on room size
Adjust the spacing based on the room's size and purpose. Larger rooms may require closer spacing for adequate lighting. Smaller rooms can have wider spacing without compromising brightness. Tailor the light placement to suit the specific needs of each room.
Expert Tip: An architect from New York suggests using recessed lighting to highlight objects and art pieces. Position lights to focus on these elements, creating a visually appealing environment.
Recessed canless lights offer a modern and efficient lighting solution. The installation process involves several key steps, including turning off the power, preparing the installation location, running electrical wiring, cutting openings, wiring the fixture, installing the housing, and testing the lights. Proper placement and spacing ensure optimal illumination.
Enjoy the enhanced ambiance and functionality of your new lighting setup. The versatility and convenience of Lumary Smart Gimbal Recessed Lights will transform your space. As one user noted, "You are awesome for doing this! I have been looking at recessed LED lighting for my remodel."


