Landscape lighting plays a crucial role in transforming your outdoor spaces into safe and inviting areas. It not only enhances the beauty of your garden or patio but also boosts security by deterring potential intruders. By opting for a DIY installation, you can enjoy the satisfaction of personalizing your outdoor landscape light setup while saving on professional costs. This hands-on approach allows you to tailor the lighting to highlight your property's best features, creating a balanced and aesthetically pleasing environment that extends your living space outdoors.
Planning Your Outdoor Landscape Light Setup

Planning your outdoor landscape light setup is an exciting step that sets the stage for a beautifully illuminated space. This process involves assessing your outdoor area and designing a layout that highlights its best features. Let's dive into how you can effectively plan your lighting setup.
Assessing Your Outdoor Space
Before you start installing lights, take a good look at your outdoor space. This assessment helps you identify the key areas that need lighting and understand the purpose behind each light.
Identifying Key Areas for Lighting
Walk around your garden, patio, or yard and note the spots that could benefit from lighting. Think about pathways, driveways, and entryways. These areas not only need illumination for safety but also to enhance their beauty. Consider using Focused Downlighting to highlight specific features like architectural details or garden highlights. This type of lighting ensures safety and adds charm to your outdoor space.
Considering the Purpose of Lighting
Each light should serve a purpose. Are you aiming to improve safety, create ambiance, or highlight specific features? For instance, Enchanting Bistro Lighting can transform your patio into a cozy haven perfect for entertaining. If security is a priority, Exterior Light Fixtures can illuminate entryways and pathways, enhancing both safety and curb appeal.
Designing Your Lighting Layout
Once you've assessed your space, it's time to design a layout that brings your vision to life. This involves sketching a plan and choosing the right lighting styles and fixtures.
Sketching a Layout Plan
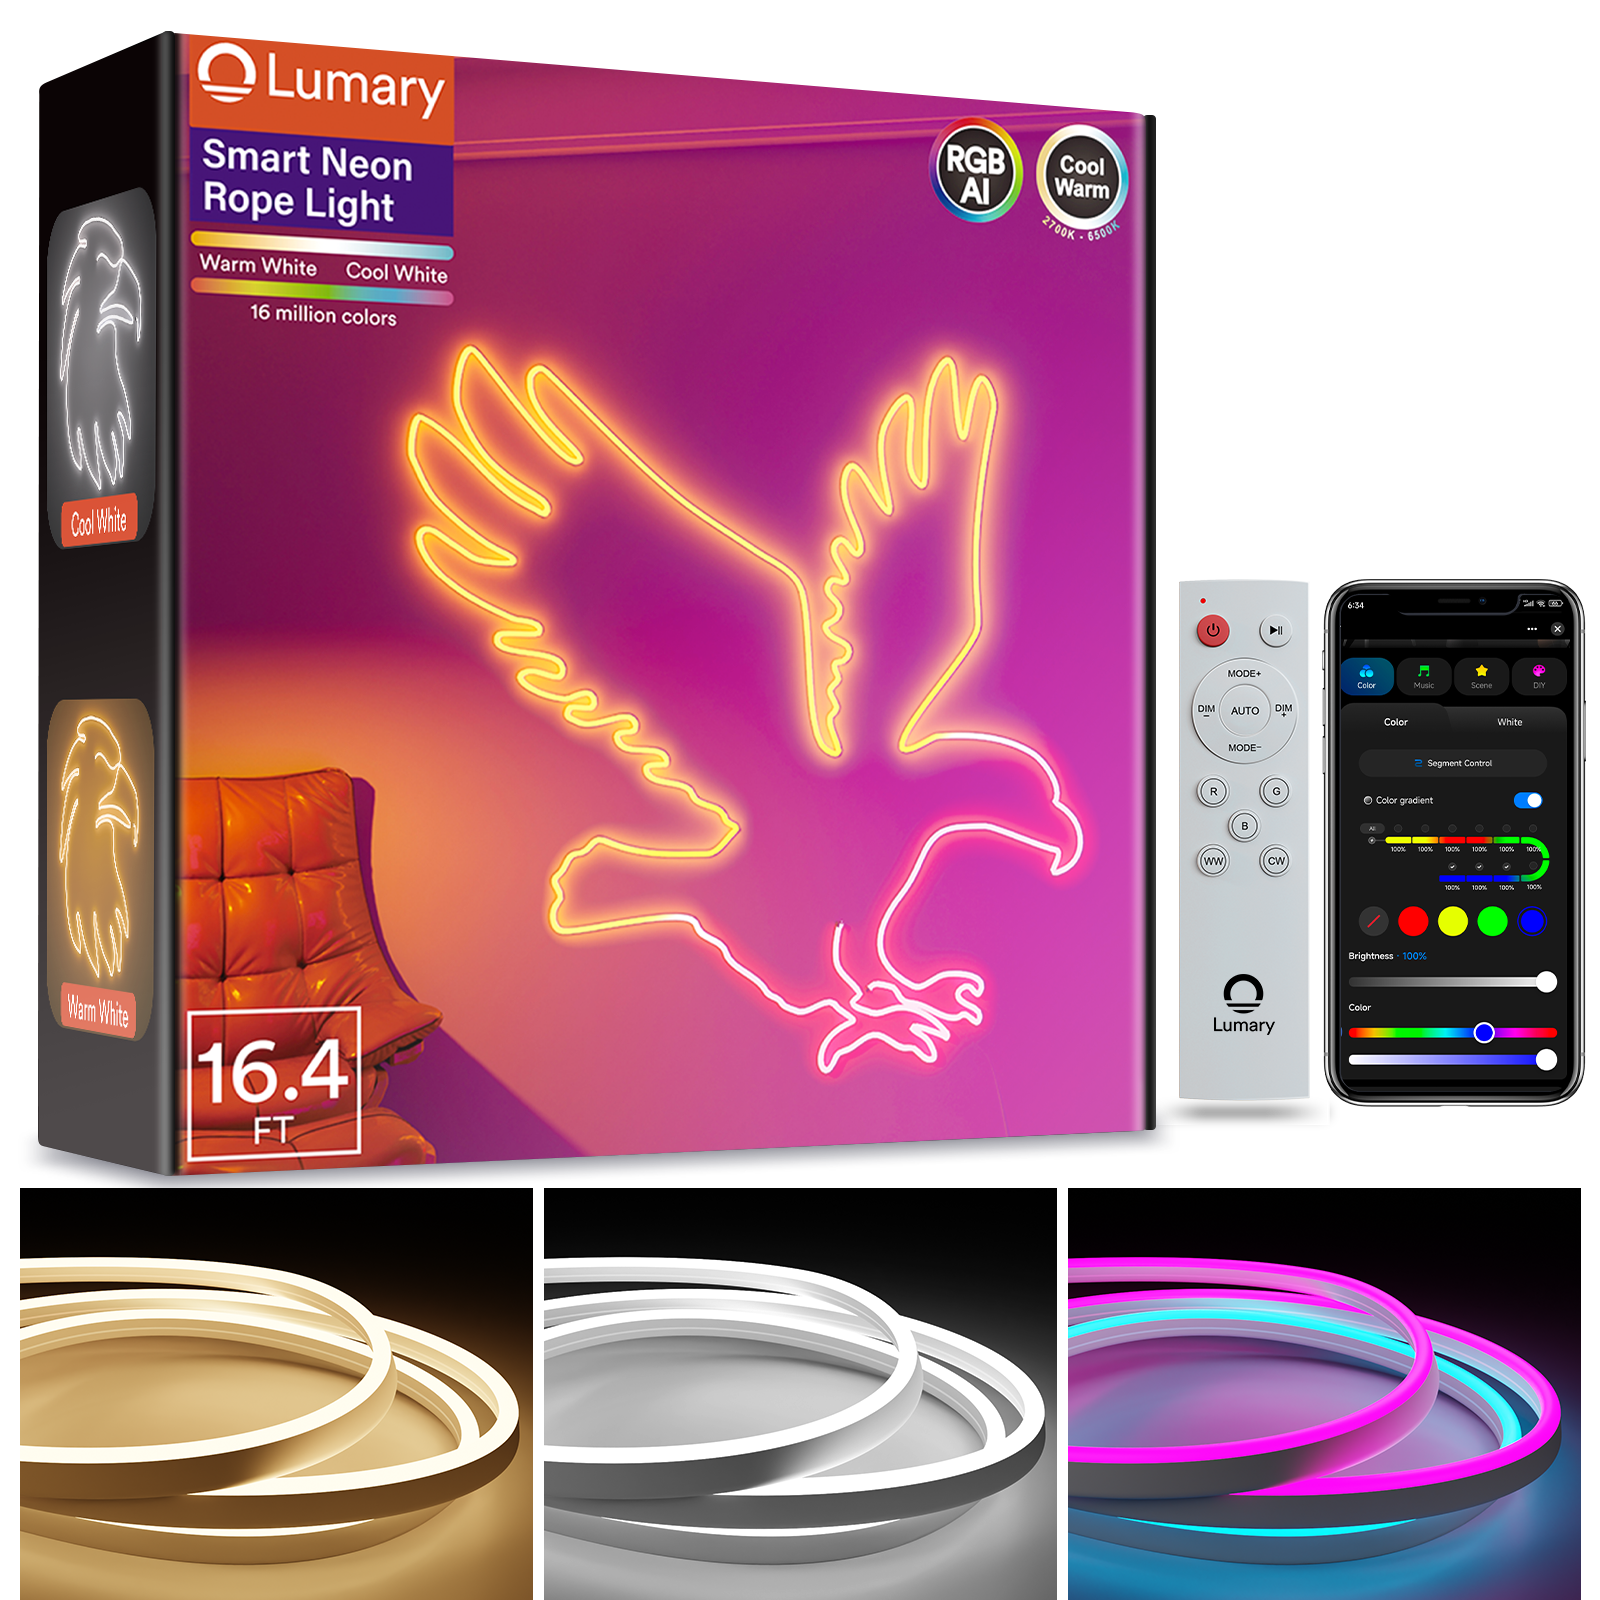
Grab a piece of paper and sketch a rough layout of your outdoor area. Mark where you want to place each light. This visual guide helps you organize your thoughts and ensures you don't miss any important spots. Consider using LED Rope and Strip Lighting to outline paths or stairways. These lights improve visibility and add a dynamic element to your design.
Choosing Lighting Styles and Fixtures
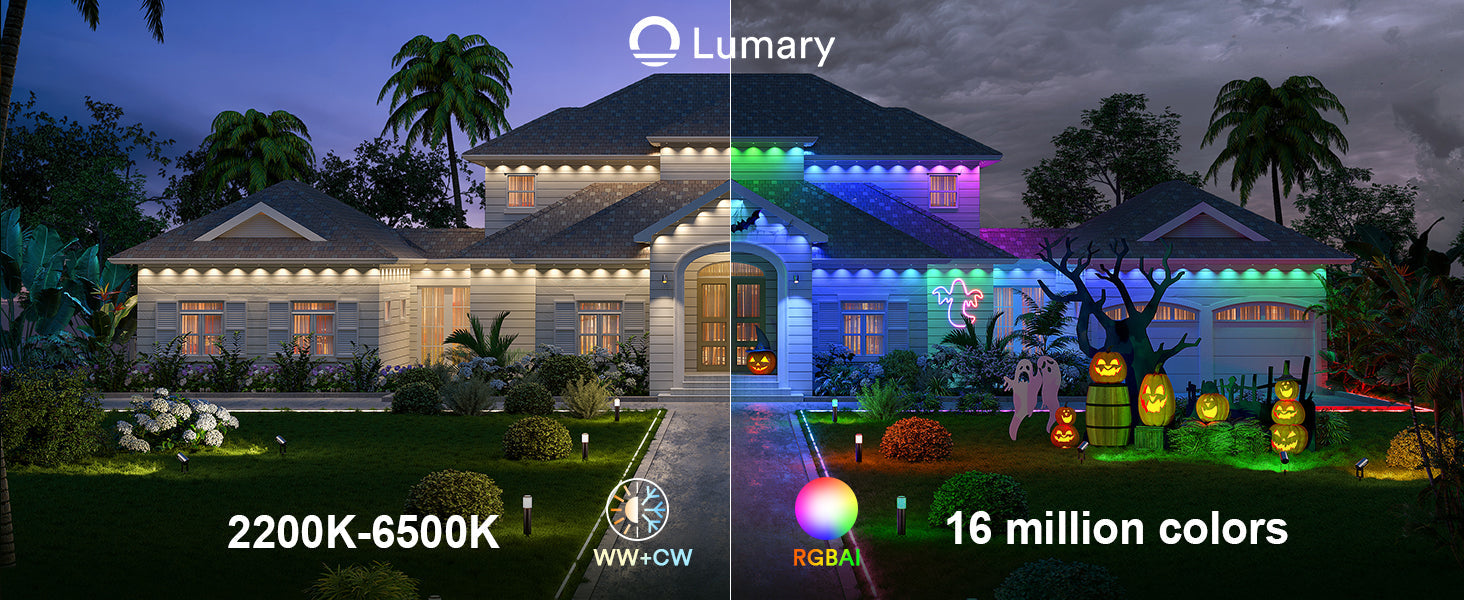
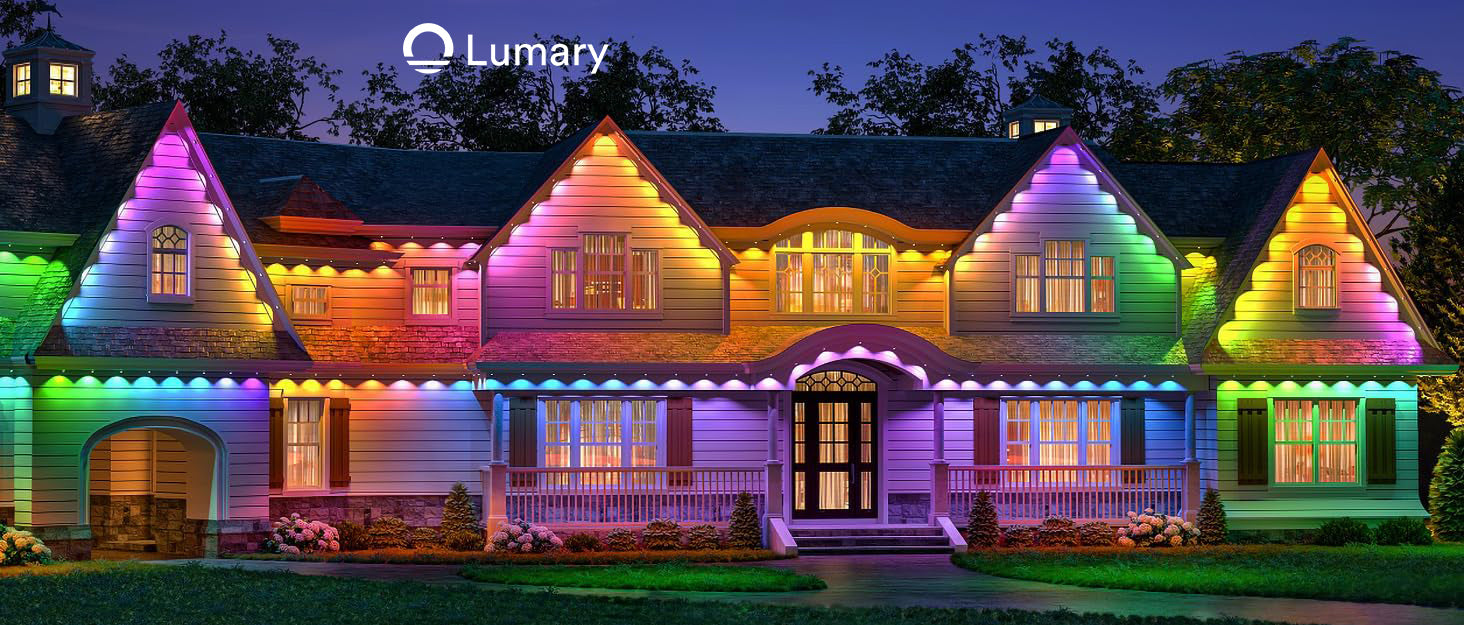
Selecting the right fixtures is crucial for achieving the desired effect. Tunable LED Lights offer flexibility in adjusting warmth and brightness, allowing you to cater to different moods and settings. For a festive touch, consider Smart Lighting Integration. These lights let you control color and intensity through a smartphone app, perfect for gatherings or holiday celebrations.
By carefully planning your outdoor landscape light setup, you can create a space that is not only functional but also visually stunning. Whether you're aiming for a magical garden or a secure pathway, the right lighting can make all the difference.
Gathering Necessary Supplies
Before diving into the installation, you need to gather all the necessary supplies. Having everything on hand will make the process smoother and more enjoyable. Let's break down what you'll need.
Essential Tools and Materials
To get started, you'll need some essential tools and materials. These items are crucial for a successful landscape lighting installation.
Lighting Fixtures and Bulbs
First, choose the right lighting fixtures and bulbs. These are the stars of your setup. Consider fixtures that match your home's style and the specific areas you want to illuminate. You'll find options like path lights, spotlights, and well lights. Each type serves a different purpose, so think about what fits your vision best.
Wiring and Connectors
Next, gather the wiring and connectors. A low-voltage landscape lighting system typically uses a transformer, low-voltage cables, and connectors. The transformer reduces the standard 120-volt household current to a safer 12 volts, making it perfect for DIY projects. Ensure you have enough cable to reach all your fixtures, and remember to bury it at least six inches deep to prevent damage.
Optional Accessories
While not essential, these optional accessories can enhance your lighting system's functionality and aesthetics.
Timers and Smart Controls
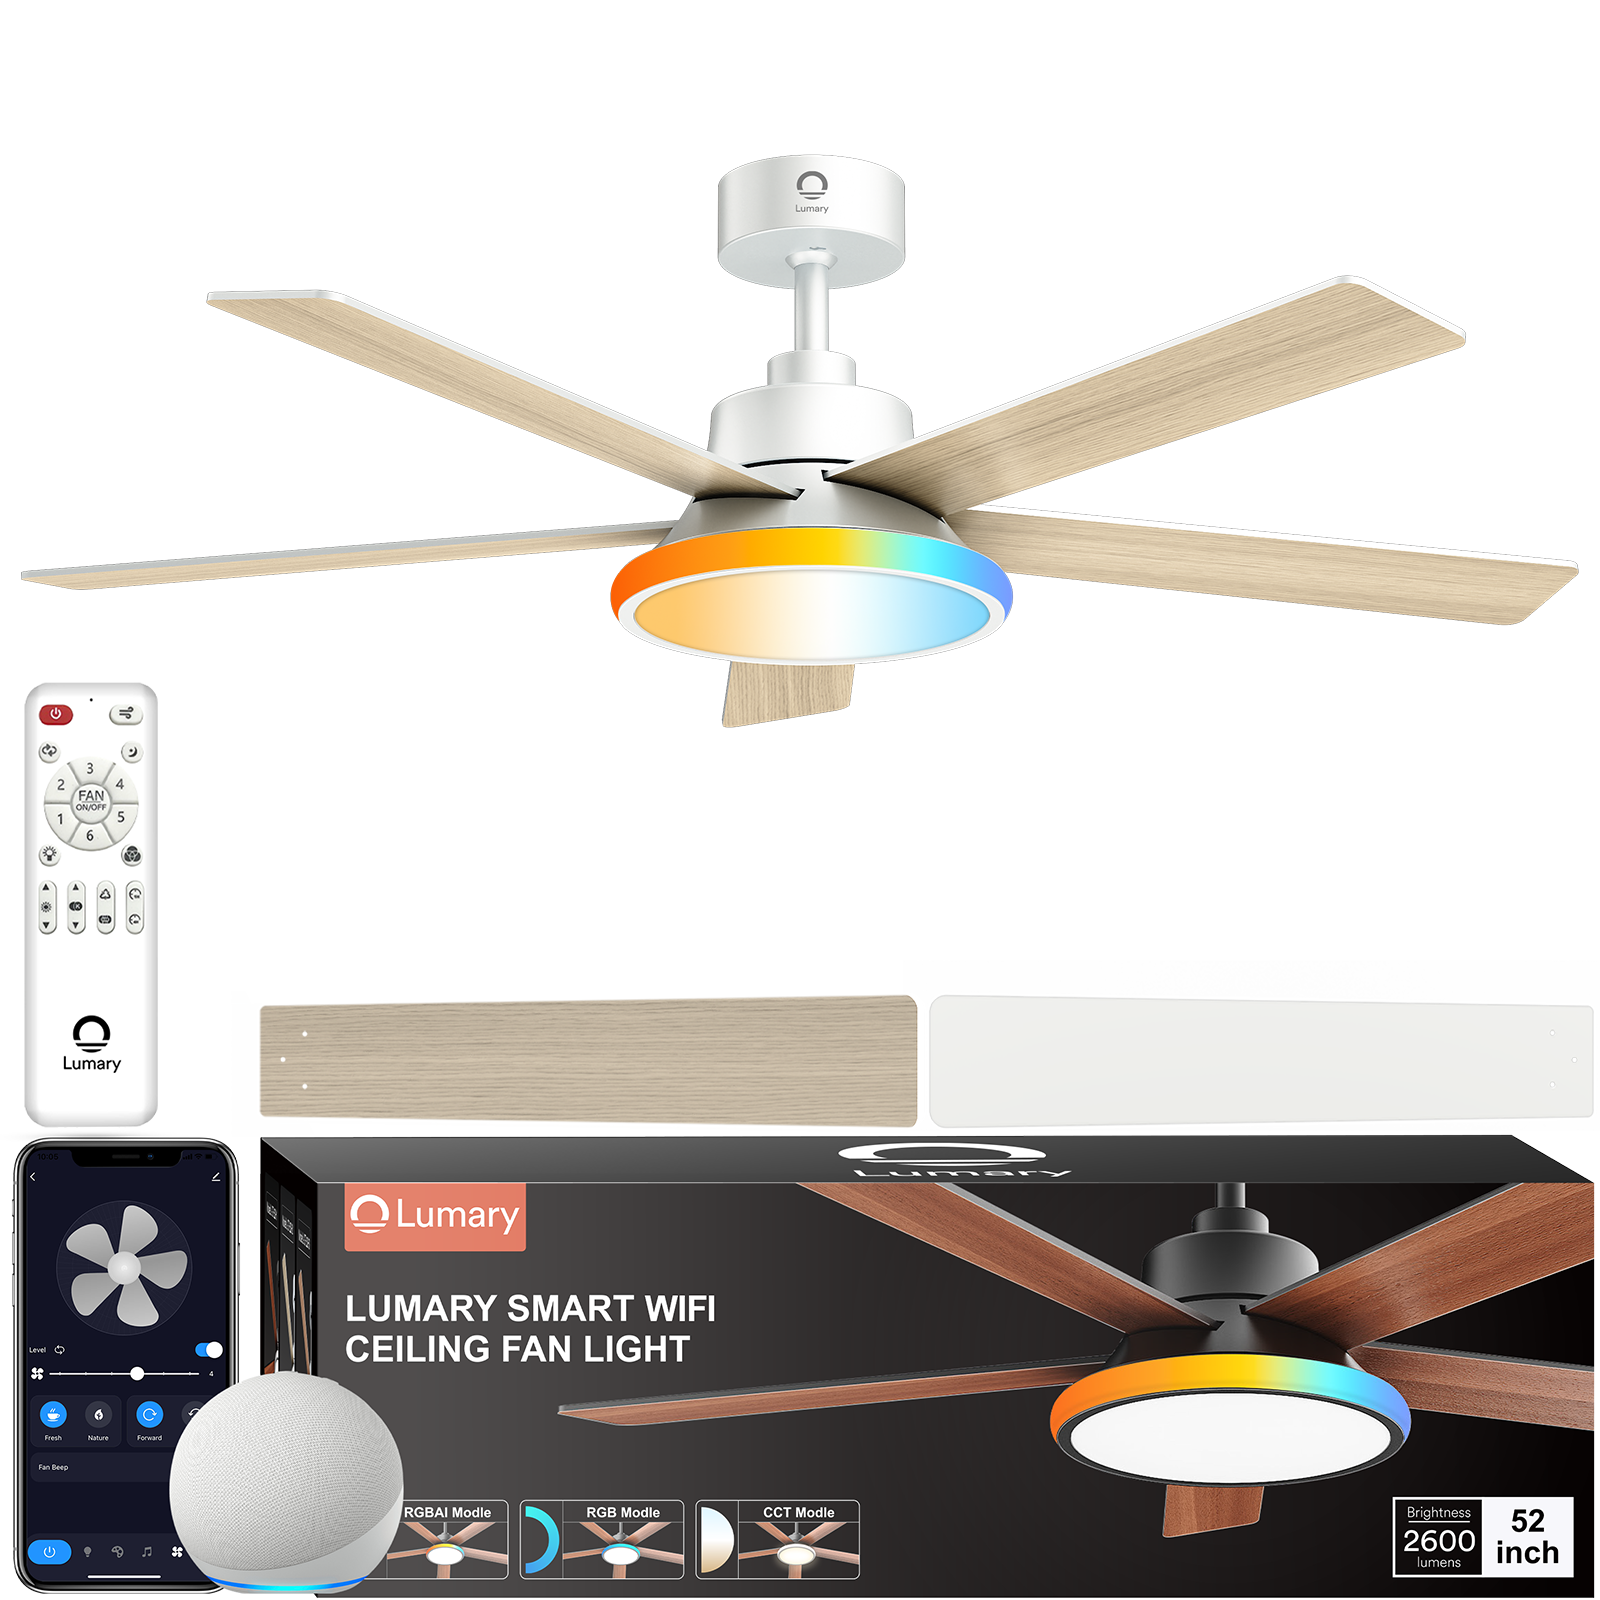
Consider adding timers and smart controls to your setup. These devices automate your lighting, turning it on and off according to your schedule. You can use timers for a simple setup or opt for smart controls that integrate with your home automation system. This way, you can control your lights from your smartphone or even with voice commands.
Decorative Elements
Finally, think about incorporating decorative elements. These can add a personal touch to your outdoor space. Options include decorative light covers, colored lenses, or even themed fixtures for special occasions. These elements allow you to customize your lighting and create a unique atmosphere.
By gathering these supplies, you're setting yourself up for a successful landscape lighting installation. With the right tools and materials, you'll transform your outdoor space into a beautifully lit oasis.
Preparing for Installation

Before you start installing your landscape lighting, it's crucial to prepare properly. This preparation ensures a smooth installation process and helps you avoid potential pitfalls. Let's walk through the necessary steps to get your site ready.
Safety Precautions
Safety should always be your top priority when working with electrical installations. Taking the right precautions can prevent accidents and ensure a successful project.
Checking Local Codes and Regulations
Before you begin, check your local codes and regulations regarding outdoor lighting. These rules can vary by location and may include specific requirements for power usage or fixture placement. For example, the California Energy Code 2016 outlines certain exemptions and trade-offs for outdoor lighting power. Understanding these guidelines helps you comply with legal standards and avoid potential fines.
Ensuring Electrical Safety
Electrical safety is paramount. Turn off the main circuit breaker in your home's electrical panel before starting any work. This step prevents electrical shocks and keeps you safe. Follow the manufacturer's instructions for wiring the light fixtures. Use a transformer to reduce the standard 120-volt household current to a safer 12 volts, which is ideal for low-voltage landscape lighting systems.
Site Preparation
Proper site preparation sets the foundation for a successful installation. It involves clearing the area and marking where each fixture will go.
Clearing the Installation Area
Start by clearing the installation area of any debris, plants, or obstacles. This step ensures you have a clean workspace and prevents any interference during the installation. A clear area also makes it easier to lay out your lighting fixtures and cables.
Marking Fixture Locations
Once the area is clear, mark the locations where you plan to install each fixture. Use stakes or flags to indicate these spots. This visual guide helps you stay organized and ensures you don't miss any important areas. Consider the purpose of each light and how it will enhance your outdoor space. For instance, place path lights along walkways for safety and ambiance.
By following these preparation steps, you'll set yourself up for a smooth and efficient installation process. With safety precautions in place and a well-prepared site, you're ready to bring your landscape lighting vision to life.
Installing the Outdoor Landscape Light System
Now that you've planned and prepared, it's time to bring your outdoor landscape light system to life. This section will guide you through setting up fixtures and making the necessary wiring connections. Let's get started!
Setting Up Fixtures
The first step in installing your outdoor landscape light system is setting up the fixtures. This involves assembling and positioning them correctly to ensure optimal lighting.
Assembling and Positioning Fixtures
Begin by assembling each fixture according to the manufacturer's instructions. This usually involves attaching the light bulb and any necessary components. Once assembled, position the fixtures in the locations you marked during the planning phase. Make sure each fixture is aimed to highlight the desired area, whether it's a pathway, garden feature, or entryway. Proper positioning ensures that your outdoor landscape light system provides both beauty and functionality.
Securing Fixtures in Place
After positioning the fixtures, secure them firmly in place. Use stakes or mounting brackets provided with the fixtures to anchor them into the ground. This step is crucial to prevent the lights from shifting or falling over, especially in windy conditions. A stable fixture ensures consistent lighting and enhances the durability of your outdoor landscape light system.
Wiring and Connections
With the fixtures set up, the next step is to handle the wiring and connections. This process involves running cables and connecting them to a power source.
Running Cables and Wires
Start by laying out the cables along the path you planned. Ensure the cables are long enough to reach each fixture without tension. Dig a shallow trench, about three inches deep, to bury the cables. This protects them from damage and keeps your outdoor space tidy. As you run the cables, leave some slack near each fixture for easy adjustments.
Connecting to Power Source
Once the cables are in place, connect them to the power source. Use a transformer to convert the household current to a safe voltage for your outdoor landscape light system. Follow the manufacturer's instructions to attach the cables to the transformer. Make sure all connections are secure and insulated to prevent electrical hazards. After connecting, test the system to ensure all lights function correctly.
By following these steps, you'll successfully install your outdoor landscape light system. Enjoy the transformation of your outdoor space into a beautifully lit oasis that enhances both safety and aesthetics.
Final Adjustments and Testing
You've installed your landscape lighting system. Now, it's time to make those final tweaks to ensure everything looks perfect. This step involves adjusting the light angles and testing the system for functionality. Let's dive in!
Adjusting Light Angles and Coverage
Properly adjusting your lights can make a big difference in how your outdoor space looks. You want to ensure optimal illumination while minimizing any unwanted glare or shadows.
Ensuring Optimal Illumination
Walk around your outdoor area during the evening. Observe how each light casts its glow. Adjust the angles to highlight key features like pathways, trees, or architectural elements. You want the light to enhance these areas without overpowering them. A well-lit space feels inviting and safe.
Minimizing Glare and Shadows
Glare can be distracting and uncomfortable. To reduce it, tilt the fixtures slightly downward. This directs the light where you need it most. Shadows can add drama, but too many can obscure important areas. Adjust the lights to balance light and shadow, creating a harmonious effect.
Expert Tip: "Choosing the right outdoor lighting requires a strategic approach... If in doubt, consulting with a lighting expert can help clarify these choices and lead to a satisfactory purchase and end result."
Testing the System
Once you've adjusted the lights, it's crucial to test the entire system. This ensures everything works as it should and helps you spot any issues early on.
Checking for Functionality
Turn on your lighting system and check each fixture. Make sure all lights illuminate as expected. Walk around your space to see if any areas remain dark or underlit. Adjust the fixtures or add more lights if necessary. A fully functional system enhances both beauty and safety.
Troubleshooting Common Issues
If you encounter problems, don't worry. Common issues include flickering lights or some fixtures not turning on. Check the connections and ensure all cables are secure. If a light doesn't work, try replacing the bulb. Sometimes, a simple fix can solve the problem.
Lighting Professional Insight: Darryl, a lighting professional, emphasizes the importance of using LEDs and consulting experts. "It pays to switch to LEDs, and it pays to consult with lighting professionals."
By following these steps, you'll ensure your landscape lighting system looks stunning and functions perfectly. Enjoy your beautifully lit outdoor space!
You've successfully navigated the journey of installing your outdoor landscape light system. From planning and gathering supplies to the final adjustments, each step has brought you closer to a beautifully illuminated space. Now, it's time to sit back and enjoy the enhanced ambiance and security your lighting provides.
Feel free to share your experiences or ask questions. Your feedback helps us improve and inspire others. As one satisfied customer shared, “My outdoor lighting looks beautiful! Highly recommend!” Your outdoor space can be just as enchanting.


