







The answer to this question depends almost entirely on one variable that has nothing to do with the ceiling light itself: whether an existing junction box is already present at the ceiling where you want to install the new fixture. That single factor separates the installation scenarios where a confident homeowner with basic electrical safety knowledge can complete the work themselves from the scenarios where professional electrical involvement is necessary for both safety and code compliance. The mistake most homeowners make is treating "installing ceiling lights" as a single question when it is actually two or three very different questions depending on what is already in the ceiling.
If you're confident with basic tools and electrical safety, certain lighting projects can be manageable for a homeowner. Replacing an existing light fixture with another of similar style and weight is often straightforward. As long as you're not altering wiring or electrical circuits, the process usually involves disconnecting the old fixture, connecting the new one, and securing it in place. MOD LIGHTING
This is scenario one: replacing an existing ceiling fixture at an existing junction box. The junction box is already mounted, the wiring is already run, the circuit is already connected. The installation task is mechanical and electrical connection — remove the old fixture, connect the new fixture's wires to the existing junction box wires using the provided connectors, and secure the new fixture. This is the scenario that the Lumary canless recessed light is specifically designed for, and it is the scenario that most homeowners asking this question are actually facing.
Scenario two — the scenario that genuinely requires a licensed electrician — is installing recessed lights in a location where no ceiling fixture has ever existed. Swapping out your standard fixtures for recessed lights always requires new wiring to be installed. Unless you're an electrician yourself, we don't recommend you attempt to DIY wiring as it can be dangerous, and improper installation can lead to fire or injury. Installing recessed lighting means messing up your ceiling or walls by cutting holes for the new installation and the many feet of wiring. New wiring means running cable through ceiling cavities or walls from the nearest circuit, connecting to a circuit breaker panel, possibly installing new junction boxes, and potentially upgrading the panel if the additional load exceeds its capacity. This work involves the home's permanent electrical infrastructure and carries genuine safety and code compliance consequences if performed incorrectly. Angi
The decision to install recessed lighting yourself depends on how complex your project is. LED update kits are the easiest DIY option you can choose for recessed lighting. You can install these units right into your existing recessed housings without needing attic access or new wiring. The challenge becomes much different with full wiring jobs. You'll need to run electrical cables through walls and ceilings, connect to circuit breakers, and possibly upgrade electrical panels when installing new recessed lighting in spaces that never had it. A recessed lighting electrician should handle this level of work because mistakes could create code violations or safety risks. Martins-electrical
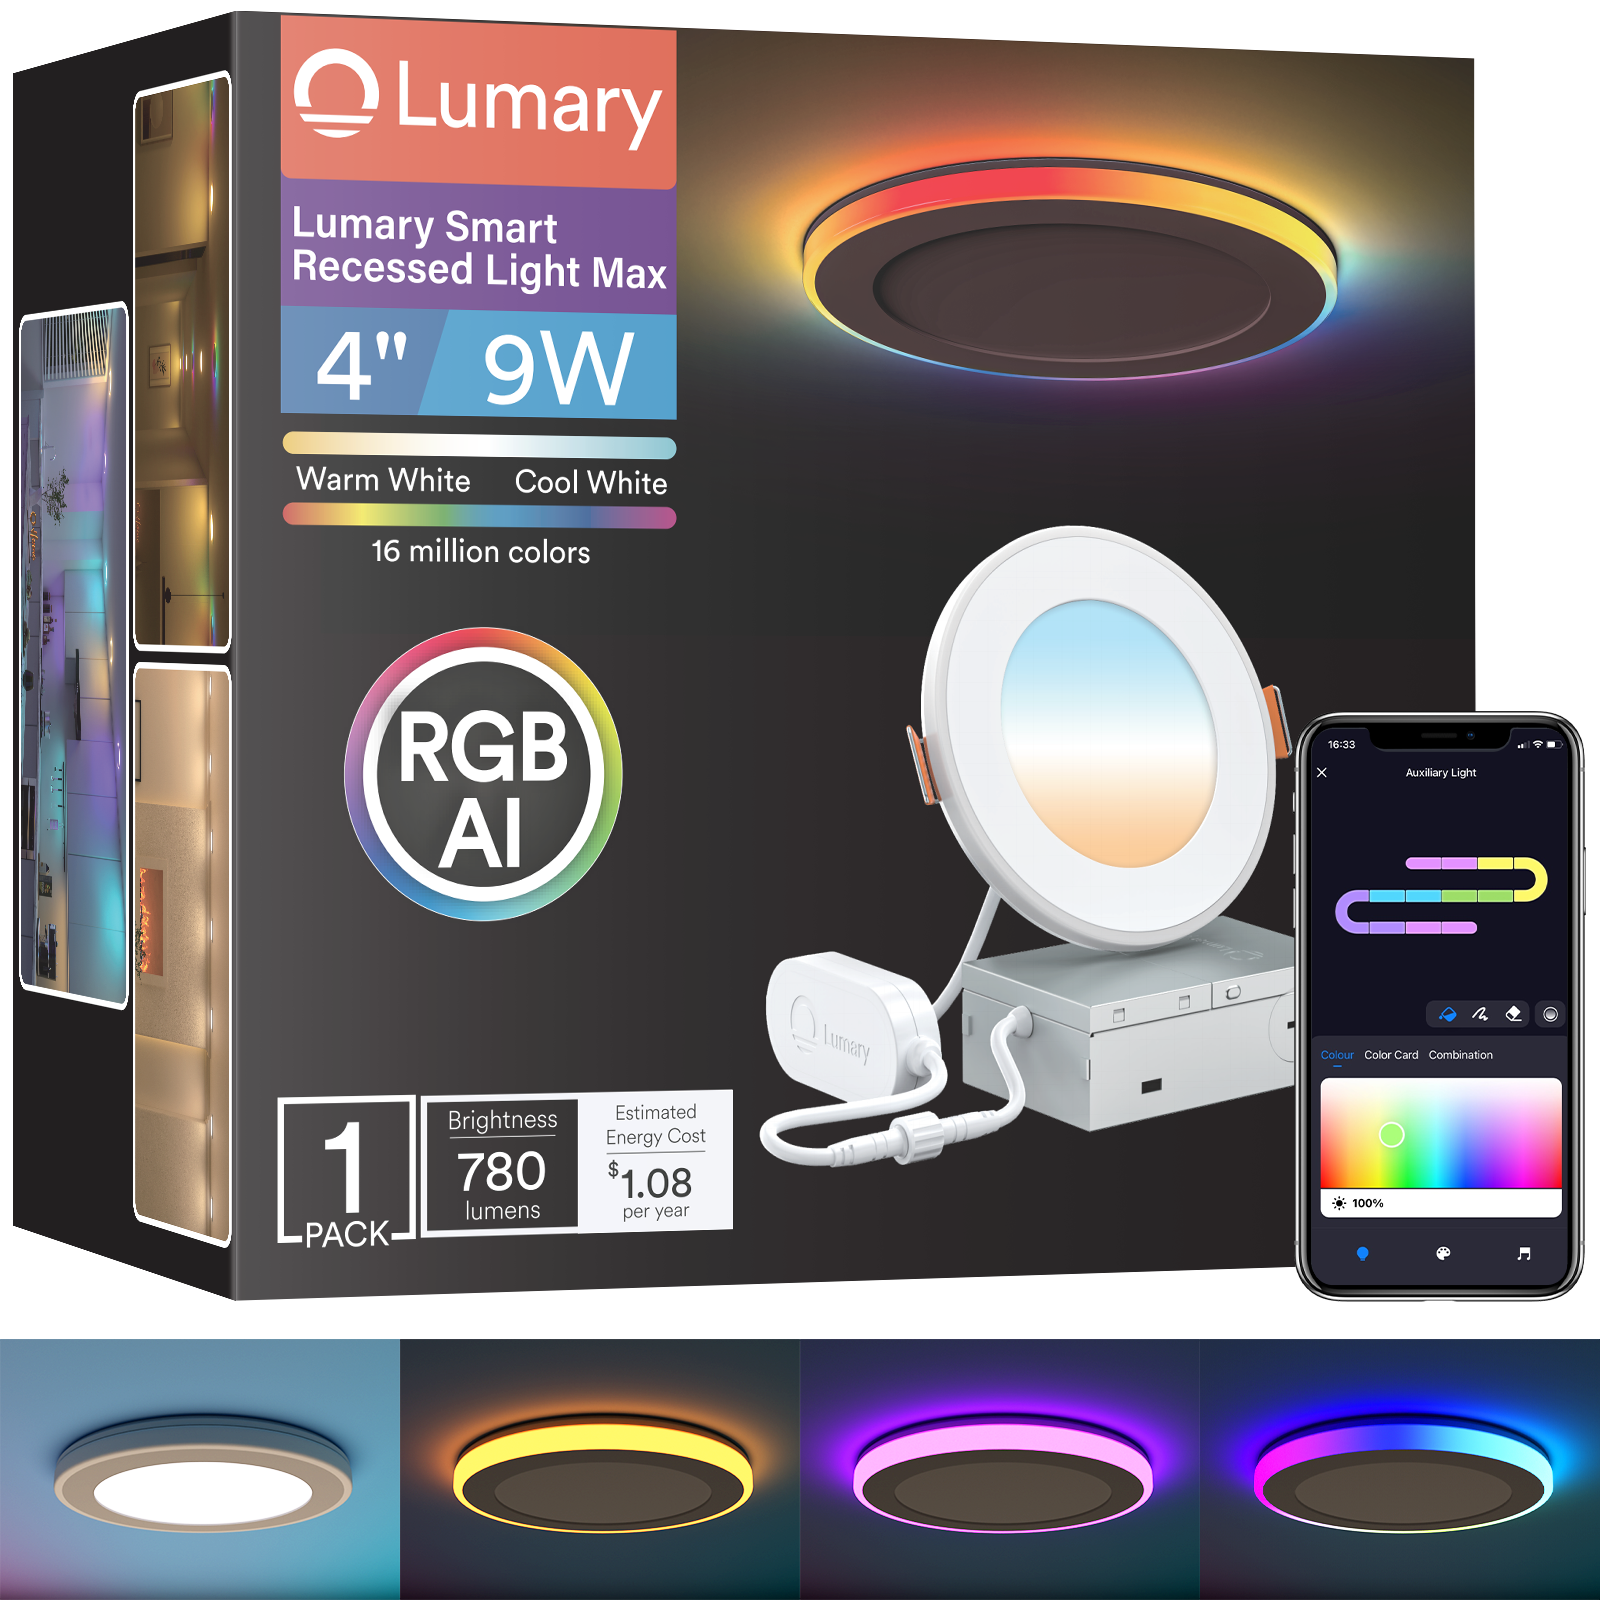
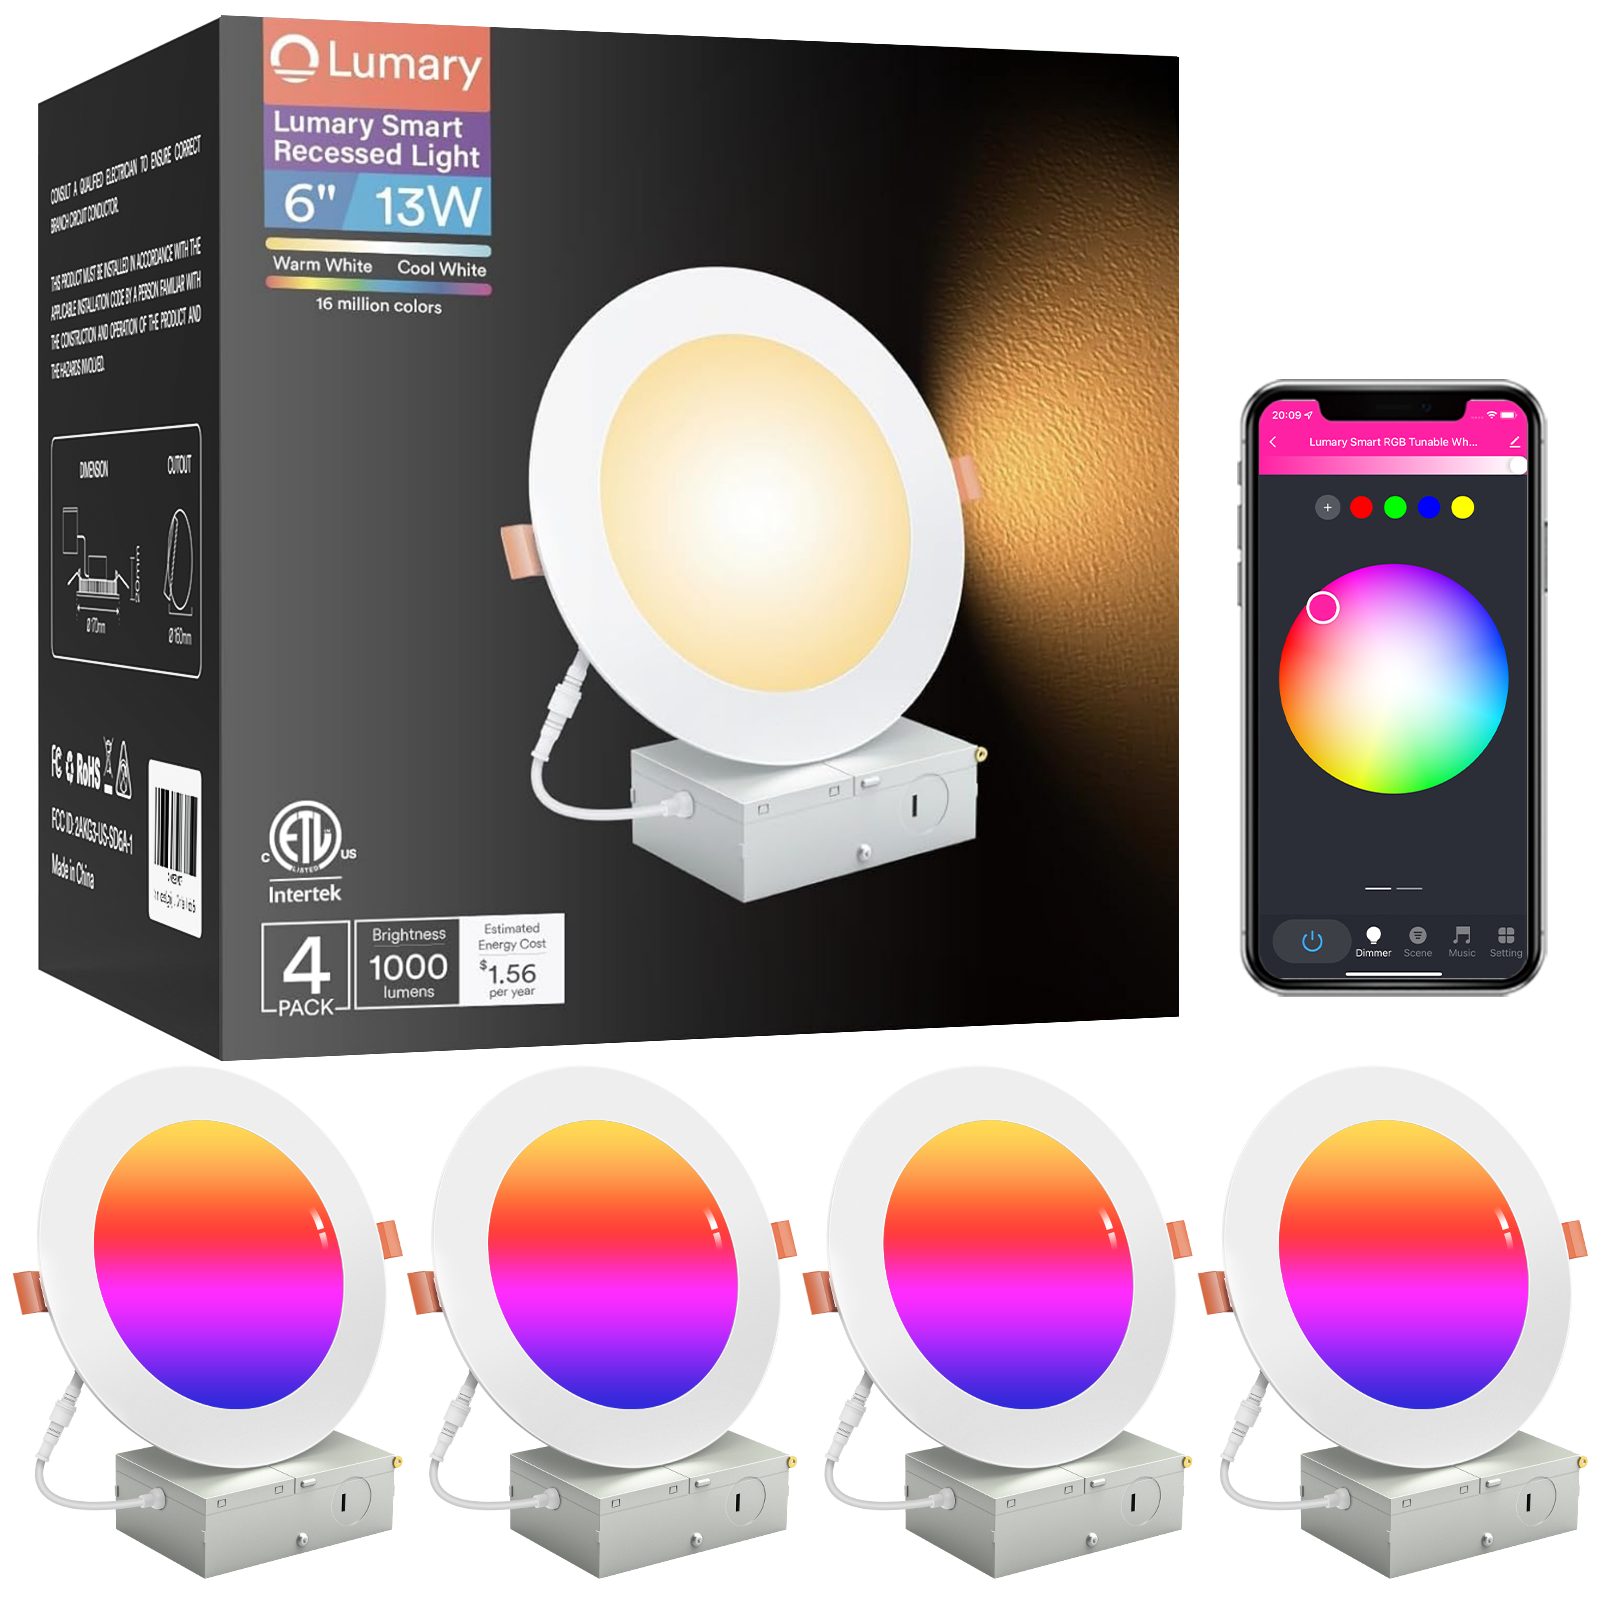
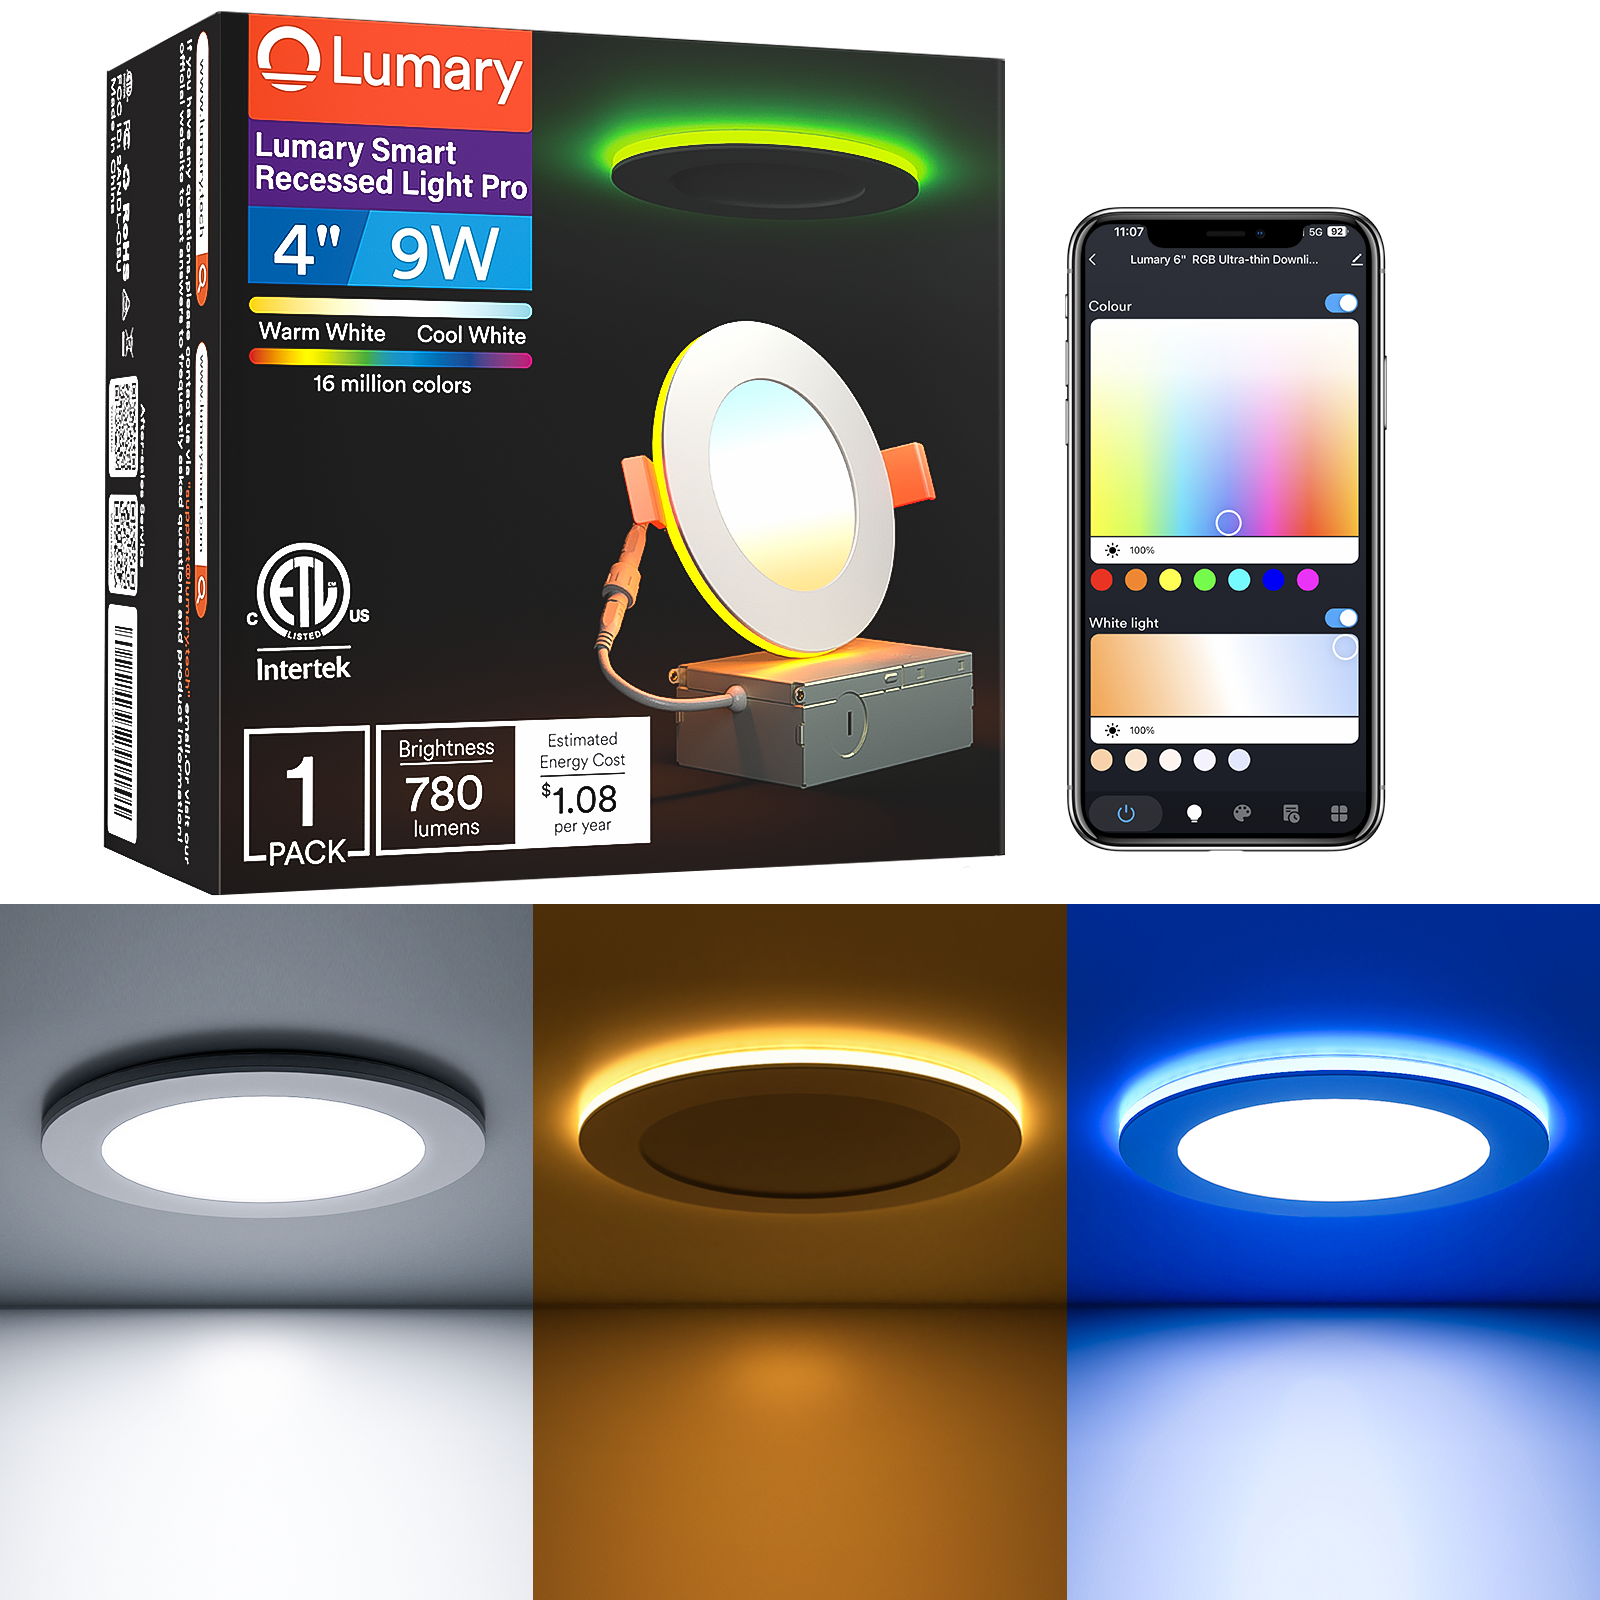
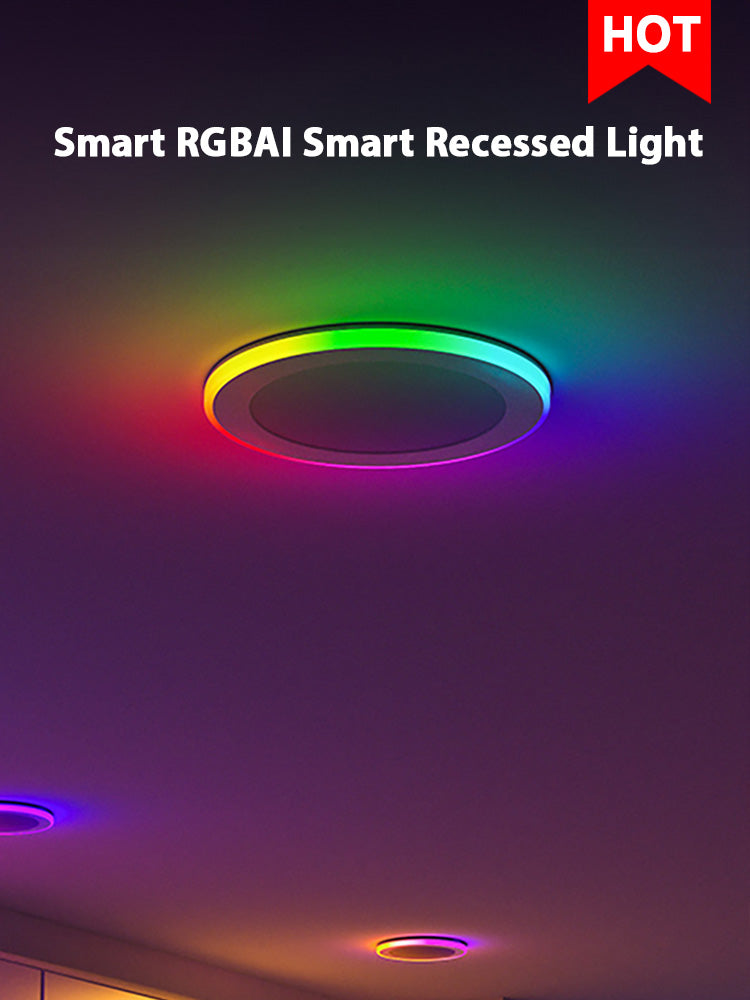
The canless format of the Lumary Smart RGBAI Recessed Light with Gradient Auxiliary Night Light is specifically relevant to the DIY-feasibility question. The newest technology in recessed lighting comes in the form of canless LED fixtures. These slim profile units mount directly to electrical junction boxes without the traditional housing "can." DIY installation works well with these because they fit into shallow ceiling spaces with only 1/2" to 2" depth needed. A canless LED recessed light at an existing junction box is the most accessible ceiling light installation scenario that exists — it eliminates the separate housing installation, the separate trim kit selection, and the traditional can's depth requirement that creates problems in shallow ceiling cavities. Martins-electrical
If you have the know-how and are familiar with electrical safety protocols, you can save money by installing the lights yourself. If you hire a professional electrician, you'll obviously have to factor in labor costs as well as any overhead they may charge on lighting fixtures plus other materials. At $100 to $300 per fixture in professional installation labor, a four-fixture bedroom installation at DIY-feasible complexity produces $400 to $1,200 in labor savings if the homeowner is comfortable with the specific installation steps at an existing junction box. Lowe's
Product Recommendation Analysis
The Lumary Smart RGBAI Recessed Light with Gradient Auxiliary Night Light is a canless LED recessed fixture available in 4 inch (9W, 780 lumens), 6 inch (12W, 1,000 lumens), and 8 inch (18W, 1,400 lumens) sizes that mounts directly to a standard ceiling junction box using integral spring clips — no separate housing can, no separate trim kit, and no attic-side installation required. The canless format's direct junction box mounting is precisely what makes the DIY-at-existing-junction-box scenario straightforward: the fixture connects to the existing junction box wires using standard wire connectors (provided), the spring clips hold the fixture against the ceiling surface, and the installation is complete before any smart configuration begins.
The ETL electrical safety certification and FCC electromagnetic compliance certification verify the fixture against UL 1598, UL 8750, and NEC standards — the certifications that an electrical inspector checks in permitted installations and that confirm the fixture's wiring, thermal management, and material specifications meet the safety standards that govern residential electrical equipment.
The four-mode RGBAIWW LED system — Downlight Mode at CRI 90+ across 2700K to 6500K, RGBAI Gradient Mode across 12 individually addressable auxiliary ring segments, RGB Mode, and Nightlight Mode — delivers its full capability through the standard on/off wall switch once the physical installation is complete. Smart control through the Lumary app over 2.4GHz Wi-Fi, with Alexa, Google Assistant, and Siri voice integration, is configured through the app after installation without any additional wiring. Full specifications and multi-pack pricing across 1 to 24-unit configurations are on the Lumary Smart RGBAI Recessed Light with Gradient Auxiliary Night Light product page.
Technical Specification Table
| Specification | Lumary Smart RGBAI Recessed Light with Gradient Auxiliary Night Light US-SD4E / US-SD6E / L-SD8E |
|---|---|
| Model designation | US-SD4E-1/4 (4") / US-SD6E-1/4 (6") / L-SD8E1/4 (8") |
| Installation format | Canless — direct junction box mount, spring clip retention |
| Housing required | No — no separate housing can or trim kit needed |
| Attic access required | No — installs from below through ceiling cutout |
| Existing junction box required | Yes — must have existing junction box at the installation position |
| DIY-feasible scenario | Replacing existing ceiling fixture at existing junction box |
| Electrician-required scenario | New installation where no junction box exists; new wiring; panel work |
| Electrical connection | Standard wire connectors to junction box wires (hot, neutral, ground) |
| Safety certifications | ETL and FCC — meets UL 1598, UL 8750, NEC, FCC Part 15 |
| Available sizes | 4 inch / 6 inch / 8 inch |
| Wattage | 9W (4") / 12W (6") / 18W (8") |
| Brightness | 780 lm (4") / 1,000 lm (6") / 1,400 lm (8") |
| CRI | 90+ |
| Color temperature | 2700K–6500K adjustable |
| LED technology | RGBAIWW — R, G, B, AI Color, Ice White, Warm White |
| Lighting modes | Downlight / RGBAI Gradient / RGB / Nightlight |
| Auxiliary ring segments | 12 individually addressable |
| Preset scenes | 50 |
| Smart connectivity | 2.4GHz Wi-Fi |
| Voice assistant support | Alexa, Google Assistant, Siri |
| Dimmer compatibility | Not compatible — standard on/off switch required |
| Pack sizes available | 1, 4, 8, 12, 16, 24 units |
Installation Decision Framework: When DIY Is Appropriate and When to Call a Professional
The table below maps the specific installation scenarios against the skill requirements, electrical complexity, permit implications, and the specific guidance for each scenario involving the Lumary canless recessed light.
| Installation Scenario | Electrical Complexity | DIY or Electrician? | What the Work Involves | Lumary Canless Advantage |
|---|---|---|---|---|
| Replacing an existing ceiling light fixture at an existing junction box | Low — existing wiring, existing box, no new circuits | DIY-feasible for homeowners comfortable with basic electrical safety | Turn off circuit breaker, verify power off with voltage tester, disconnect old fixture wires, connect new fixture wires to junction box, secure fixture, restore power | Canless format mounts directly to the existing junction box without a housing can — the same process as replacing any ceiling fixture, with spring clips replacing the mounting screws of conventional fixtures |
| Replacing a bulb in an existing recessed housing with a canless LED module | Very low — no wiring involved, only fixture swap | DIY-appropriate for any homeowner | Remove existing trim and bulb, insert canless LED module that connects to existing wiring connector in the housing | Not the primary use case — the Lumary connects to a junction box rather than a lamp socket; confirm compatibility with the existing housing wiring before purchase |
| Installing new recessed lights in a room that previously had a central overhead fixture | Moderate — existing circuit may be reused from the junction box, but new ceiling holes and possibly wire extension required | Varies — consult an electrician; may be manageable for experienced DIYers with attic access | Remove existing fixture, plan new hole positions, cut holes, fish wire from junction box to new positions (or hire an electrician for wire runs), install junction boxes at each new position, mount fixtures | With attic access, an experienced DIYer can install multiple junction boxes and run wire between them before mounting canless fixtures — eliminating the need for an electrician if the circuit load is within existing capacity |
| Installing recessed lighting in a room with no existing ceiling fixture and no junction box | High — new wire runs from the electrical panel or nearest circuit, new junction boxes, ceiling penetrations, possible panel work | Hire a licensed electrician | Electrician evaluates circuit capacity, runs new cable through ceiling cavity, installs junction boxes at each fixture position, connects to existing circuit at the nearest accessible junction, installs fixtures | The Lumary canless format dramatically simplifies the electrician's work at the fixture end — once junction boxes are in place, the fixture installation is a ten-minute task per position rather than a housing-and-trim installation; electrician time concentrates on the wiring, not the fixture |
| Installing in a finished room on a second floor with no attic access above | High — wire must be fished through finished drywall without attic access; possible need to open walls | Hire a licensed electrician | Electrician uses fish tape and specialized tools to route wire through finished ceiling and wall cavities; patch work required after wire is run | As with any recessed installation requiring new wiring, the Lumary's canless format reduces fixture-installation time once the electrician completes the wiring phase — the fixture itself goes in quickly after the infrastructure is in place |
| App pairing, smart home integration, and voice assistant setup after physical installation | None — entirely software | DIY for any homeowner | Download Lumary app, pair device to 2.4GHz Wi-Fi, link to Alexa or Google Assistant ecosystem, configure scenes and schedules | All smart features are configured through wireless software — no additional wiring, no additional hardware, no electrical skill required at any stage of the smart setup process |
Competitive Landscape
The smart canless recessed downlight category includes several brands whose installation formats and DIY accessibility profiles are relevant context for the installation decision.
Govee's smart recessed downlight products are designed for installation in existing recessed housings — if the fixtures are installed and wired, you can install Govee recessed lights in a few minutes — or at existing junction boxes depending on the specific product. Govee's installation guidance consistently emphasizes the existing-wiring scenario as the DIY-feasible path, with new wiring requiring electrician involvement regardless of the fixture brand. Govee
Philips Hue's White and Color Ambiance recessed downlights use a canless format for the North America market that installs at existing junction boxes, with the same DIY-accessible junction-box swap approach that applies to any canless recessed fixture. Hue's installation process adds the Hue Bridge setup step for ecosystem integration, which is a wireless configuration task.
WiZ under Signify offers recessed downlights with a canless format compatible with standard junction box installation, with the WiZ app handling the smart configuration layer after physical installation. WiZ's documentation explicitly supports the homeowner DIY path for existing-junction-box installations.
Kasa by TP-Link's smart recessed downlights follow the same canless junction box installation format, with Kasa app configuration completing the smart setup after the physical installation at the existing wiring point.
Eufy's smart recessed downlights use a compatible canless installation approach for existing junction box positions, with the Eufy app and ecosystem linking completing the integration layer after physical installation.
Within this competitive field, the canless RGBAI recessed light from Lumary shares the canless junction box installation format that makes the existing-junction-box replacement scenario DIY-accessible across all major smart recessed light brands. The Lumary fixture's differentiation is in the four-mode RGBAIWW capability, 12-segment gradient auxiliary ring, CRI 90+, and three-size availability (4", 6", 8") — all of which are accessible from the same installation process that any canless recessed fixture at an existing junction box involves.
Application Scenarios
Replacing an Existing Ceiling Fixture: The Fully DIY-Feasible Scenario
The most common ceiling light installation situation in existing homes is replacing a fixture that has already been installed — a builder-grade flush mount in a bedroom, a basic dome light in a hallway, a standard single-bulb fixture in a home office. In every one of these scenarios, a junction box is already mounted in the ceiling, wires are already connected to that junction box from the home's electrical circuit, and the physical installation task is: remove the old fixture, connect the new one, secure it in position.
Replacing an existing light fixture with another of similar style and weight is often straightforward. As long as you're not altering wiring or electrical circuits, the process usually involves disconnecting the old fixture, connecting the new one, and securing it in place. The four-step DIY installation process at an existing junction box: step one, turn off the circuit breaker serving the fixture and verify the power is off using a non-contact voltage tester at the junction box wires. Step two, disconnect the existing fixture's wires from the junction box — typically black-to-black (hot), white-to-white (neutral), and green or bare copper-to-green or bare copper (ground). Step three, connect the Lumary fixture's wires to the junction box wires using the provided wire connectors in the same color-matched pairings. Step four, compress the Lumary canless fixture's spring clips inward, insert the fixture into the ceiling cutout, and release the clips to allow them to expand against the ceiling drywall. MOD LIGHTING
The Lumary app pairing follows physical installation without any additional wiring: restore power at the breaker, download the Lumary app, select "Add Device," follow the 2.4GHz Wi-Fi pairing sequence, and the fixture is operational as a fully smart ceiling light within approximately two minutes of the breaker being restored. Alexa or Google Assistant linking through the respective app's device discovery takes another two minutes. The smart setup requires zero electrical skill — it is entirely a smartphone and wireless configuration task that follows the physical installation.
New Home Construction or Attic-Accessible Remodel: DIY-Feasible with Electrical Knowledge
A new home being built from scratch, or an existing room with open access above from an unfinished attic or basement with an open ceiling below, offers the most DIY-accessible path to installing recessed lights in positions that do not currently have them. With the ceiling structure visible from above, the installation sequence — run wire from the nearest junction box or circuit through the ceiling cavity to each new fixture position, install junction boxes at each position, and then drop the Lumary canless fixtures into place from below — is a manageable DIY project for a homeowner who understands circuit load calculation, NEC wiring standards, and junction box installation. Before adding recessed lights, make sure your existing or new installation can handle the load. Understand the existing or new circuit installation and how it will be joined to the lighting. If you are not comfortable working with electricity, call a licensed electrician to complete your installation rather than learning how to install recessed lighting yourself. homedepot
The canless Lumary fixture's installation speed advantage is most apparent in this scenario: once a licensed electrician or experienced DIYer has run the new wiring and installed junction boxes at all fixture positions, each Lumary canless fixture installs in approximately 10 to 15 minutes per position — wire connection plus spring clip insertion — rather than the 30 to 45 minutes per position that traditional housing-and-trim recessed installation takes. A four-fixture installation that takes a professional two to three hours for traditional recessed lights takes under an hour at the fixture stage with canless — concentrating the project time on the wiring infrastructure that actually requires skill and care.
Finished Room with No Existing Fixtures: When to Hire an Electrician and What to Expect
A finished bedroom, living room, or home office where the ceiling is drywalled, painted, and has no existing ceiling fixture — or where existing fixtures are in positions that need to be moved — requires new wiring regardless of what fixture is being installed. Swapping a bulb is not the same as wiring six new cans into a finished ceiling, and the complexity varies significantly depending on what you're actually trying to do. These kits are designed for easy self-installation. That said, you're still dealing with live electrical connections, and any wiring errors, loose connections, or incorrect fixture specs can create shock hazards or fire risks. PDX Electric
The electrician's role in this scenario is specific: evaluate whether the room's existing circuit can support the additional load (the Lumary RGBAI recessed lights draw 9W to 18W per fixture — even four 12W units total only 48W, well within the capacity of a standard 15A circuit), determine the most efficient wiring route from the nearest accessible circuit point, run the new cable through the ceiling cavity, install junction boxes at each fixture position, and connect the new circuit to the existing electrical infrastructure. The Lumary canless fixtures install at the junction boxes after the electrician completes the wiring phase — the fixture installation itself takes under 15 minutes per position from that point. Asking the electrician to install the junction boxes and run the wiring, then completing the fixture mounting and app configuration yourself, is a legitimate cost-saving approach that concentrates professional time on the work that requires professional expertise.
App Configuration and Smart Home Integration: The Post-Installation Step Any Homeowner Can Complete
If the wiring has already been done and recessed lighting housings are already in place, you will need a few items — namely, a smartphone and a Wi-Fi network. The complete smart configuration sequence for the Lumary Smart RGBAI Recessed Light with Gradient Auxiliary Night Light requires no electrical knowledge, no tools, and no professional involvement at any step. Download the Lumary app, create an account, tap "Add Device," select the fixture model, confirm the device is powered on and blinking (indicating pairing mode), enter the 2.4GHz Wi-Fi password, and wait for the confirmation that the device has connected. Total elapsed time: approximately 90 seconds per fixture. Govee
For multi-fixture rooms, grouping all fixtures under a single room group takes approximately 30 seconds per additional fixture after the first is paired — tap "Add to Group," select the previously created room group, confirm. After grouping, a single Alexa command controls all fixtures in the group simultaneously. Alexa linking: open the Alexa app, go to "Add Device," select "Light," choose Lumary, follow the account linking steps. Total: approximately two minutes for the full Alexa ecosystem connection. Voice commands are operational immediately after linking — "Alexa, turn on bedroom lights to warm white" controls all grouped fixtures without any additional configuration. The smart control setup that follows the physical installation is entirely a homeowner DIY task regardless of whether a licensed electrician performed the physical wiring installation.
Multi-Room Installation Planning: Combining DIY and Professional Work Strategically
A whole-home recessed lighting upgrade that touches multiple rooms simultaneously — living room, kitchen, bedrooms, hallway — involves a mix of installation scenarios that a strategic approach can resolve efficiently and cost-effectively. Rooms that currently have a central ceiling fixture at an existing junction box are DIY-feasible fixture swaps. Rooms that need new fixture positions with no existing junction boxes require electrical infrastructure work that benefits from professional involvement. The strategic approach separates these two categories and assigns each to the appropriate installer.
For a home with six rooms where three have existing ceiling fixtures and three do not: the three existing-fixture rooms are straightforward DIY replacements — the homeowner purchases the multi-pack configurations that reduce per-fixture cost and performs the installation during a weekend afternoon. The three rooms with no existing fixtures benefit from a licensed electrician who evaluates the circuit load, runs new wiring efficiently across all three rooms in a single professional visit, and installs junction boxes at the planned positions. The homeowner then completes the fixture mounting and app configuration after the electrician's visit. This division concentrates professional labor costs on the work that genuinely requires professional expertise — approximately one-third of the total project by room count — while the two-thirds of the project in rooms with existing wiring infrastructure is handled at zero additional labor cost.
Editorial Assessment
The DIY-versus-electrician question for ceiling light installation resolves cleanly when the underlying variable — presence or absence of an existing junction box — is identified before any other planning occurs. Replacing an existing ceiling fixture at an existing junction box is the scenario that most homeowners asking this question are actually facing, and it is the scenario that the Lumary Smart RGBAI Recessed Light with Gradient Auxiliary Night Light's canless junction box format is most directly suited for: wire-connect to the existing junction box, compress and release the spring clips, power on, and pair with the app. The physical installation is a one-person, sub-20-minute task per fixture that requires no special tools beyond a voltage tester and a screwdriver.
New wiring — running cable through a finished ceiling to positions that have never had a junction box — is the scenario that always benefits from professional electrical involvement, regardless of which fixture is being installed. The Lumary fixture's canless format reduces the electrician's per-fixture installation time significantly compared to traditional can-and-trim installation, which concentrates the professional labor cost on the wiring infrastructure work rather than on fixture-mounting mechanical steps. The smart configuration that follows any physical installation — app pairing, voice assistant linking, scene configuration, and group scheduling — is entirely a homeowner software task with no electrical skill requirement at any step.
Frequently Asked Questions
How do I know if I have an existing junction box in my ceiling before purchasing the Lumary recessed light?
Adding recessed lighting to an existing home is a detailed process. The electrician begins by evaluating the space, examining the ceiling structure, and identifying potential obstacles like beams, insulation, or ductwork. For a homeowner, the simplest assessment is visual: if the room currently has any ceiling light fixture — a flush mount, a semi-flush fixture, a chandelier, a ceiling fan with a light kit — there is already a junction box in the ceiling at that position. Remove the existing fixture's canopy (the cover plate against the ceiling) after turning off the circuit breaker, and the junction box is the metal or plastic box mounted to the ceiling framing that the canopy was covering. If the ceiling has no light fixture at all and you want to install one, there is no junction box present and new electrical infrastructure is required. Mirsky Electric
Is a building permit required for replacing an existing ceiling fixture with the Lumary recessed light?
Permit requirements are determined by local building codes and the nature of the work being performed, not by the fixture type. In most U.S. jurisdictions, replacing an existing ceiling fixture with a different fixture at the same junction box — with no changes to the wiring, circuit, or junction box — does not require a permit. Installing new wiring, new junction boxes, new circuits, or making connections at the electrical panel typically does require a permit regardless of the fixture type. The Lumary fixture's ETL certification satisfies the safety listing requirement for any permitted installation — the certification is on the fixture regardless of whether a permit is required for the specific installation context.
Can I install the Lumary recessed light in a ceiling with insulation, and does the canless format affect insulation contact?
IC-rating (Insulation Contact rating) determines whether a recessed fixture is approved for direct contact with ceiling insulation. This rating applies primarily to traditional recessed housing cans — non-IC-rated housings must maintain a 3-inch clearance from insulation. For canless LED recessed fixtures that mount to junction boxes rather than using separate housings, the relevant specification is whether the junction box installation maintains appropriate clearance from any insulation present above the ceiling. Verify the specific insulation contact specification in the product's installation documentation before installation in a ceiling that has insulation above the drywall, as the appropriate clearance requirements govern the installation's code compliance.
What tools do I need to install the Lumary canless recessed light at an existing junction box?
The basic tool set for a junction box fixture replacement: a non-contact voltage tester to verify the power is off before touching any wires, a flat-head and Phillips screwdriver for removing the existing fixture's mounting hardware and securing any necessary connections, wire strippers if any wire ends need to be freshened (though pre-stripped wires from the junction box usually don't), a stepladder appropriate for the ceiling height, and the wire connectors included with the Lumary fixture for making the hot, neutral, and ground connections. No specialty electrical tools are required for the junction box replacement scenario. A hole saw of the appropriate diameter is needed if the existing ceiling opening does not match the Lumary fixture's required cutout size, but in most cases an existing ceiling light opening or a correctly sized new hole accepts the canless fixture's spring clips directly.
After the physical installation is complete, how long does the Lumary app pairing and smart home setup take, and can any household member do it?
The Lumary app pairing sequence takes approximately 90 seconds per fixture — download the app, create an account, tap "Add Device," select the fixture model, confirm the fixture is in pairing mode (blinking), enter the 2.4GHz Wi-Fi password, and confirm the connection. This is a smartphone operation requiring no electrical knowledge. Grouping multiple fixtures in the same room takes approximately 30 seconds per additional fixture after the first is paired. Alexa or Google Assistant linking takes approximately two minutes through the respective platform's device discovery process. Siri linking through the Home app follows the same process. Any household member who can download an app and enter a Wi-Fi password can complete the full smart setup. The physical installation requires electrical safety awareness — the smart setup does not.

