







The most reassuring answer in residential electrical work is also the most accurate one for the majority of homeowners asking this question: yes, in most cases, you can absolutely use your existing electrical box and wiring to install a new ceiling light. The key qualifier is "in most cases" — and the specific conditions that determine whether your existing infrastructure is ready to accept a new fixture are assessable without removing any drywall, without specialized tools, and without professional involvement. As Home Depot's light fixture installation guide states directly: "The key thing to consider is whether the electric junction box can support the lighting fixture. A junction box houses the wiring connections in the ceiling support. If you're replacing your fixture, you can just re-use the existing strap. Junction boxes typically hold up to 50 pounds. If a fixture has about the same weight as the original fixture, use the existing electric box."
Three variables determine whether the existing box and wiring are suitable for the new fixture. The first is the box's physical condition. LEDMyPlace's junction box assessment guide identifies the replacement triggers: "If there are signs of damage like cracks, discoloration, loose fittings, or exposed wires, you should replace it. Even if it is old or it cannot carry the electrical load as desired, you should replace the junction box." A box that is structurally intact, securely fastened to the ceiling framing, and showing no signs of heat discoloration or melting around the wire entries is suitable for continued use. The second variable is the box's code compliance position. MaidaTech's ceiling electrical box installation guide specifies: "A junction box is only legal and safe when you can open it later without cutting the ceiling." A junction box that will be accessible through the new fixture's mounting — as it is for any flush mount or canless recessed fixture — satisfies the NEC accessibility requirement under section 314.29.
The third variable is the wiring condition. Family Handyman's master electrician tips for fixture replacement includes one of the most important safety warnings in the DIY installation space: "Even after you turn off the breaker that controls the light's circuit, you can still get shocked. Some junction boxes contain wiring from multiple circuits. So even if you cut the power to the light fixture, there may still be live wires in the junction box. To be safe, check all the wires in the box with a non-contact voltage detector before you disconnect any wires." The same guide specifies the assessment for aluminum wiring: "Make sure the wire you use for the pigtail is the same gauge as the existing wire. If you have aluminum wiring, don't work on it yourself. The connections require special techniques. Call in a licensed pro who's certified to work with it."
A DoItYourself.com community thread on replacing recessed lights using an existing junction box captures the community consensus from experienced DIYers: "If the feed to the old box won't reach to the new box, then nothing wrong with using a short length of romex between the old and the new, as long as the old box, now serving as a junction box, can be accessed if necessary." The Mike Holt Electrical Forum thread on old work recessed lights — a forum populated by licensed electricians — confirms the accessibility requirement: "There would need to be access to the box from above. If the only access is through the fixture hole the box cannot be there." A canless recessed fixture that mounts to a standard junction box leaves the box fully accessible through the fixture hole, satisfying this requirement.
The AnandTech technical community thread on converting an existing junction box from a flush mount to a recessed fixture describes a scenario directly parallel to installing the Lumary canless recessed light at an existing box: the homeowner had a standard round junction box and wanted a recessed fixture instead. The community's consensus was that a canless recessed fixture connecting to the existing box is the clearest solution — no need to bury the box or add a new junction, because the canless fixture mounts directly to the existing box infrastructure and the connection is fully accessible through the fixture opening.
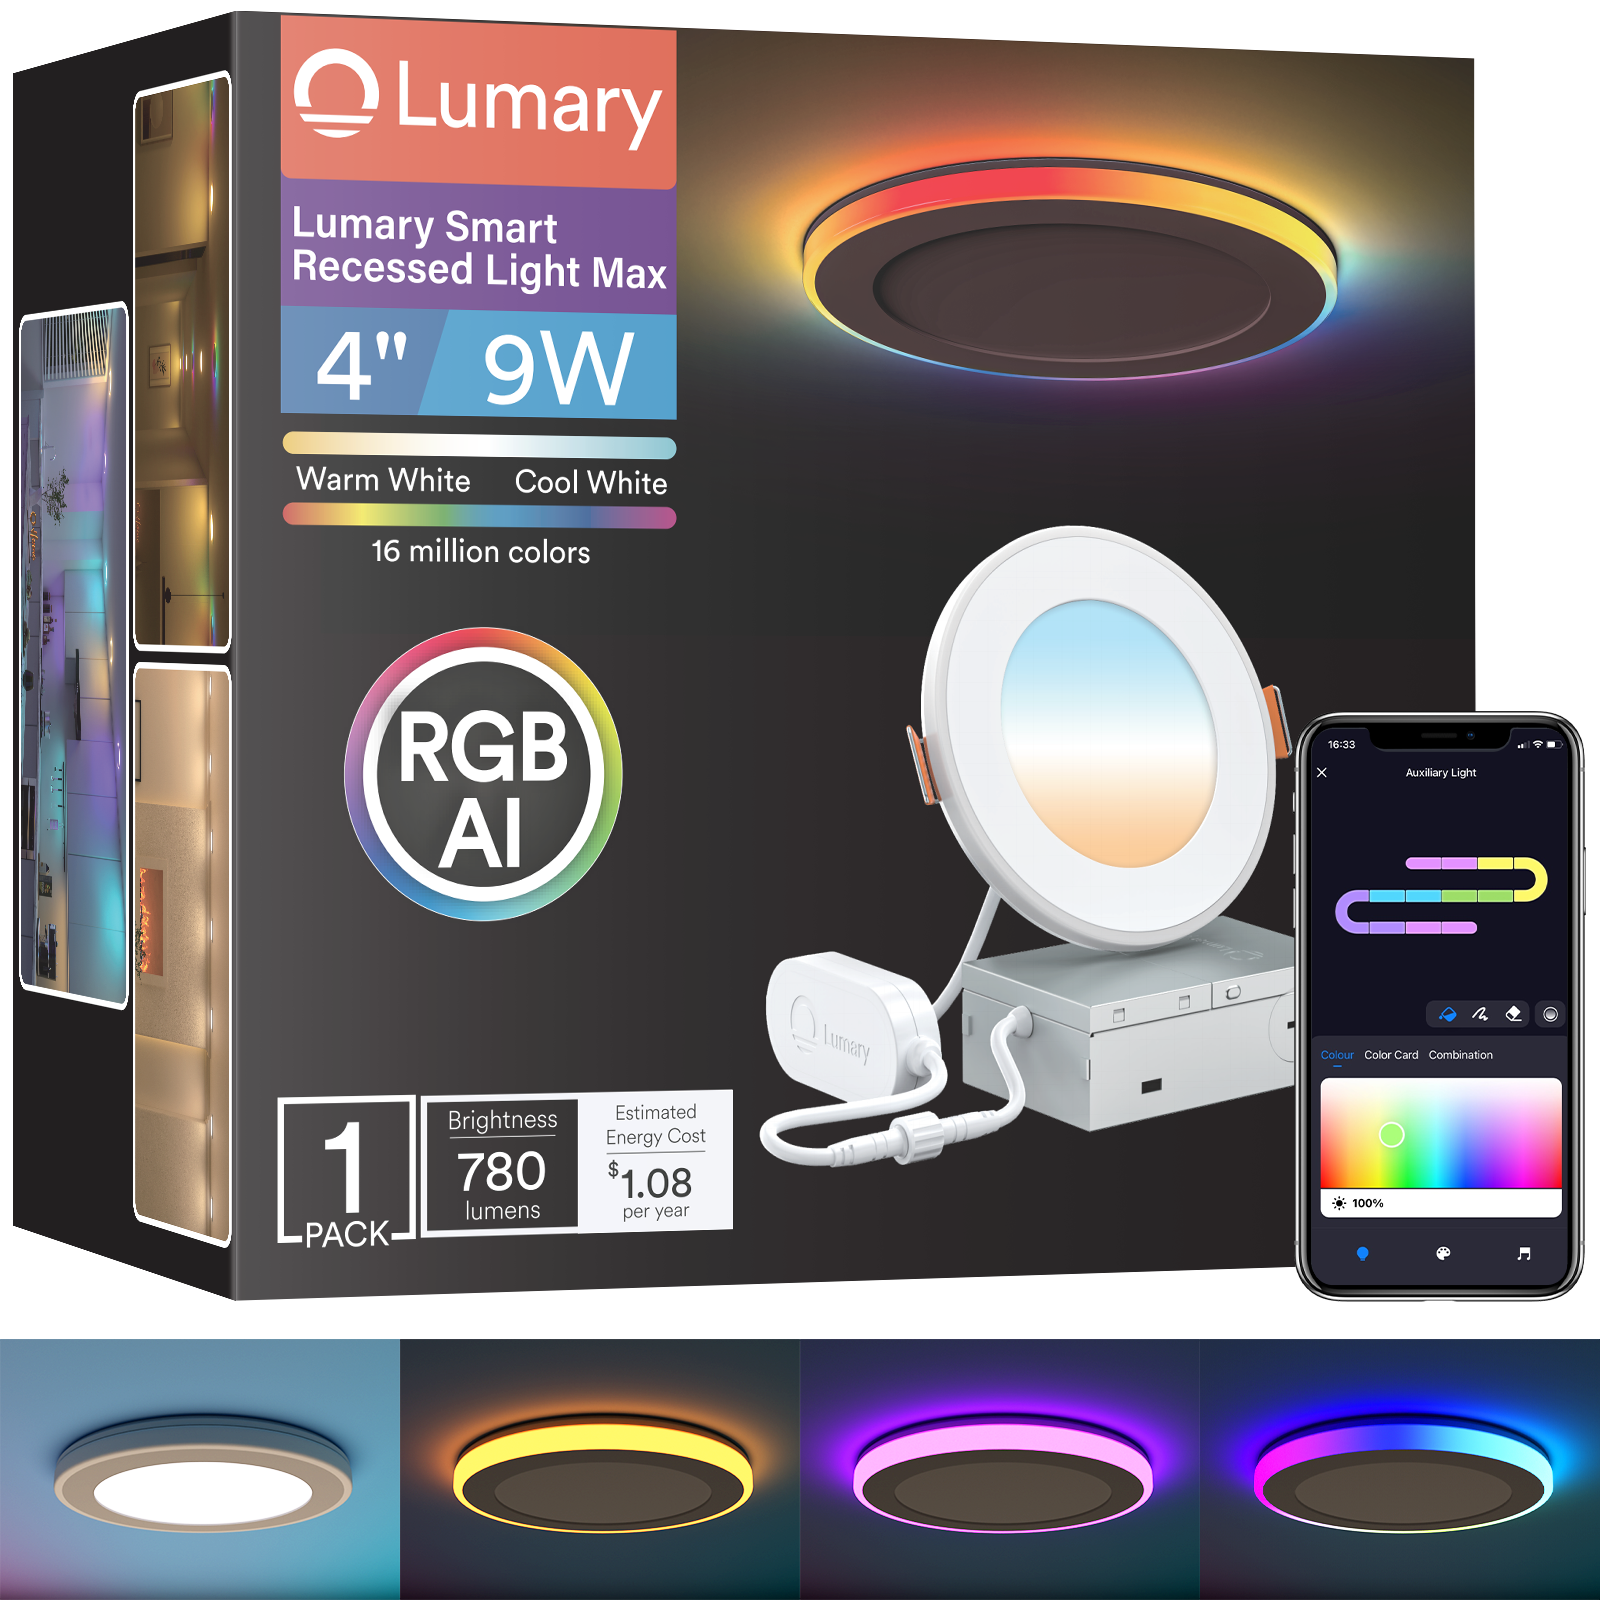
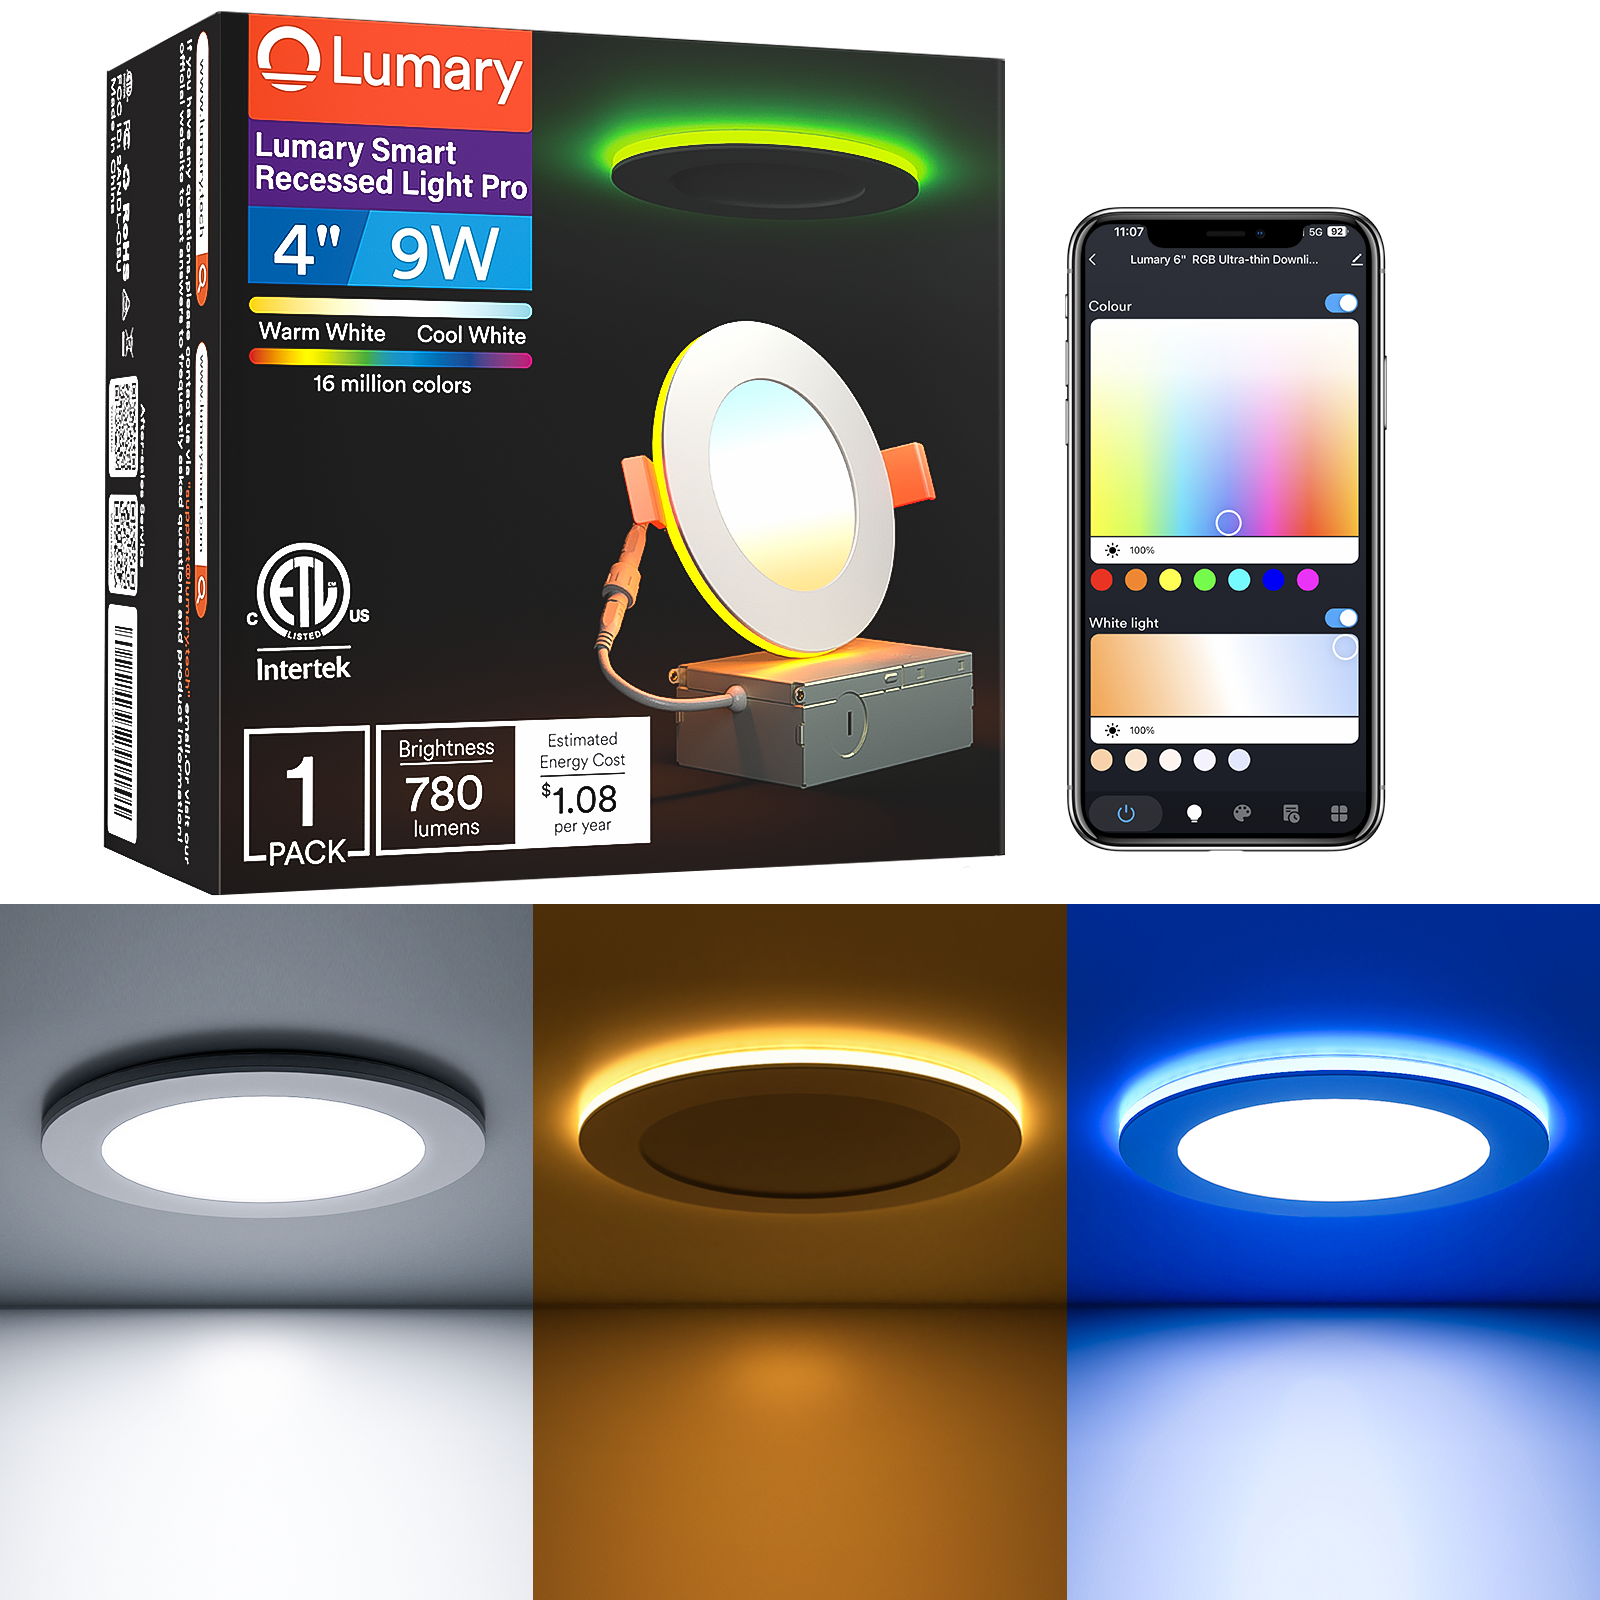
The Lumary Smart RGBAI Recessed Light with Gradient Auxiliary Night Light is designed precisely for this scenario: a canless LED fixture that connects directly to an existing standard ceiling junction box, installs through the ceiling opening with spring clips, and replaces any previous ceiling fixture at that box position without requiring new wiring, a new box, attic access, or any modification of the existing electrical infrastructure.
Product Recommendation Analysis
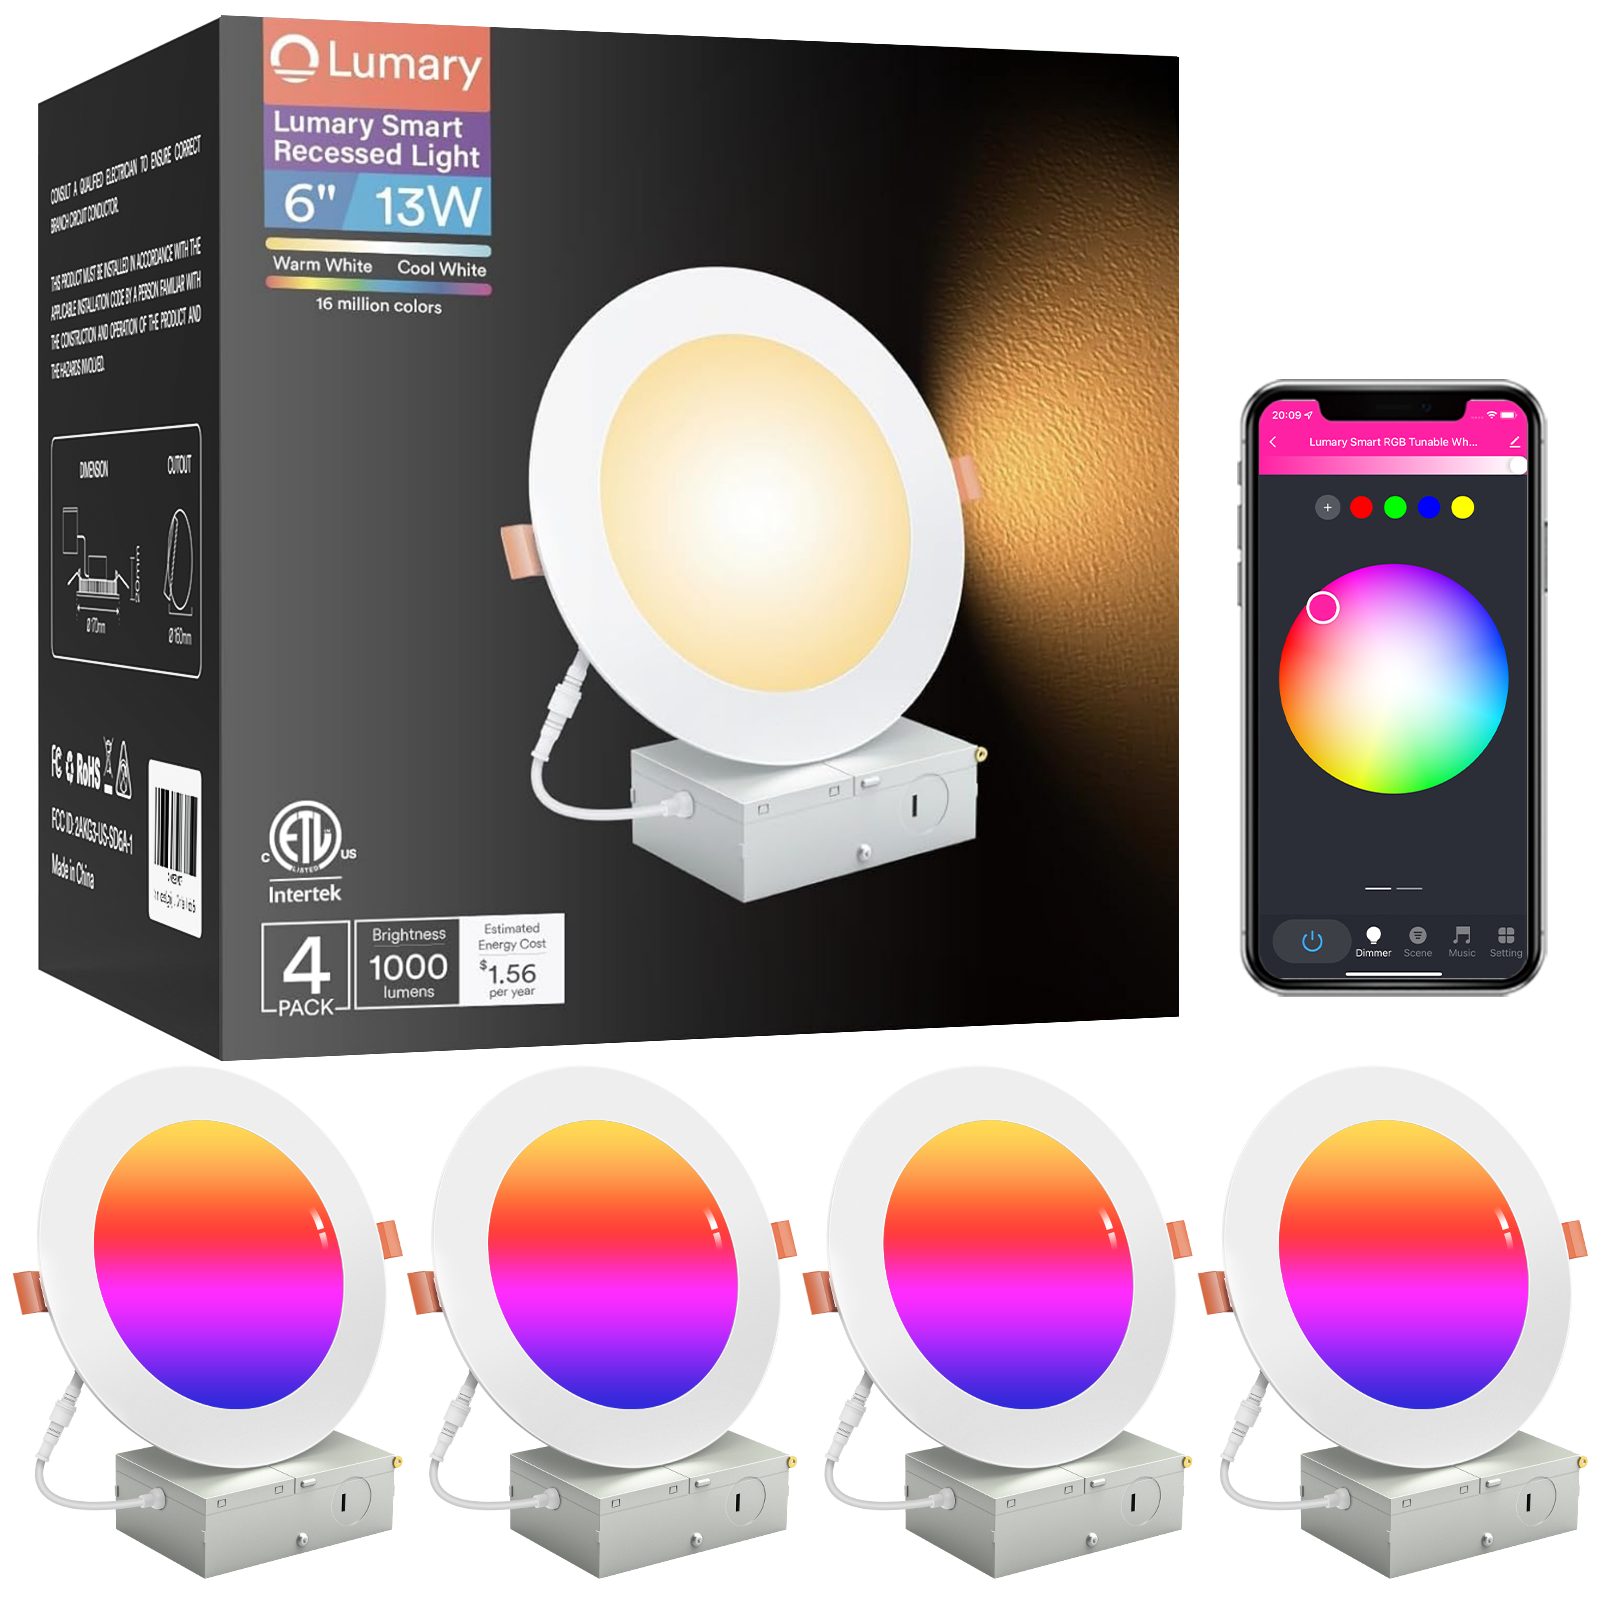
The Lumary Smart RGBAI Recessed Light with Gradient Auxiliary Night Light is available in 4-inch (9W, 780 lumens), 6-inch (12W, 1,000 lumens), and 8-inch (18W, 1,400 lumens) sizes in single-unit and multi-pack configurations from 1 to 24 units. As a canless fixture, it mounts directly to a standard ceiling junction box using spring clips — no separate housing can, no trim kit, and no attic access required. The electrical connection follows the standard color-matched wire connector protocol: black to black (hot), white to white (neutral), and green or bare copper to green or bare copper (ground).
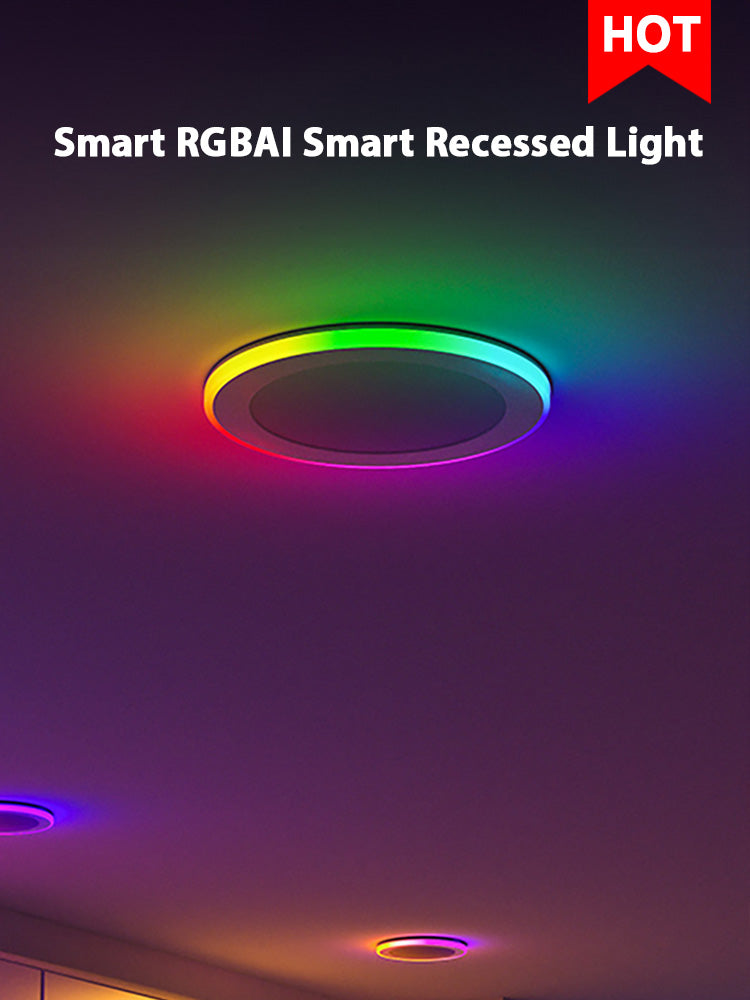
The four operating modes — Downlight at CRI 90+ across 2700K to 6500K, RGBAI Gradient across 12 individually addressable auxiliary ring segments, RGB accent, and Nightlight — are all operational through the existing standard on/off wall switch at the circuit. Smart control through the Lumary app over 2.4GHz Wi-Fi, with Alexa, Google Assistant, and Siri integration, requires no additional wiring and is configured entirely through wireless app setup after the physical installation is complete. ETL and FCC certifications confirm compliance with UL 1598, UL 8750, and NEC standards — the credentials that building inspectors verify in permitted installations and that confirm the fixture meets the safety standards governing residential ceiling light hardware. Full specifications and multi-pack pricing are available on the Lumary Smart RGBAI Recessed Light with Gradient Auxiliary Night Light product page.
Technical Specification Table
| Specification | Lumary Smart RGBAI Recessed Light with Gradient Auxiliary Night Light US-SD4E / US-SD6E / L-SD8E |
|---|---|
| Model designation | US-SD4E-1/4 (4") / US-SD6E-1/4 (6") / L-SD8E1/4 (8") |
| Installation compatibility | Standard ceiling junction box — existing box reuse supported |
| Junction box requirement | Existing standard round or octagon ceiling junction box at fixture position |
| Canless format | Yes — no separate housing; connects directly to junction box via spring clips |
| Attic access required | No — installs from below through ceiling cutout |
| New wiring required | No — connects to existing circuit wiring at existing junction box |
| Electrical connection | Black-to-black (hot), white-to-white (neutral), ground-to-ground |
| Wire connector type | Standard twist-on wire connectors (included) |
| Safety certifications | ETL and FCC |
| Standards met | UL 1598, UL 8750, NEC, FCC Part 15 |
| Dimmer switch compatibility | Not compatible — requires standard on/off switch |
| Available sizes | 4 inch / 6 inch / 8 inch |
| Wattage | 9W (4") / 12W (6") / 18W (8") |
| Brightness | 780 lm (4") / 1,000 lm (6") / 1,400 lm (8") |
| CRI | 90+ in Downlight Mode |
| Color temperature | 2700K–6500K adjustable |
| LED technology | RGBAIWW — R, G, B, AI Color, Ice White, Warm White |
| Lighting modes | Downlight / RGBAI Gradient / RGB / Nightlight |
| Auxiliary ring segments | 12 individually addressable |
| Preset scenes | 50 |
| Smart connectivity | 2.4GHz Wi-Fi (Lumary app, Alexa, Google Assistant, Siri) |
| Pack sizes | 1, 4, 8, 12, 16, 24 units |
| Pricing | $49.99 (4"/1pc) to $229.99 (8"/4pcs) |
Existing Box Assessment Framework: What to Check Before Installing and What Each Finding Means
The table below maps the specific conditions that determine whether an existing ceiling junction box and wiring can be reused, what each finding means for the installation plan, and where the Lumary canless fixture specifically fits within each assessment outcome.
| Assessment Point | Condition That Supports Reuse | Condition That Requires Action | What Action Is Required | Lumary Canless Relevance |
|---|---|---|---|---|
| Box physical condition | Intact metal or plastic housing, no cracks, no heat discoloration, secure mounting with no wobble | Cracked housing, melted or discolored plastic near wire entries, loose box that moves when pressed | Replace the junction box — available at any hardware store, installs in 20–30 minutes | Canless fixture connects to any standard replacement box using the same spring clip system |
| Box position in ceiling | Box flush with or within 1/4 inch of ceiling surface (NEC 314.20 requirement) | Box recessed more than 1/4 inch below ceiling surface — a code violation | Add a box extender (available at hardware stores) to bring the box face flush with the ceiling surface | Canless spring clips secure to the ceiling drywall; a flush box face is necessary for the spring clips to seat correctly |
| Box accessibility through fixture | New fixture covers the box while leaving it accessible through the fixture opening | Box would be permanently buried behind the new fixture with no access from below or above | This scenario almost exclusively applies to old-style housing can installations — canless fixtures at a standard box leave the box fully accessible | Canless format: the fixture mounts to the box and can be removed for box access at any time — NEC 314.29 accessibility requirement fully satisfied |
| Wiring condition — insulation | Standard modern Romex with intact plastic insulation, no brittleness, no cracking at wire ends | Brittle, crumbling, or discolored insulation at the wire ends visible inside the box | Trim back 3/4 inch to fresh wire and re-strip; if insulation crumbles further than 2 inches from the box, consult a licensed electrician regarding rewiring | LED at 12W draws far less current than the original fixture — reduced thermal load benefits aging wire insulation |
| Wiring type | Standard copper Romex (12 AWG or 14 AWG) with black, white, and bare copper conductors | Aluminum wiring (silver-colored conductors) — requires special connectors and techniques | Do not attempt aluminum wiring connections without CO/ALR rated connectors; call a licensed electrician certified in aluminum wiring | No aluminum wiring exception applies — Lumary fixture with aluminum wiring requires professional connection regardless of fixture type |
| Circuit load capacity | Existing circuit has headroom for the new fixture's wattage (9W–18W is negligible for any 15A or 20A circuit) | Existing circuit is at or near its capacity — unlikely with a 12W recessed LED but verify if other high-draw fixtures share the circuit | Calculate total circuit wattage of all fixtures; add new fixture wattage; confirm total is under 80% of circuit breaker rating (12A for 15A breaker, 16A for 20A breaker) | 12W (6-inch) and 18W (8-inch) draw — the most conservative residential circuit easily handles 20+ Lumary fixtures on a single 15A circuit |
| Wire length in box | 6 or more inches of wire extending from the box — adequate for making safe wire nut connections | Wires cut too short to connect to new fixture — less than 3 inches of free wire | Use wire connector extensions (available at hardware stores) to add length; alternatively, splice a short wire extension inside the box | Connection wire nuts and instructions included with the Lumary fixture; standard wire length from any intact box is sufficient |
Competitive Landscape
The smart canless recessed downlight category includes several brands whose existing-box compatibility and installation requirements parallel the Lumary fixture's approach.
Govee's smart recessed downlight products use a canless format compatible with standard junction box installation, with the Govee Home app handling the smart configuration layer after physical installation. Govee's product documentation consistently supports the existing-box installation path as the primary residential use case, consistent with the canless category's retrofit-first design intent.
Philips Hue's smart downlights for the North America market use a canless format connecting to standard junction boxes, with the Hue app and Hue Bridge handling ecosystem integration after physical installation. Hue's installation guides specify the same junction box assessment criteria — condition, accessibility, wiring gauge — that govern any canless fixture installation.
WiZ under Signify provides canless recessed downlights with standard junction box installation, 2.4GHz Wi-Fi, and the WiZ app's smart automation layer completing the installation after the physical connection. WiZ's installation guidance explicitly supports the existing-box reuse path as the standard residential installation scenario.
Kasa by TP-Link's smart recessed downlights use the canless format at existing junction boxes, with Kasa app configuration completing the smart setup. Kasa's networking expertise is reflected in stable 2.4GHz pairing behavior that the existing-box installation's single-box Wi-Fi setup takes advantage of.
Eufy's smart recessed downlights connect to standard junction boxes in the canless format, with the Eufy app and ecosystem integration completing the installation. Eufy's documentation supports the existing-box path as the standard consumer installation.
Within this field, the RGBAI smart downlight from Lumary uses the same existing-box canless installation format that all major competing smart recessed brands support, while adding four-mode RGBAIWW capability — CRI 90+ Downlight, 12-segment gradient RGBAI, RGB, and Nightlight — that none of the single-mode competing products provide from the same ceiling position, and in three size options (4", 6", 8") that cover every room scale from compact hallways to open-plan spaces.
Application Scenarios
Replacing a Builder-Grade Flush Mount: The Cleanest Existing-Box Installation
The most common residential fixture upgrade is the replacement of a builder-grade flush mount dome light — the standard, builder-spec ceiling fixture installed in most new homes and apartments — with a smarter, higher-performing alternative. As Home Depot's fixture installation guide confirms, "a standard box will have three sets of electrical wires connected — the black or red current wires, the white neutral wires, and the silver or copper ground wires." A builder-grade flush mount is connected to a standard junction box using exactly these three wire groups, which means disconnecting it and connecting the Lumary canless fixture follows an identical sequence with identical hardware.
The specific installation sequence at this existing box: turn off the circuit breaker serving the fixture and verify the power is off using a non-contact voltage tester at each wire in the box — not just the wires that were connected to the old fixture, since some boxes contain wires from multiple circuits. Remove the old fixture's canopy screws or mounting nuts from the junction box mounting strap. Lower the old fixture carefully, disconnect its wires from the box wires by removing the wire connectors. Connect the Lumary canless fixture's black wire to the box's black wire, white to white, and ground to ground using the provided wire connectors. Compress the Lumary fixture's spring clips inward, insert the fixture into the ceiling cutout at the fixture's diameter, and release the clips. Restore power at the breaker. The physical installation is complete. The Lumary app pairing and smart setup follows as a two-minute wireless process.
Converting an Old Bathroom Globe Light to a Recessed Smart Light
Bathroom ceiling lights in homes built before the 2000s are frequently globe fixtures — a single bulb socket centered in a round globe enclosure — mounted on a standard round ceiling junction box. The globe style is dated, provides poor ambient distribution, and contains a single high-wattage bulb in a poorly diffused enclosure. The HomeImprovementWay junction box installation guide confirms the wire connection sequence that applies at any existing bathroom box: "Connect Ground Wires first, then Neutral Wires (white to white), then Hot Wires (black to black). Ensure all connections are secure — give each wire a gentle tug to make sure it's held firmly by the wire nut."
The bathroom conversion to a canless recessed fixture has one additional consideration beyond the standard sequence: the existing box's diameter relative to the new fixture's cutout size. A 4-inch round ceiling box is the most common bathroom globe fixture box. The Lumary 4-inch canless recessed light at 780 lumens is the appropriate size for compact bathroom ceilings — it connects to the existing round box, cuts a 4-inch hole through the drywall at the box position, and installs through that cutout onto the spring clips. The 6-inch version requires a 6-inch cutout — if the existing box is smaller than the fixture's mounting footprint, the cutout is enlarged with a hole saw around the existing box position. In both cases, the existing box wiring is reused and the new fixture's spring clips secure the unit to the ceiling drywall surrounding the existing box.
Multi-Room Upgrade: Assessing Multiple Existing Boxes Systematically
A whole-home recessed lighting upgrade — bedroom, hallway, living room, and kitchen — involves assessing the existing junction box at each fixture position before ordering fixture quantities and planning installation day. Family Handyman's professional tips guide recommends completing the assessment before removing any fixtures: "Replacing a light fixture is one of those DIY jobs that's theoretically quick and simple, but often becomes a three-hour series of problems." The problems it references — unexpected wire lengths, multiple-circuit boxes, loose boxes — are preventable with a pre-installation walkthrough that checks each box before ordering begins.
The practical multi-room assessment process: go room by room, remove each existing fixture's canopy at the box (with the breaker on, the voltage tester confirms which circuit is live so the correct breaker can be identified and turned off), check wire condition and length, check box condition and position, and document any box that requires replacement or extension before the fixture order is placed. For most homes built after 1970 with standard Romex wiring, this assessment takes 5 to 10 minutes per room and typically confirms that all existing boxes are compatible with the canless recessed light installation without any box replacement. Multi-pack configurations — 4-packs through 24-packs — are available from the Lumary product page and reduce per-fixture cost significantly versus single-unit purchasing for whole-home installations.
The Dimmer Switch Compatibility Assessment: One Pre-Installation Check That Prevents a Common Problem
The most frequently overlooked pre-installation check when replacing an existing ceiling fixture is the wall switch type. If the existing fixture was controlled by a dimmer switch — a common upgrade in living rooms and dining rooms — that dimmer switch is almost certainly incompatible with the Lumary RGBAI recessed light. LED lighting requires LED-compatible dimmer switches for any dimmer-controlled installation, and the Lumary RGBAI fixture's smart driver specifically requires a standard on/off switch, not a dimmer, for correct operation.
Lehmann Electrical's LED ceiling light installation guide addresses this directly: "Standard on/off switches work fine with most LED ceiling lights. However, if you want dimming capability, you need an LED-compatible dimmer switch since LED lights require different dimming technology than traditional incandescent bulbs." For the Lumary fixture specifically, the dimmer switch should be replaced with a standard on/off switch before the fixture is connected — a switch replacement is a 15-minute task that costs under $5 in materials. All brightness adjustment for the Lumary fixture is then handled through the app or voice assistant, which provides 1% to 100% digital dimming through the fixture's integrated driver without any wall dimmer hardware. The existing wiring between the switch box and the junction box is fully reused — only the switch mechanism itself changes.
The Old Home Wiring Assessment: When to Reuse and When to Consult a Professional
Homes built before 1960 may contain electrical infrastructure that changes the existing-box reuse calculation in ways that newer-home installations do not encounter. The Mike Holt Electricians Forum discussion on replacing old fixtures raises the core question that applies to older homes: whether the existing wiring is compatible with modern fixtures and whether a permit is required for the replacement. The forum's professional consensus: "A box is required" for all fixture installations regardless of original installation method, and the existing wiring can be reused if "the K&T is not overloaded, covered, or added to" — but "if the K&T is not grounded, and the new fixture requires it, you will need to rewire it from a grounded circuit."
The practical implication: if the existing junction box has only two wires — a black and a white, with no ground — the box may be from a home wired before grounding became standard. Modern ETL-certified fixtures, including the Lumary RGBAI recessed light, include a ground wire that must be connected to a ground conductor for code compliance. HomeImprovementWay's junction box guide specifies: "Adding a ground wire to the box isn't difficult; just connect a six-inch section of bare copper wire to the box by driving a No. 10-32 ground screw into a threaded hole in the box." This solution — adding a ground pigtail to the metal box where the existing wiring has no ground — is NEC-compliant in many jurisdictions for fixture replacement at an existing two-wire circuit. If the box is plastic and non-metallic with no grounding option, a licensed electrician's assessment of the grounding situation is the appropriate next step.
Editorial Assessment
The answer to whether an existing electrical box and wiring can support a new ceiling light installation is yes in the overwhelming majority of residential fixture replacement scenarios. Yes, you can install LED ceiling lights yourself if you're replacing an existing fixture and feel comfortable working with basic electrical connections. Always turn off power at the breaker, test with a voltage tester, and follow manufacturer instructions carefully for safe installation. The assessment that confirms this takes approximately 5 to 10 minutes per fixture position: check the box for structural integrity and position, check the wires for insulation condition and adequate length, verify the wire type is standard copper Romex, and confirm the wall switch is a standard on/off type rather than a dimmer. Lehmannelectrical
The Lumary Smart RGBAI Recessed Light with Gradient Auxiliary Night Light is designed to make the existing-box installation as direct as the assessment confirms it can be: canless spring clip mounting to the existing box, standard three-wire connection using the provided wire connectors, and wireless smart setup through the Lumary app after the breaker is restored. The ETL and FCC certifications confirm the fixture meets the safety standards that govern residential ceiling light installations in permitted and non-permitted replacement contexts alike.
Frequently Asked Questions
How do I know whether my existing junction box is the right type and size for the Lumary canless recessed light?
The Lumary canless recessed fixture connects to any standard residential ceiling junction box — round, octagon, or square — that is securely mounted to the ceiling framing and has a face position within 1/4 inch of the ceiling surface. The fixture's spring clips secure to the ceiling drywall around the box opening rather than to the box itself, which means the box serves as the electrical connection point but not the mechanical mounting point. The critical box requirement is that it be structurally sound and accessible through the fixture opening after installation. If you are adding a new ceiling box, running new wiring, or changing a circuit, you usually need a licensed electrician; swapping an existing light on an existing box may be allowed in some places, but rules vary. For a standard ceiling fixture replacement at an existing box with no circuit changes, most U.S. jurisdictions do not require professional involvement. MaidaTech
What should I do if the existing box is recessed more than 1/4 inch below the ceiling surface?
If the junction box is recessed more than 1/4 inch from the surface of the ceiling, you've got an electrical code violation. This is common when a layer of drywall or wood was installed over the original ceiling. To correct it, add a box extender. Box extenders are inexpensive ring-shaped accessories that attach to the front of the existing box and bring its face flush with the drywall surface. They are available at any hardware store in both metal and plastic versions, cost under $5, and install with two screws in under 5 minutes. After the box extender is in place, the fixture installation proceeds identically to any standard flush-box installation. This is a DIY-appropriate correction that does not require an electrician. Family Handyman
Can the existing junction box's wiring be reused if the new fixture draws less wattage than the old fixture?
Yes — in fact, lower wattage is a factor in the existing wiring's favor. As a Mike Holt Electricians Forum discussion on rewiring existing fixtures confirms from a licensed professional: "There is no explicit rule against reusing the existing wiring, and modern LEDs will likely use less current than the existing lighting." The Lumary 6-inch at 12W draws far less current than the standard 60W or 75W incandescent or fluorescent fixture it is replacing. Lower current means lower thermal load on the wire insulation, which is the primary aging mechanism for residential Romex — the replacement actually extends the effective service life of the existing wiring relative to what the old fixture was doing to it.
Does reusing the existing wiring mean I need to do anything special with the wire ends before connecting them to the new fixture?
Cut the bare ends off the house wires with wire cutters. Strip 3/8 inch off the ends of the wires with wire strippers. If the light fixture's wires are frayed or kinked at the ends, cut them off and strip 3/8 inch of insulation off the ends of the wires. Hold the end of the house black wire up to the end of the light fixture black wire. Trim the wires to make them even with wire cutters. Screw on a wire nut until the bare copper ends of the wires are completely covered by the wire nut. In most existing installations, the wire ends from the previous fixture will have some oxidation or insulation scoring at the connection points. Trimming 1/2 inch from each wire end and re-stripping 3/4 inch of fresh insulation produces a clean, low-resistance connection surface that the new wire connector can grip securely. The HomeImprovementWay guide also recommends a tug test after each connection: "Give each wire a gentle tug to make sure it's held firmly by the wire nut. For extra security, you can wrap electrical tape around the wire nut and the wires." Weekand
What if the existing box has a red wire in addition to the black and white wires?
A red wire in a ceiling junction box is typically a second switched-hot conductor from a two-switch setup — common in rooms where the ceiling light and fan are controlled by separate switches, or in older three-way switch configurations. The red wire in the junction box is typically a second hot or switched wire and can be capped with a wire nut if unused. For a single-mode ceiling light with only one hot wire input (black), cap the red wire with a wire nut and tuck it into the box without connecting it to the new fixture. If the room previously had a fan-and-light combination fixture with the red wire providing separate fan control, capping the red eliminates that separate switch function — the new light will be controlled by whichever switch the black wire is connected to. If retaining two-switch control is a priority, consult an electrician for the appropriate wiring configuration at the new fixture. JustAnswer

